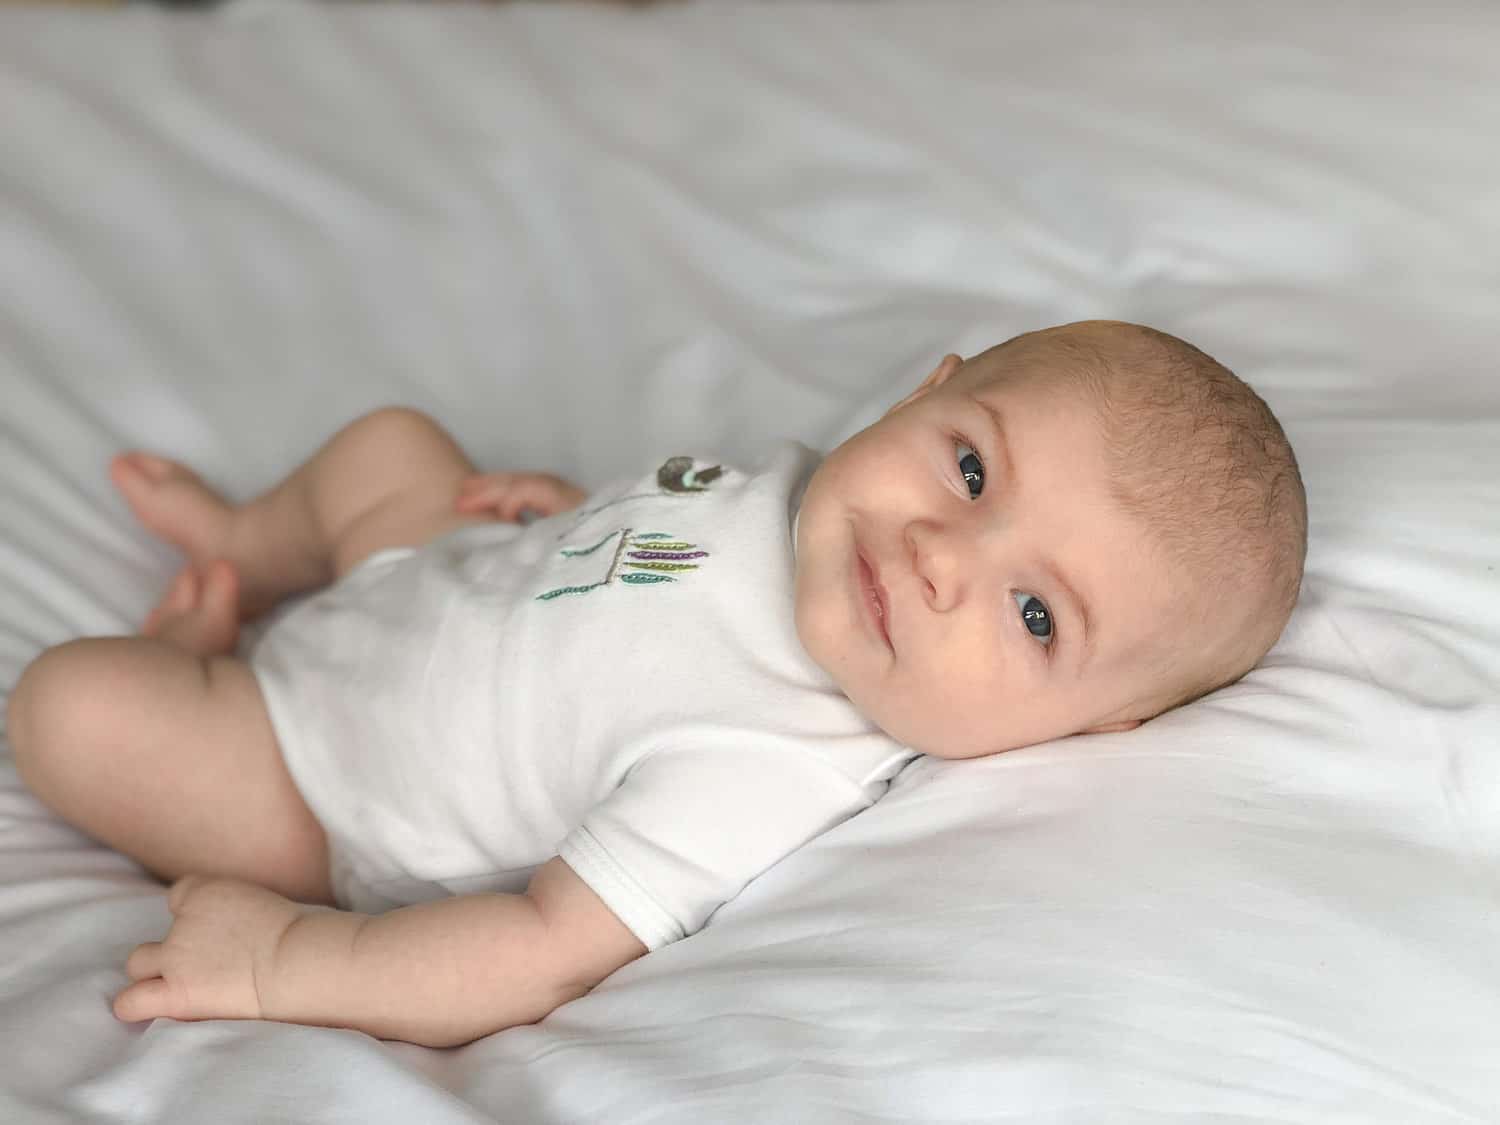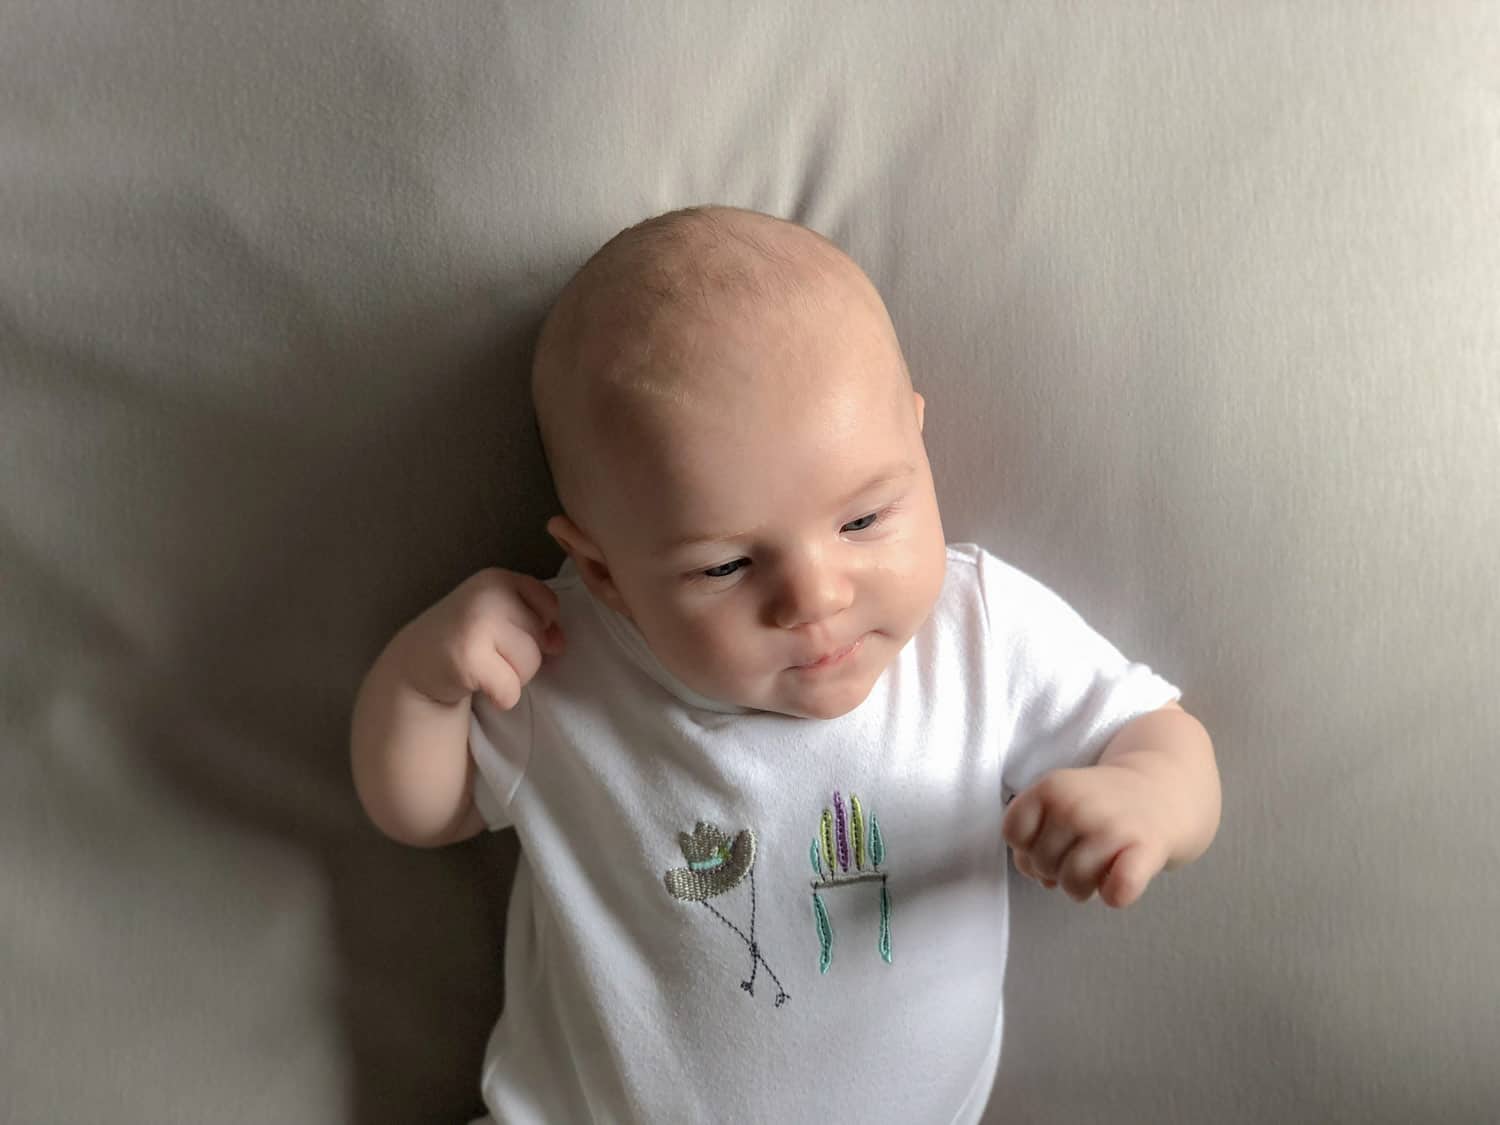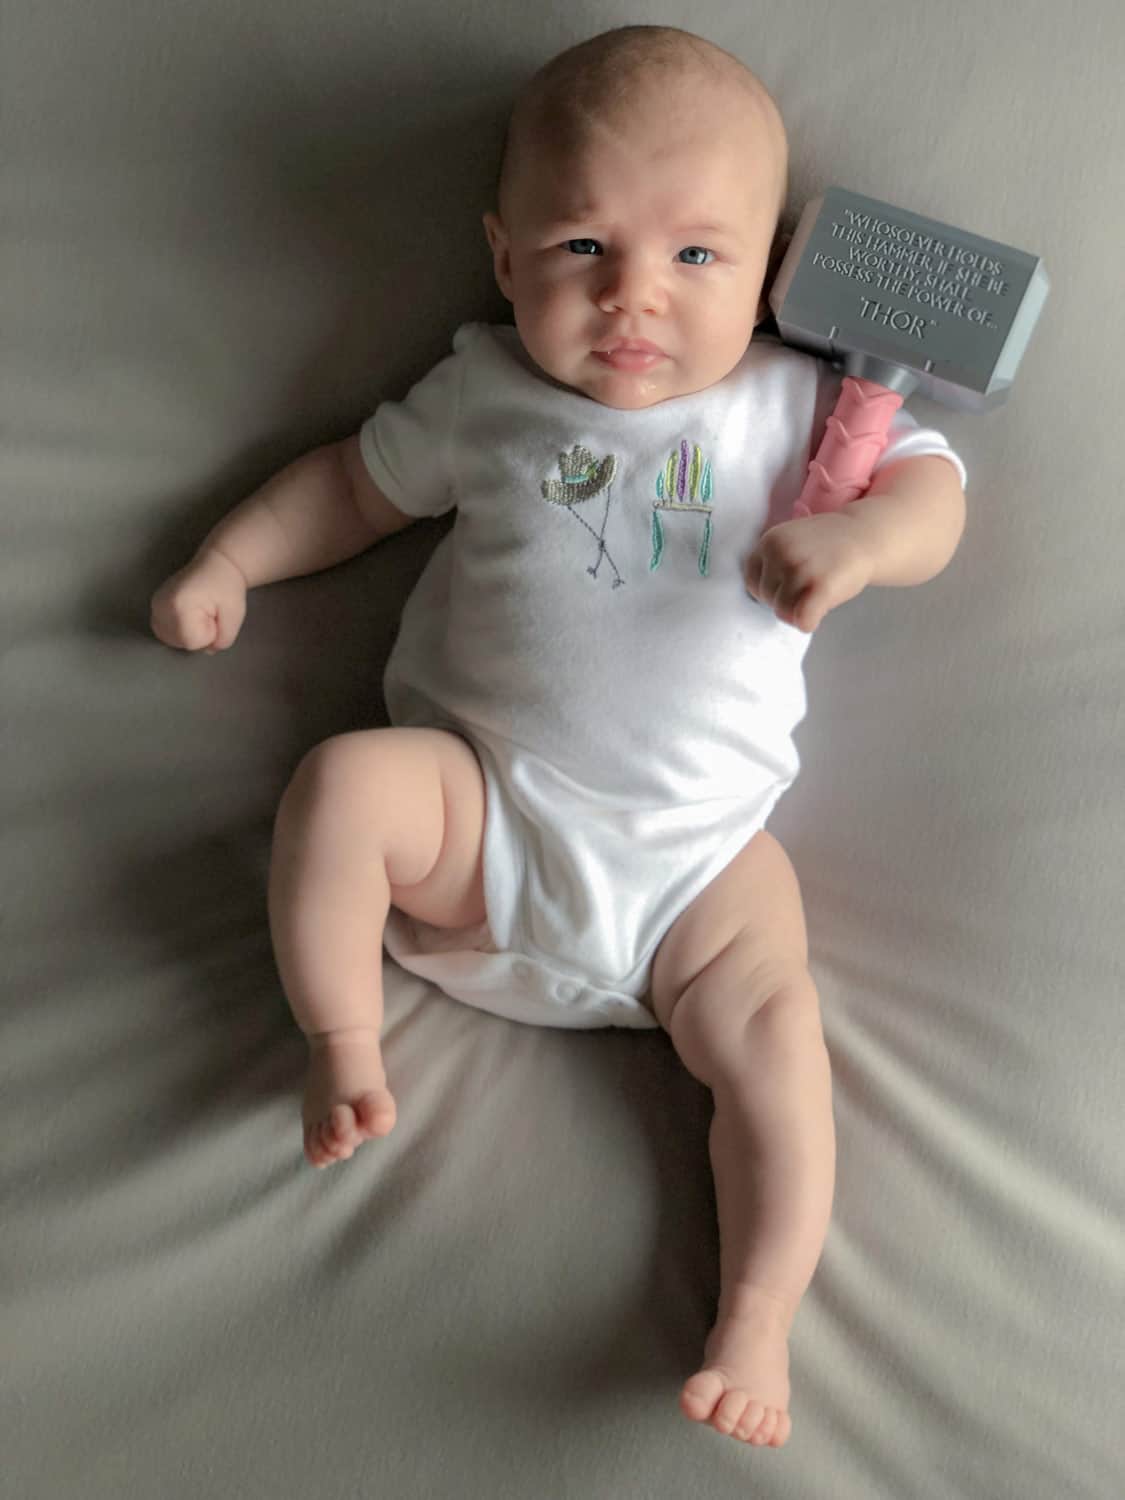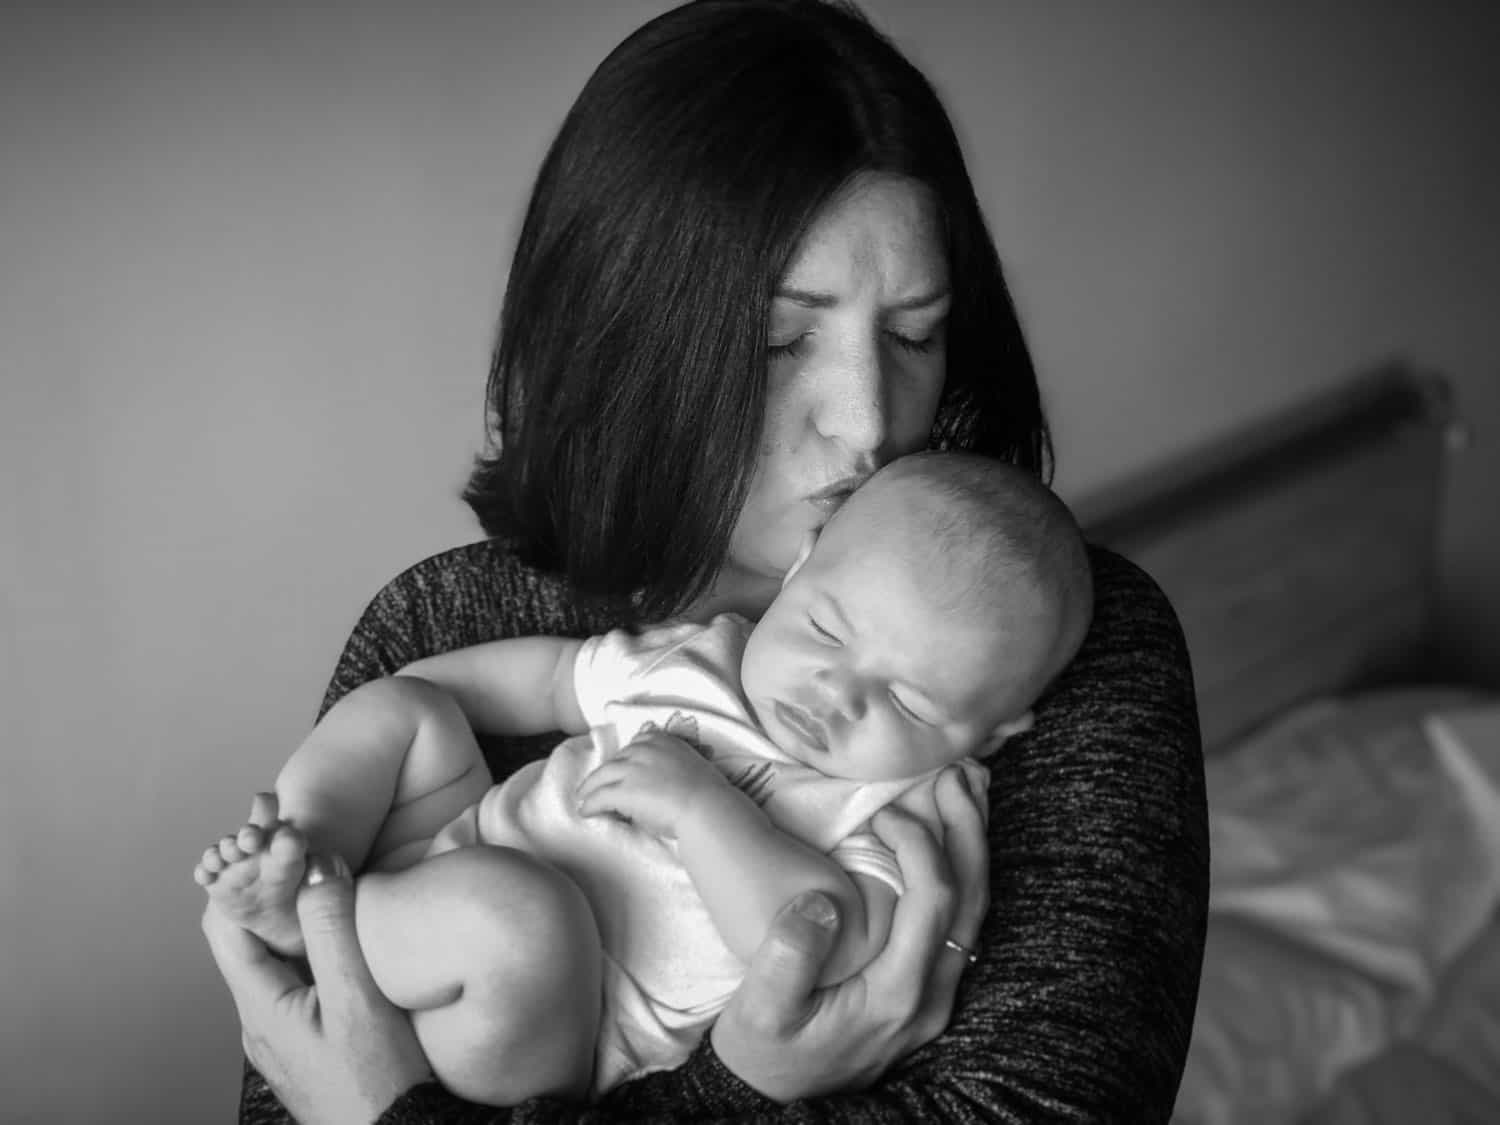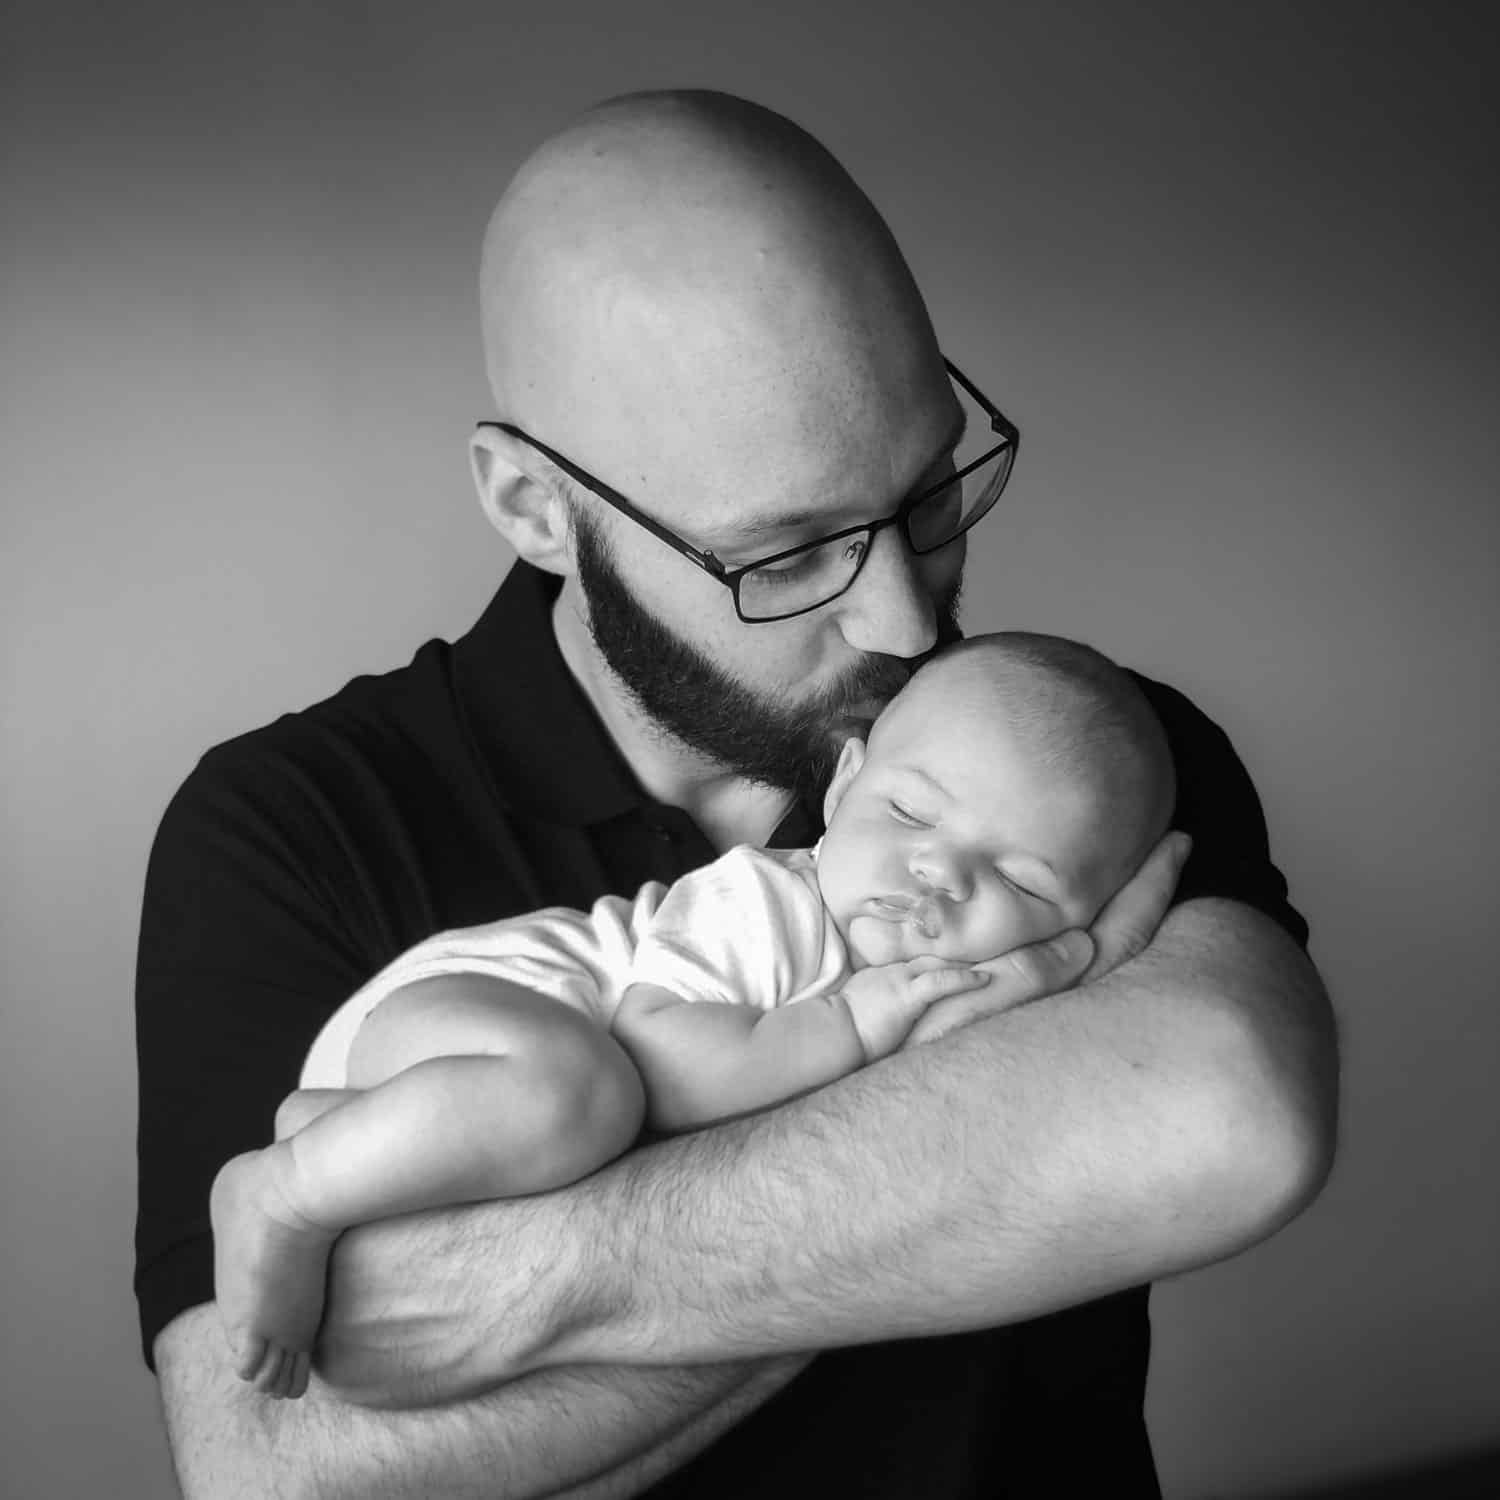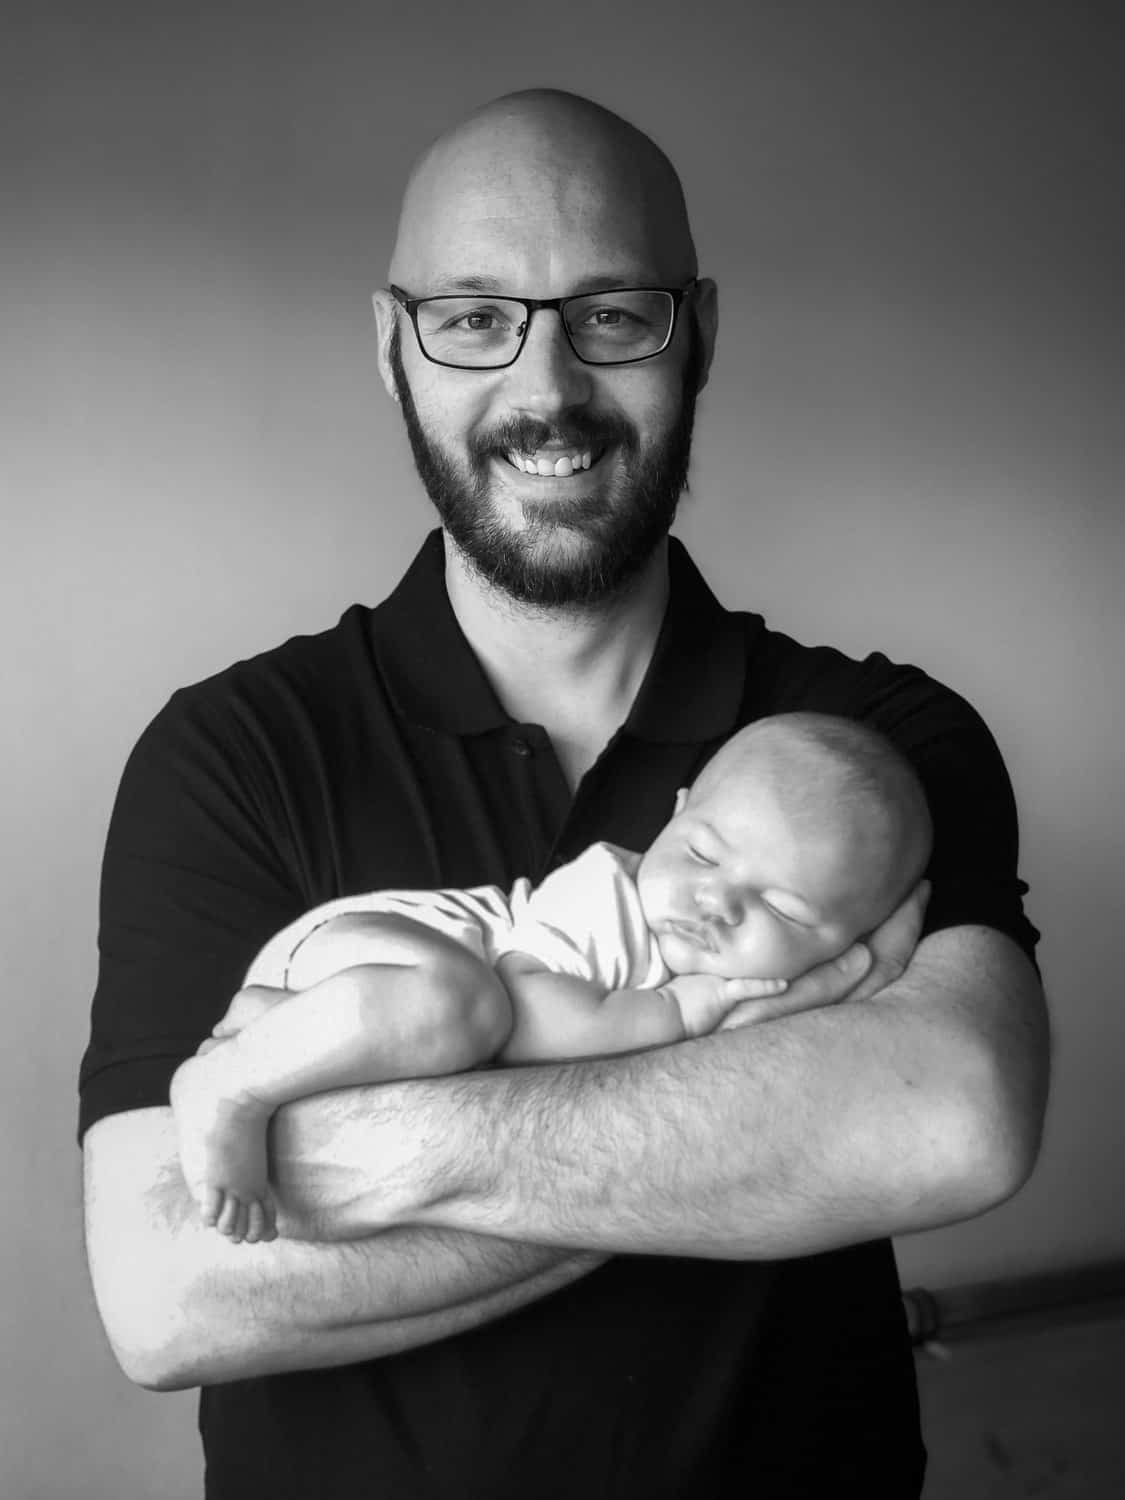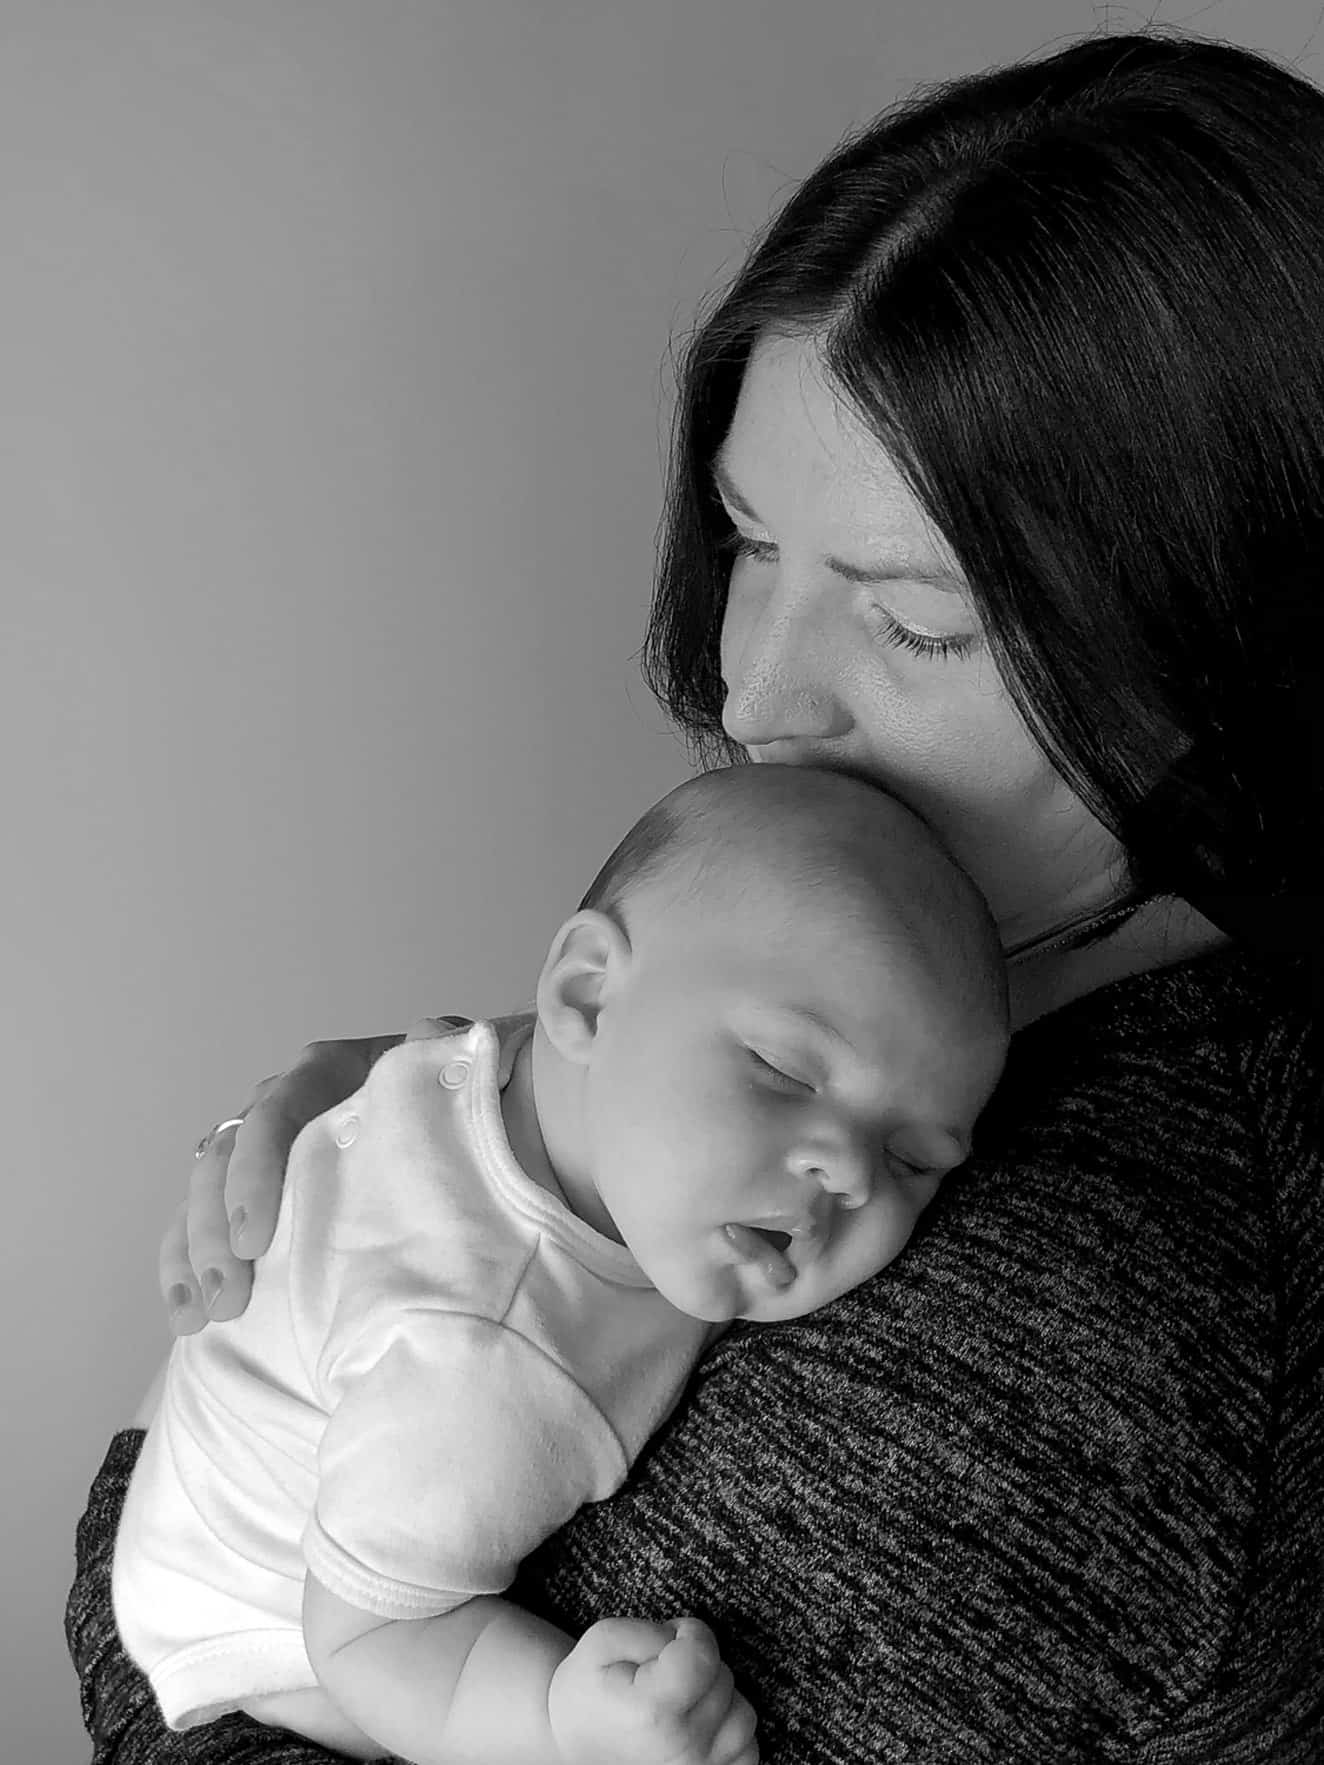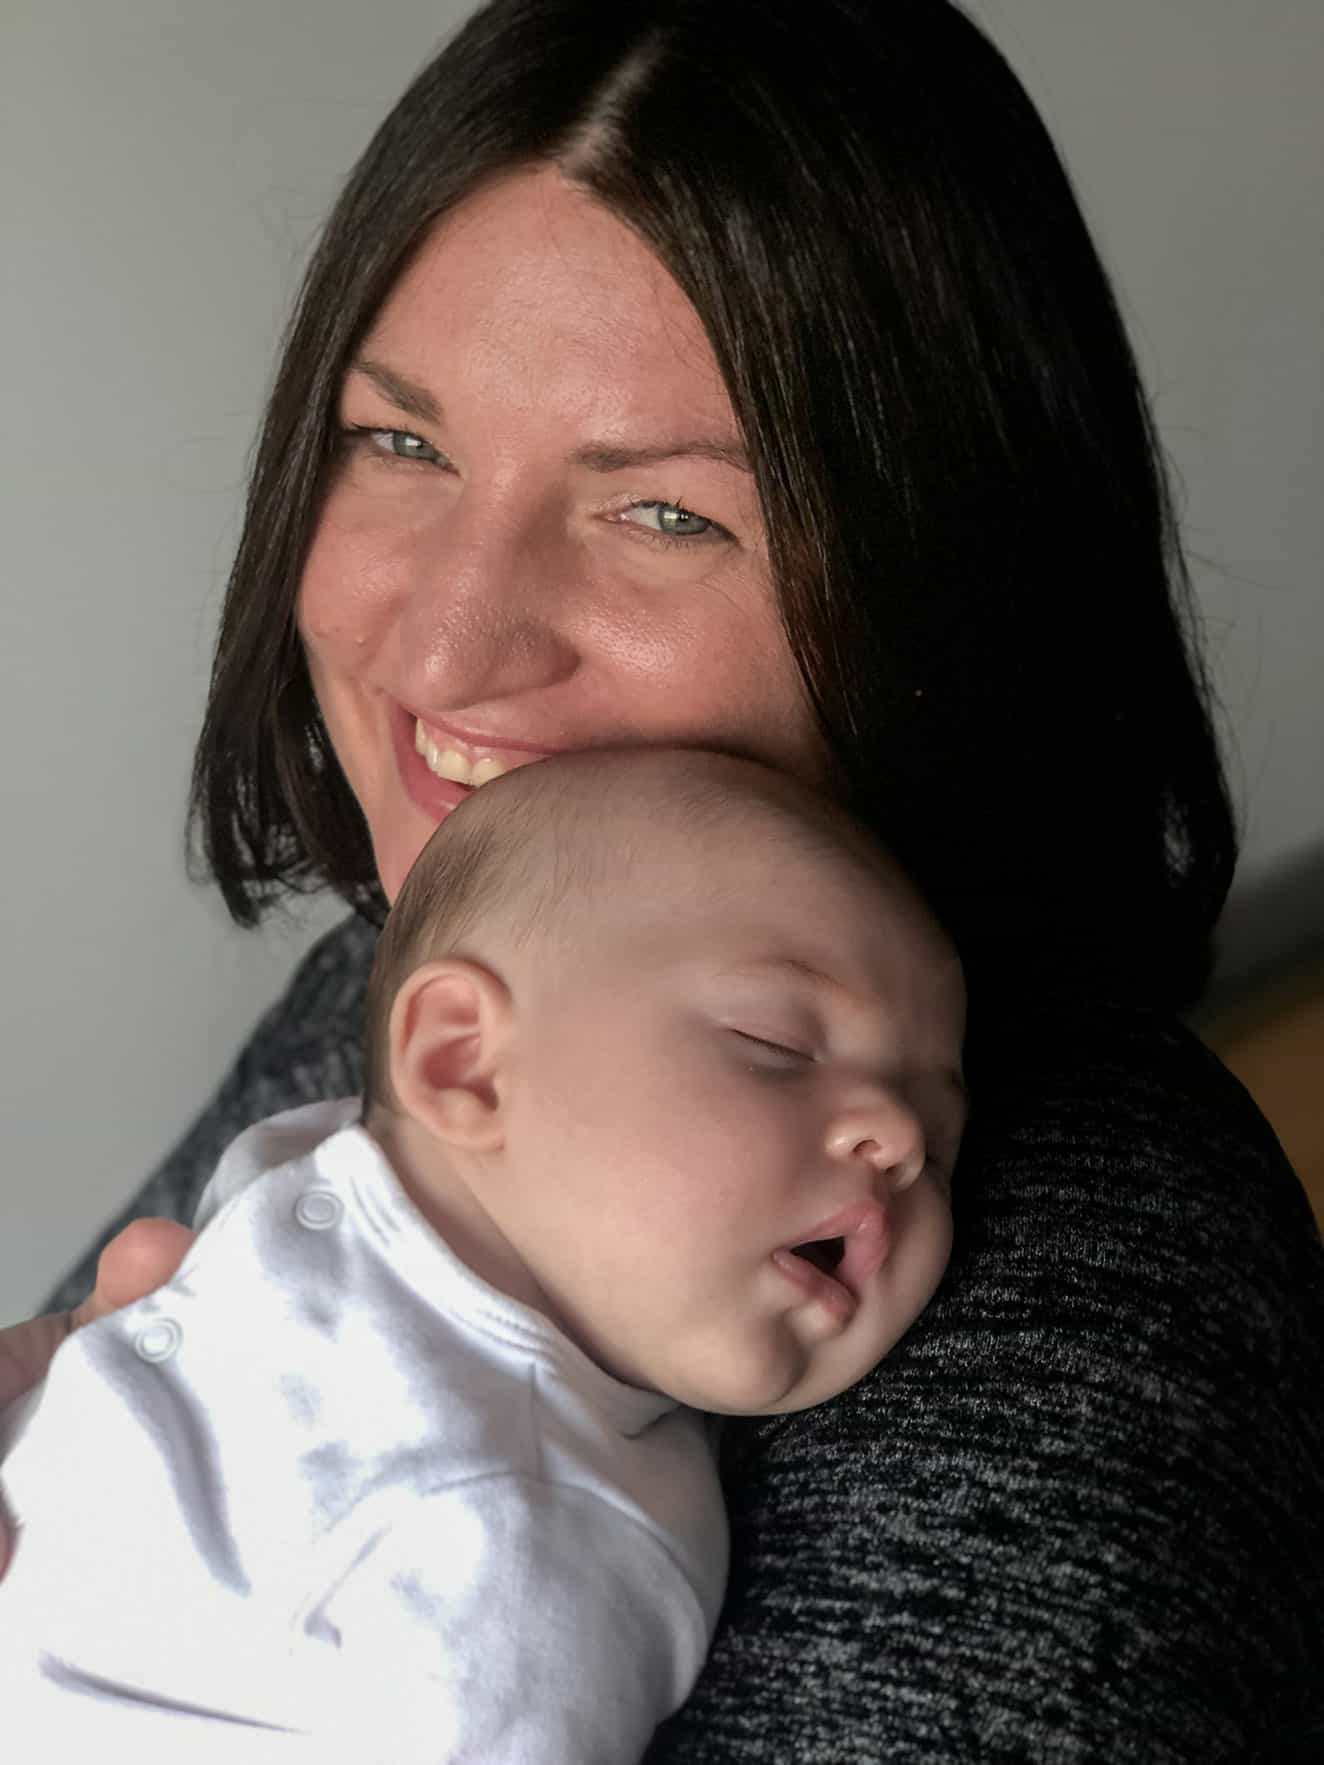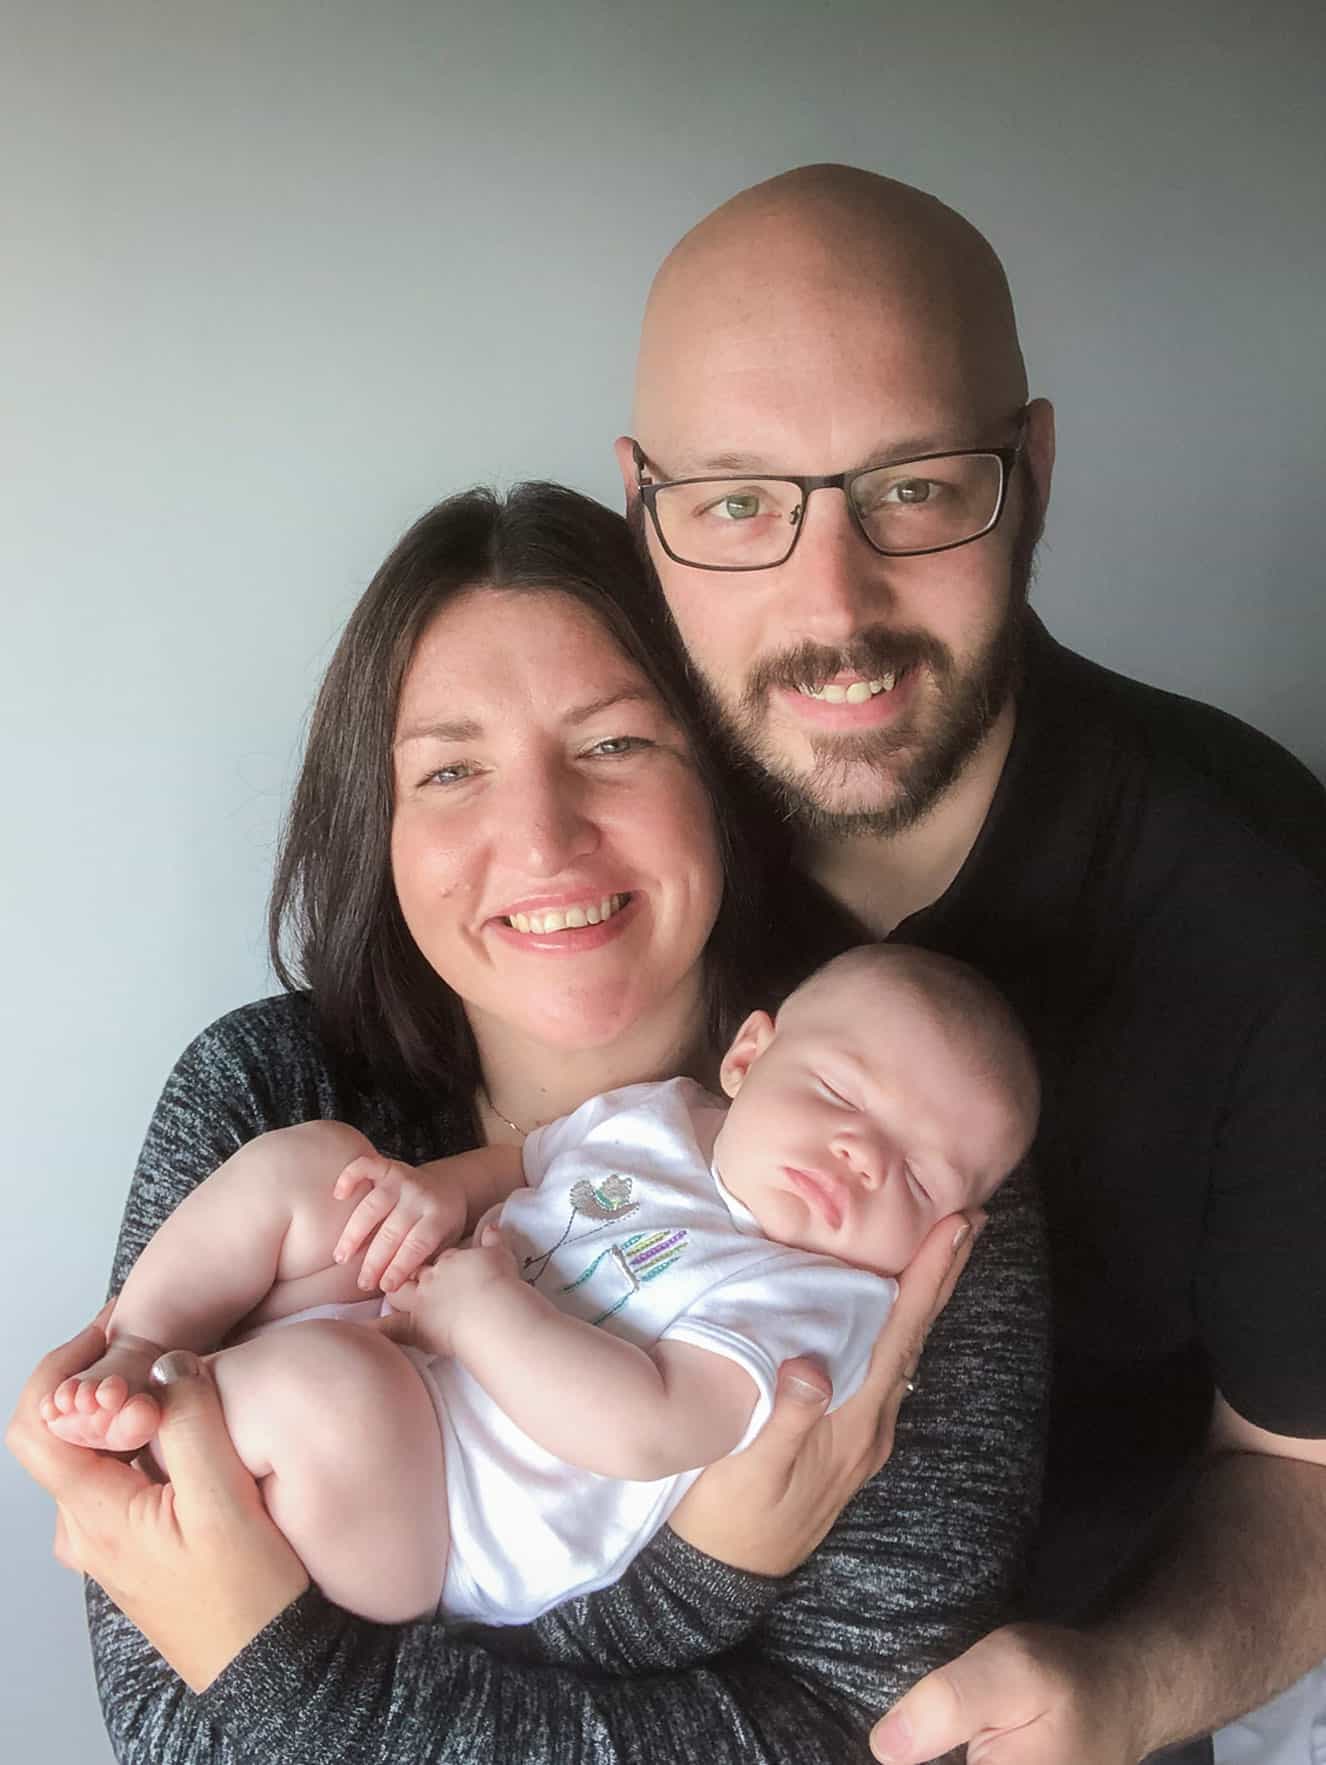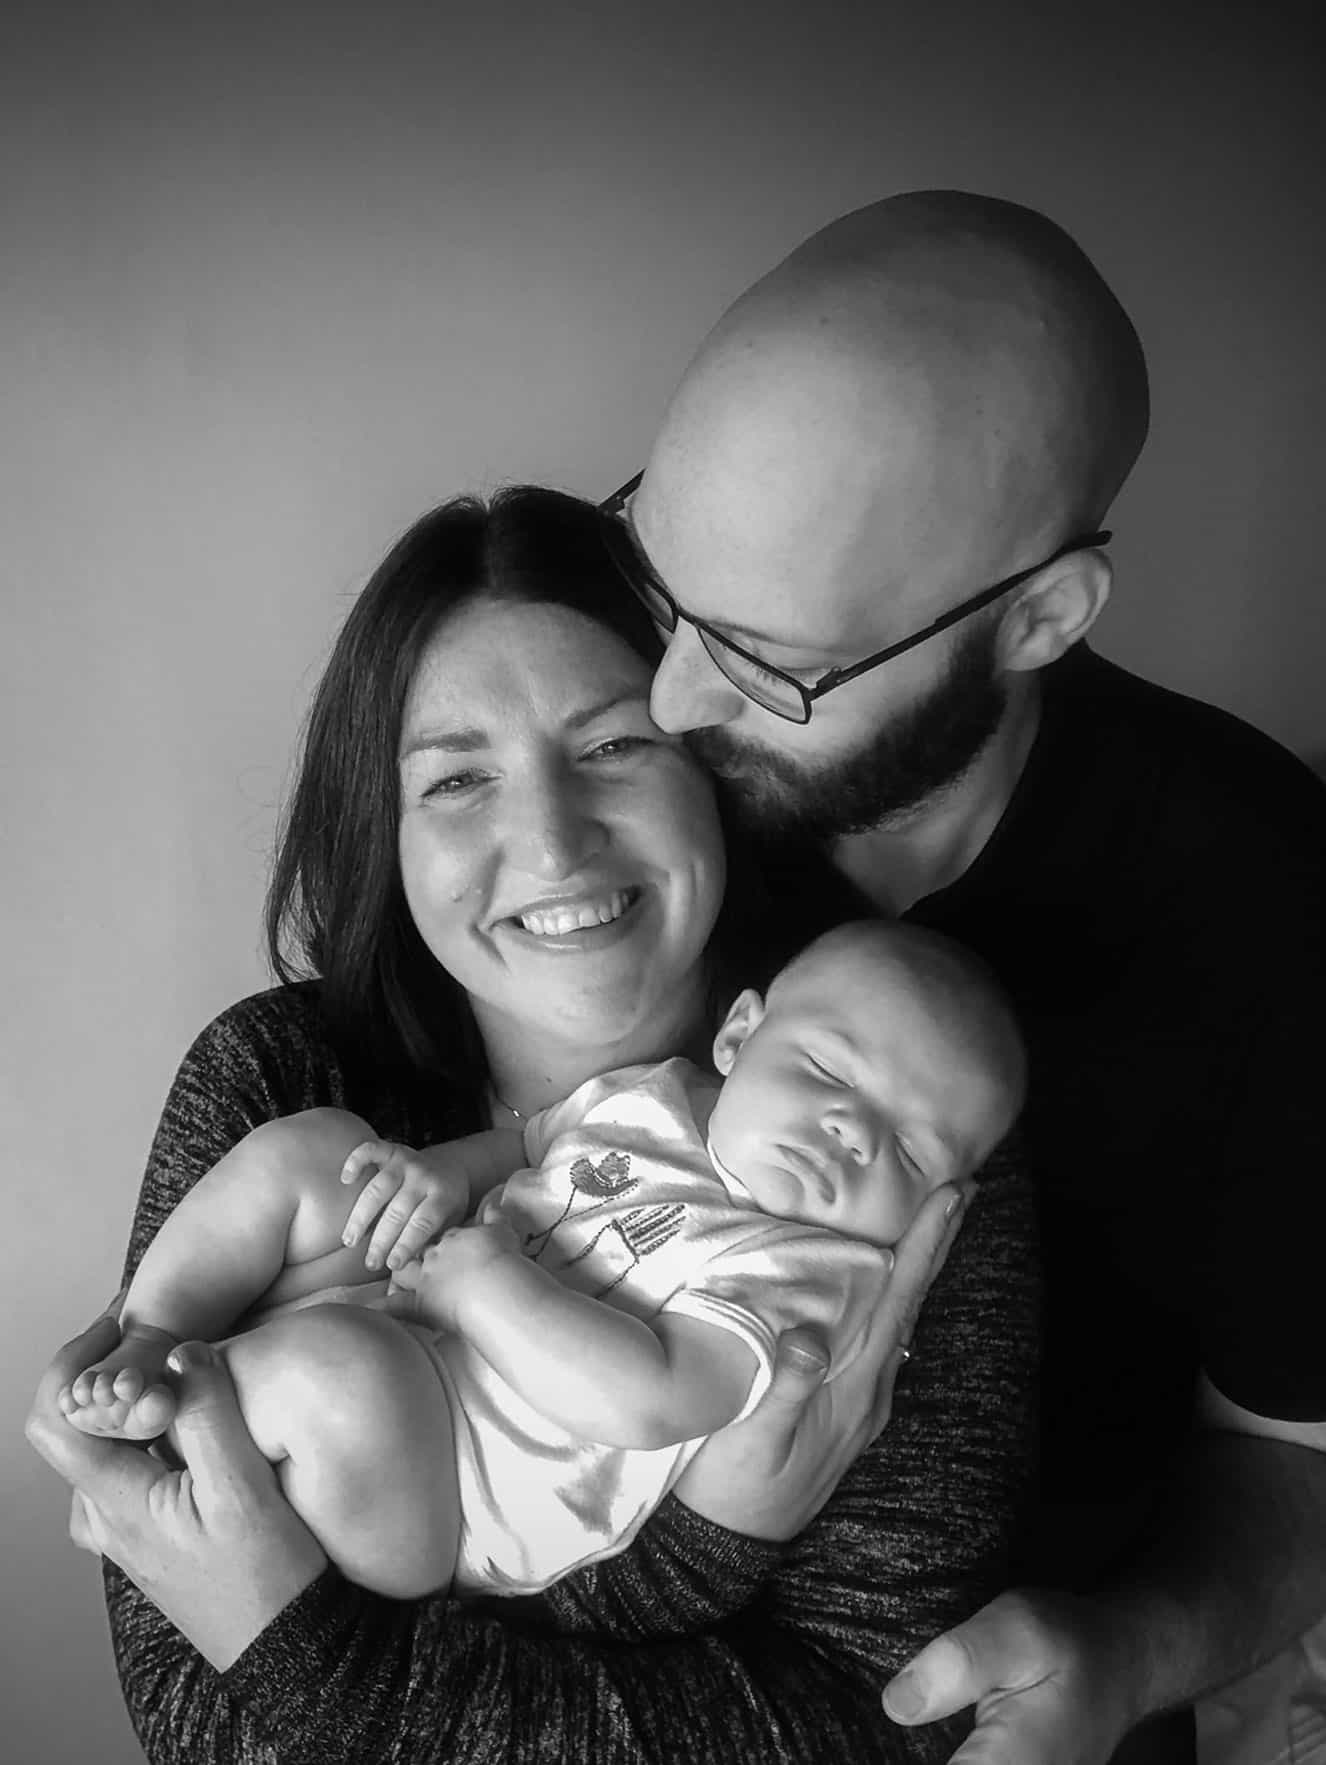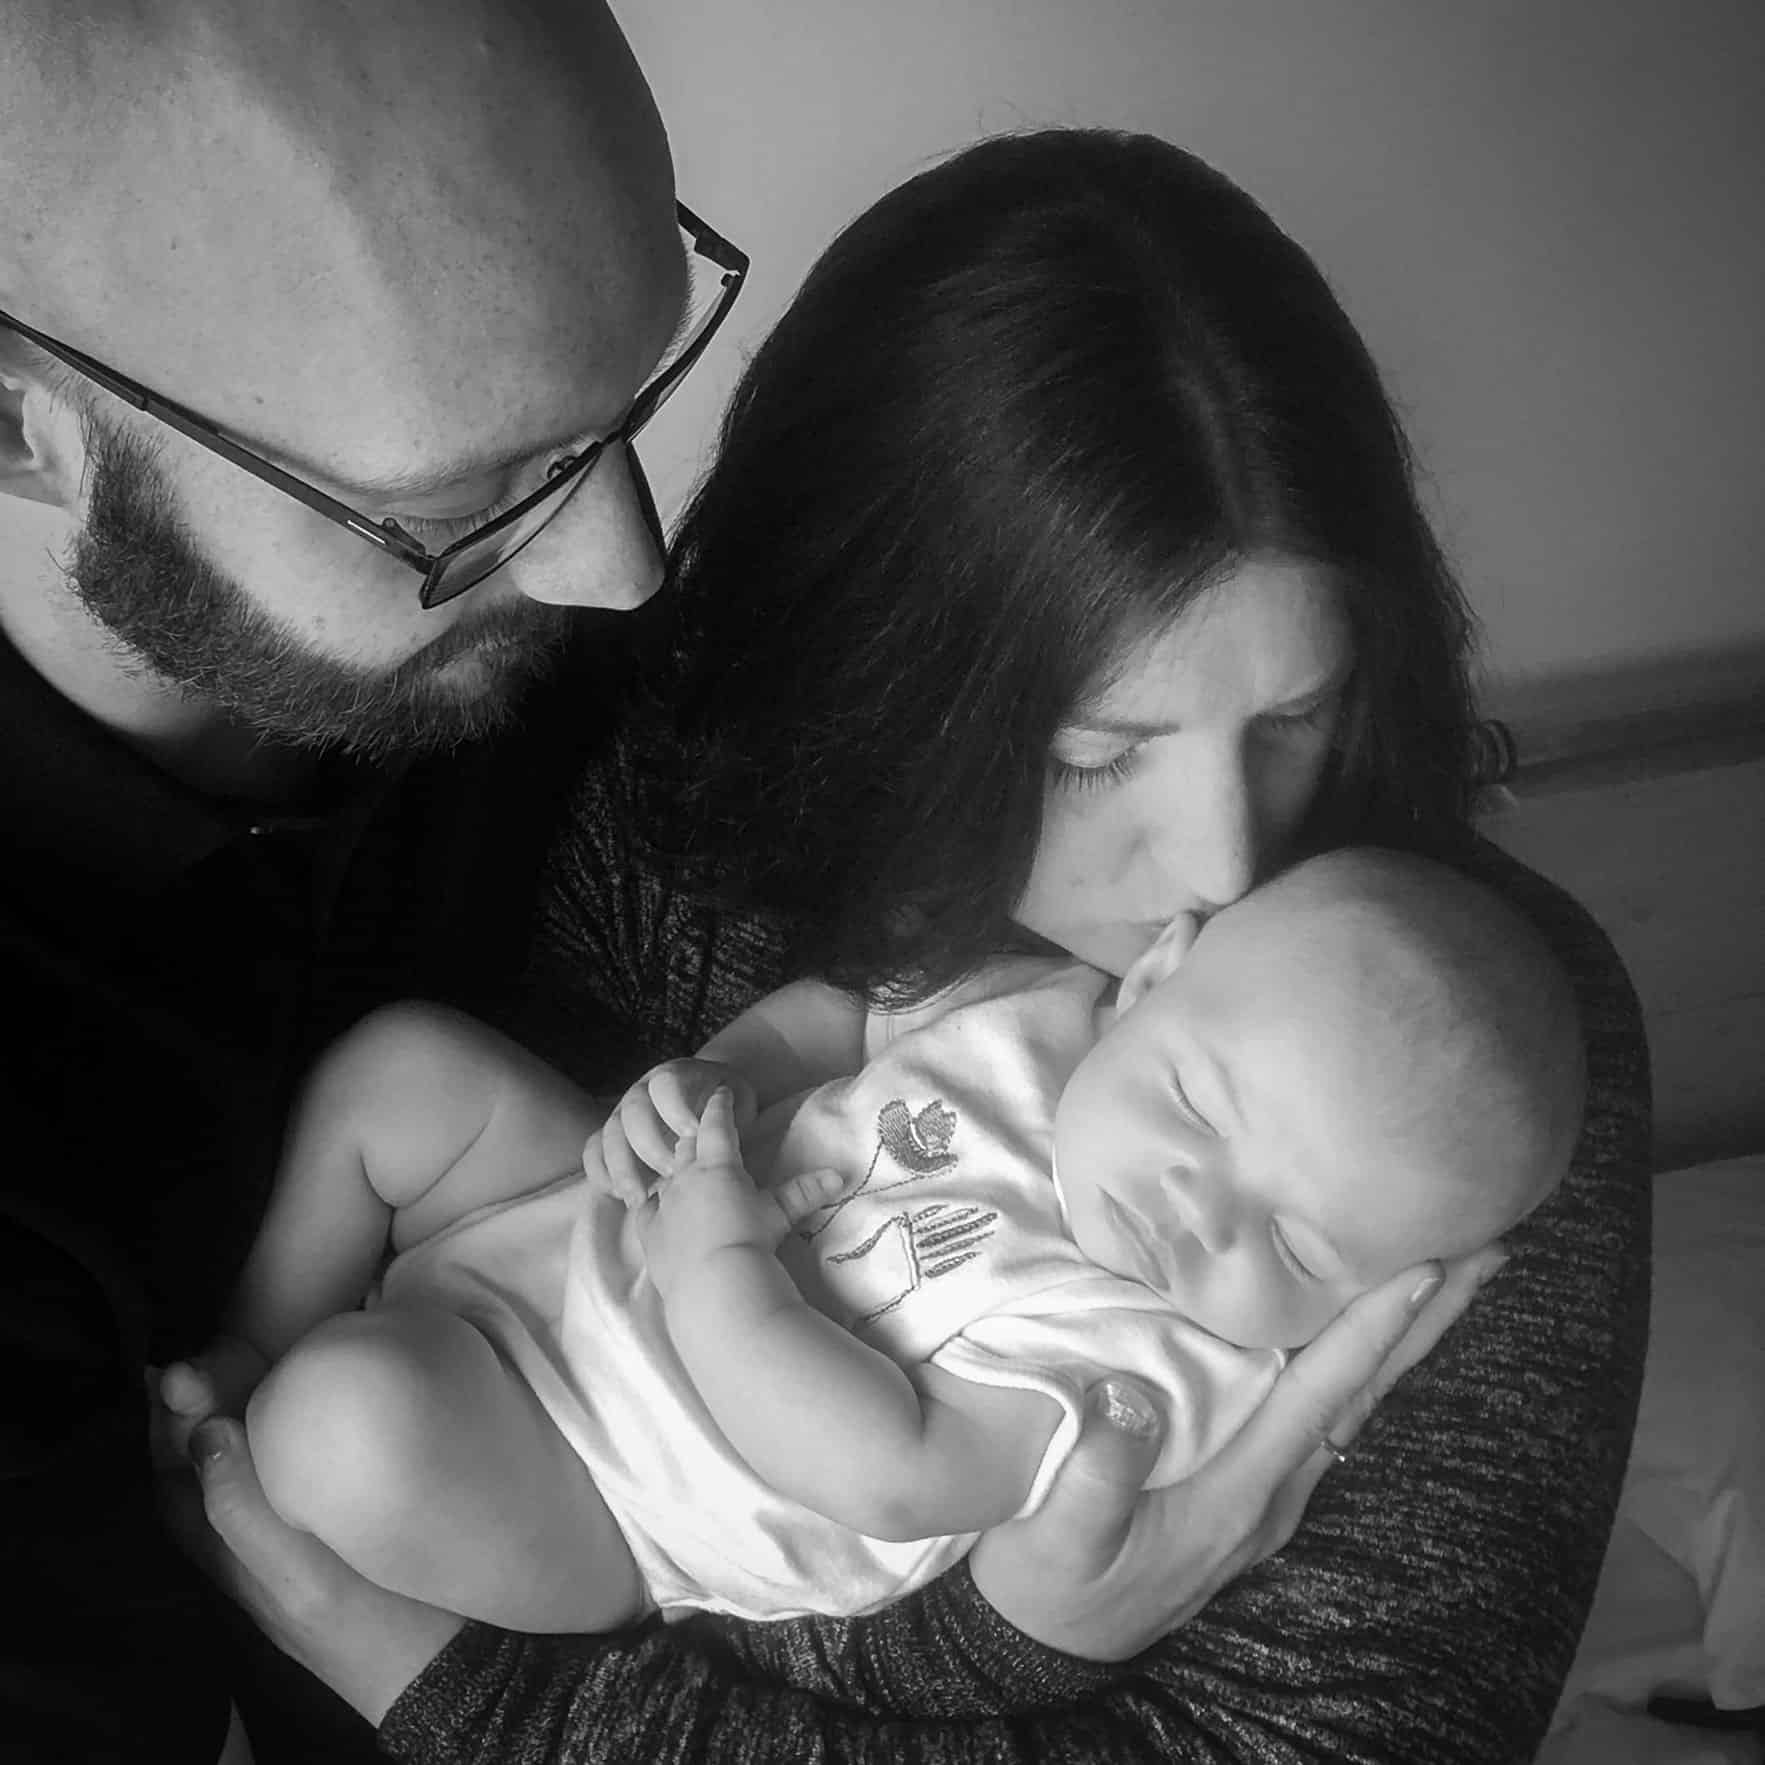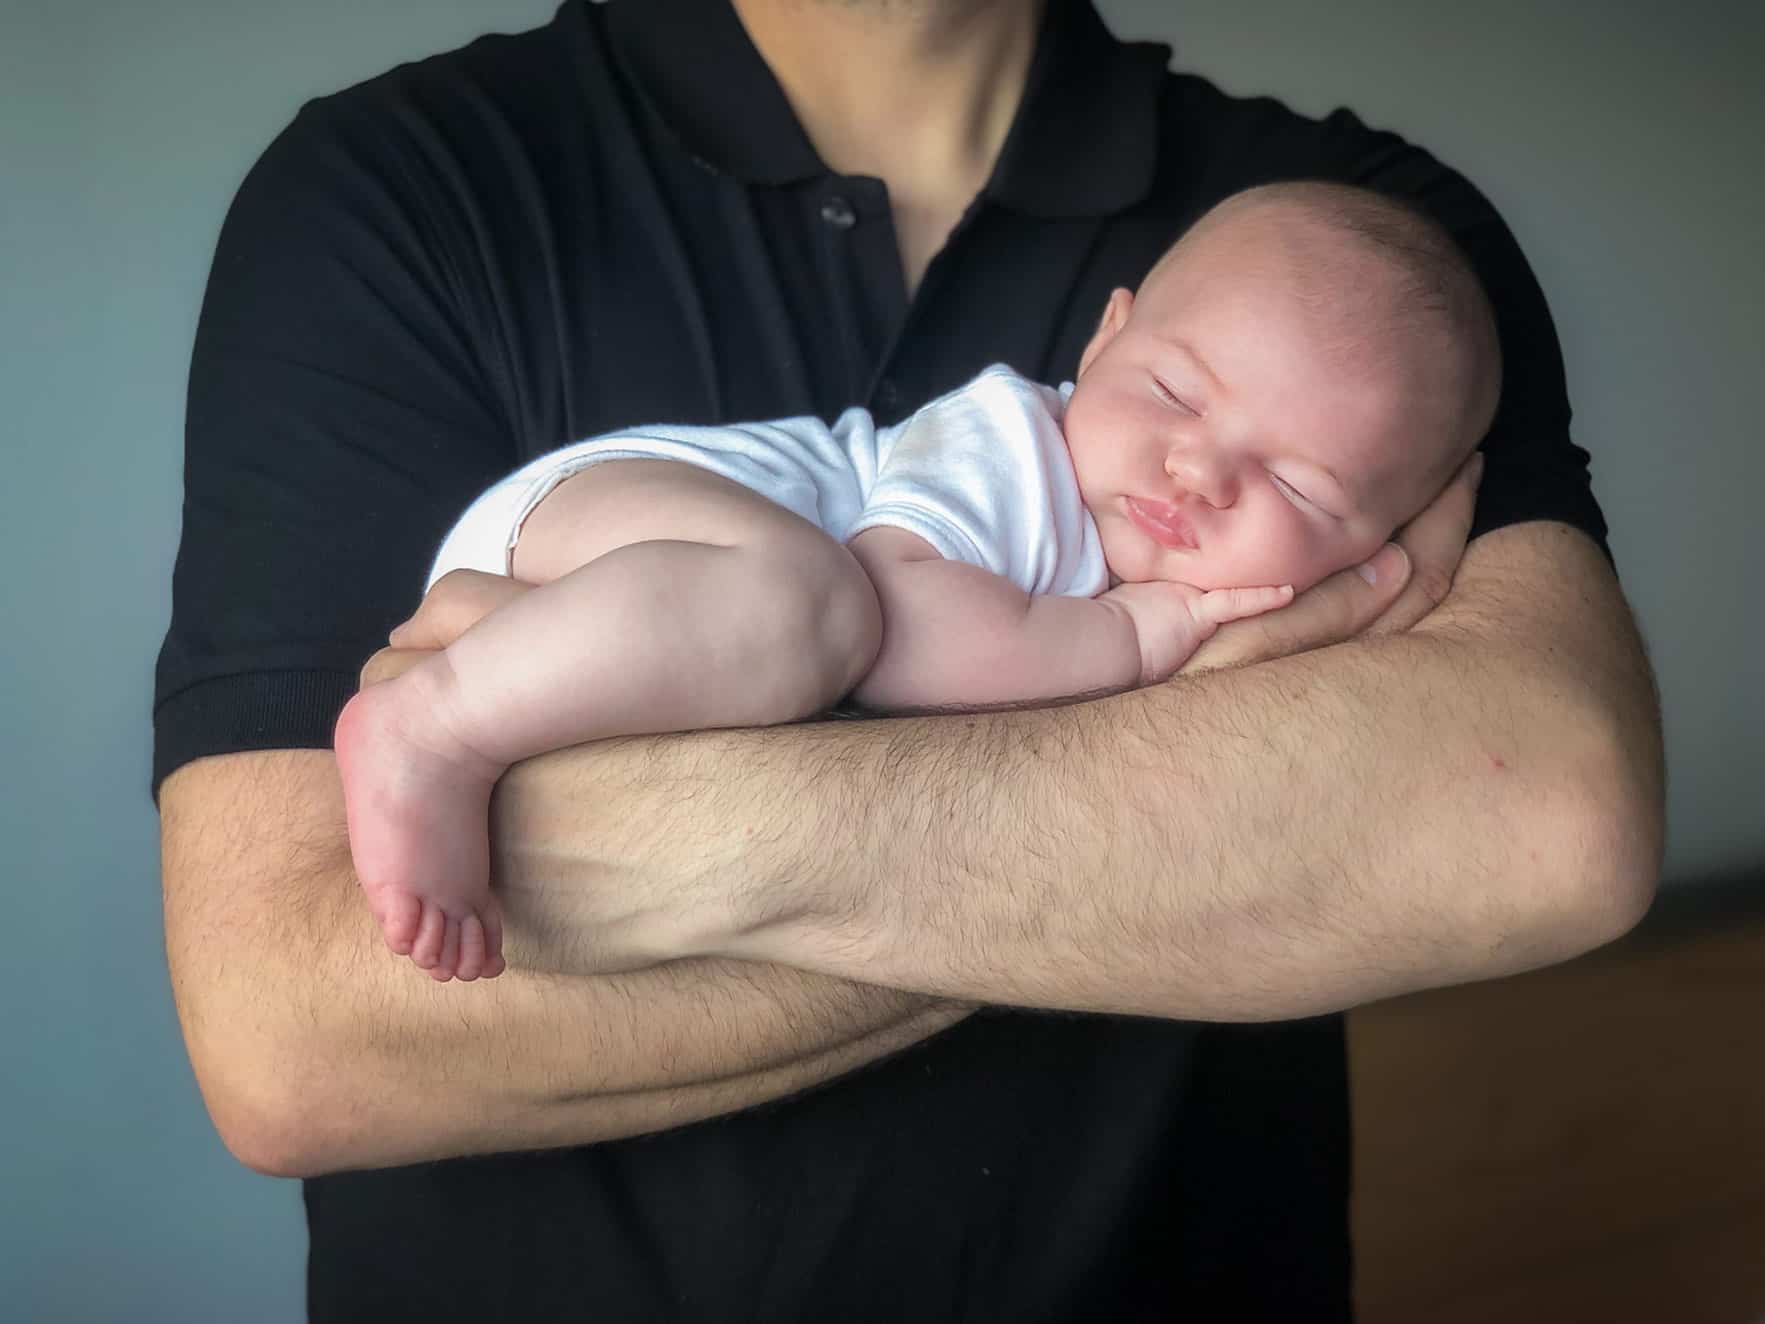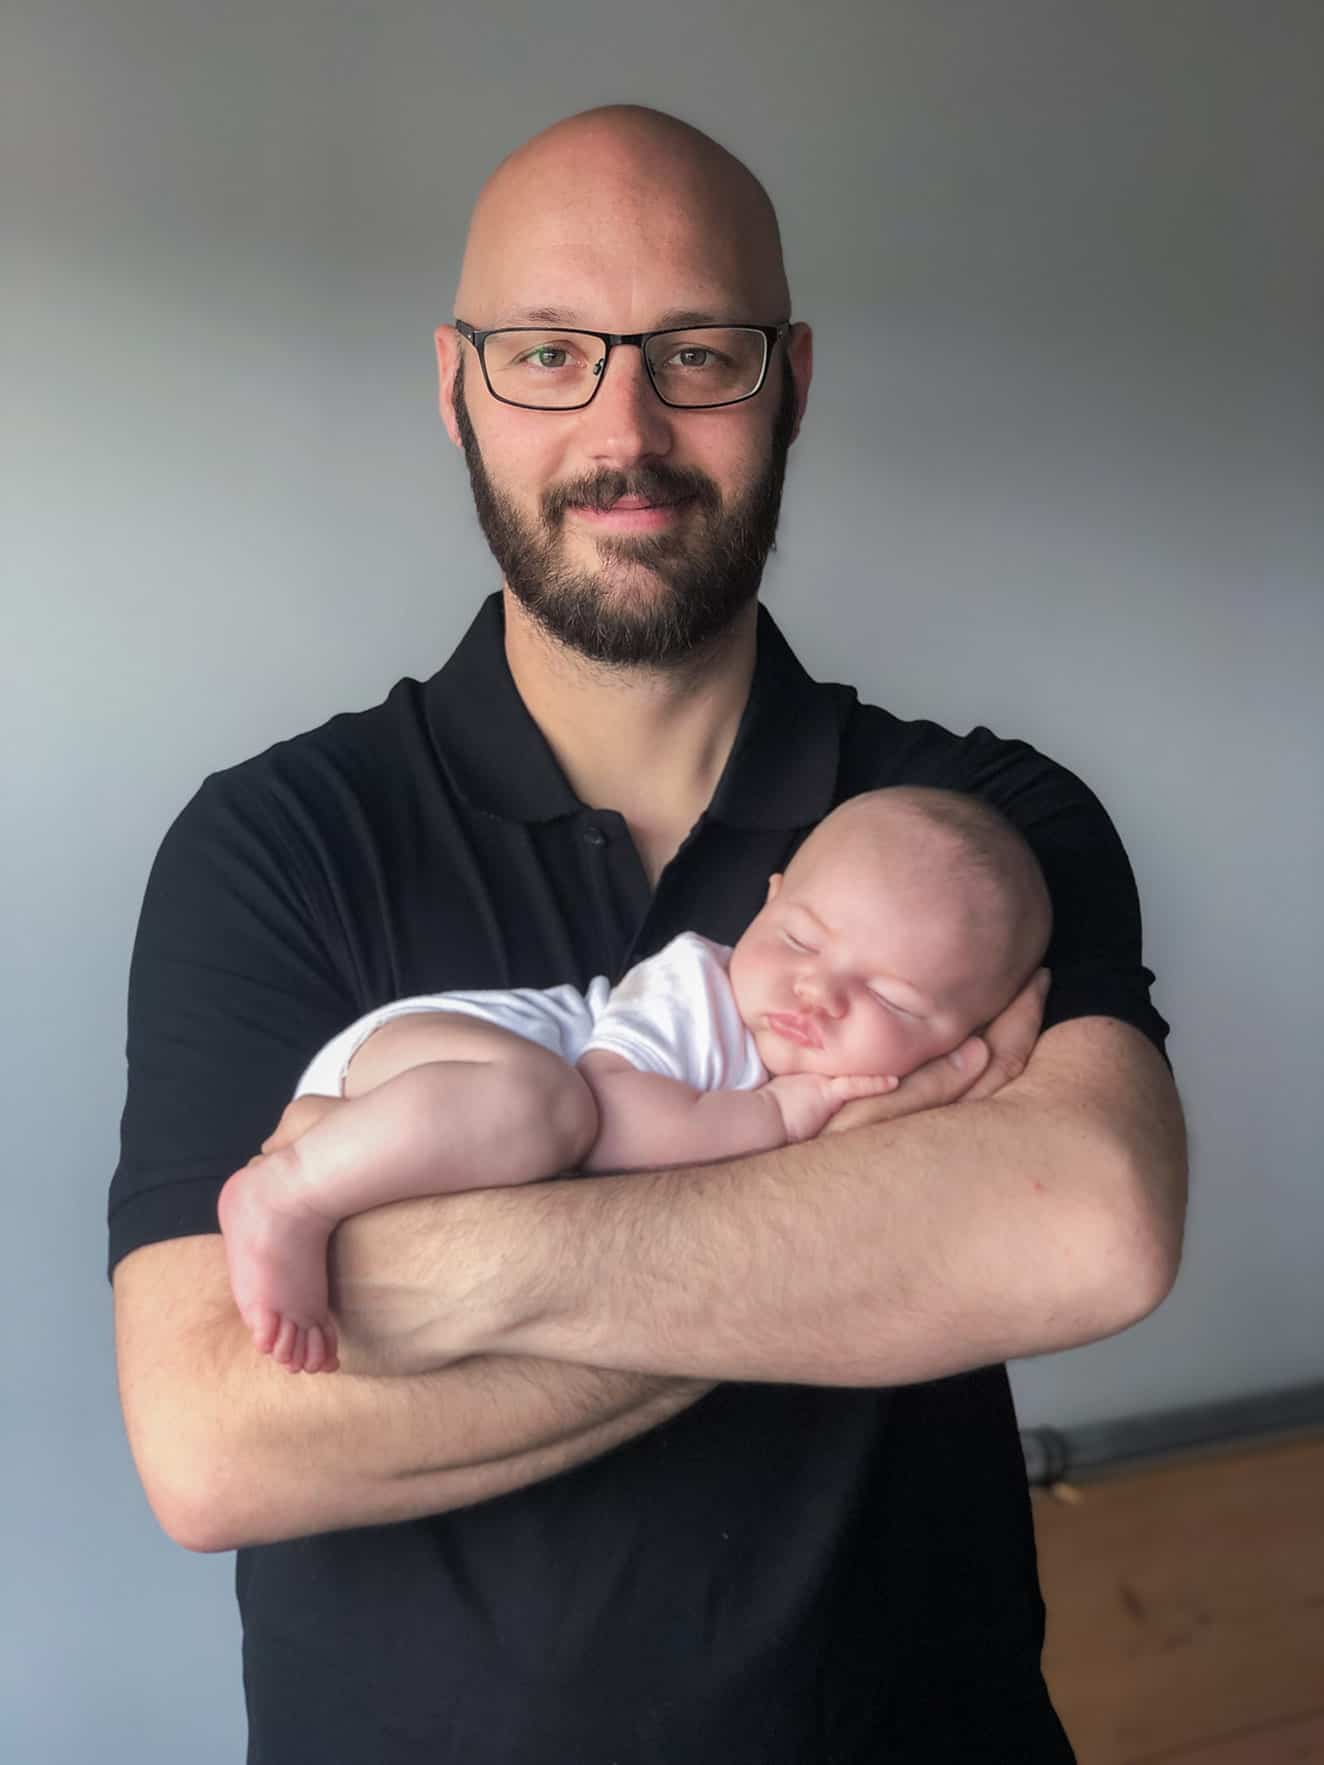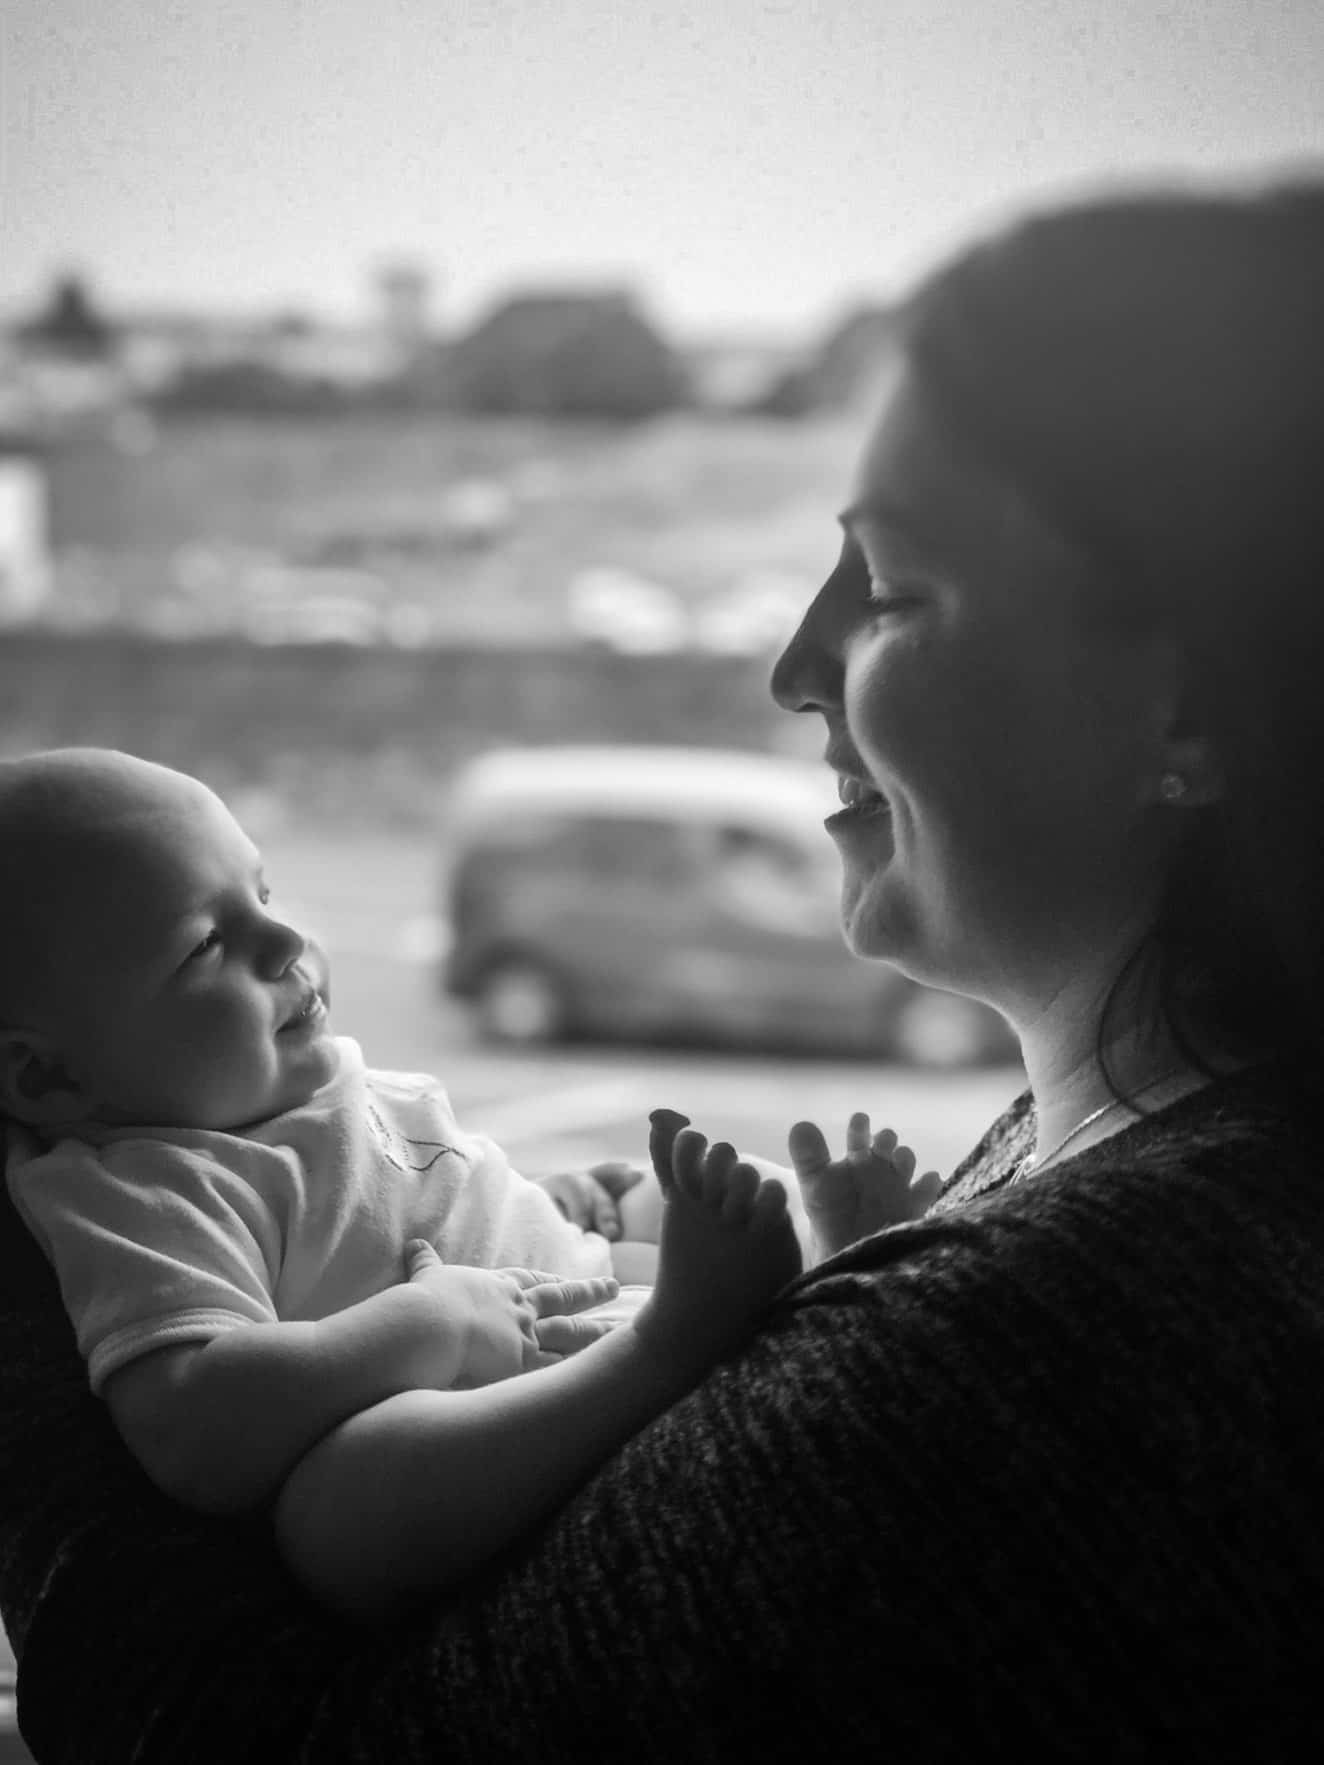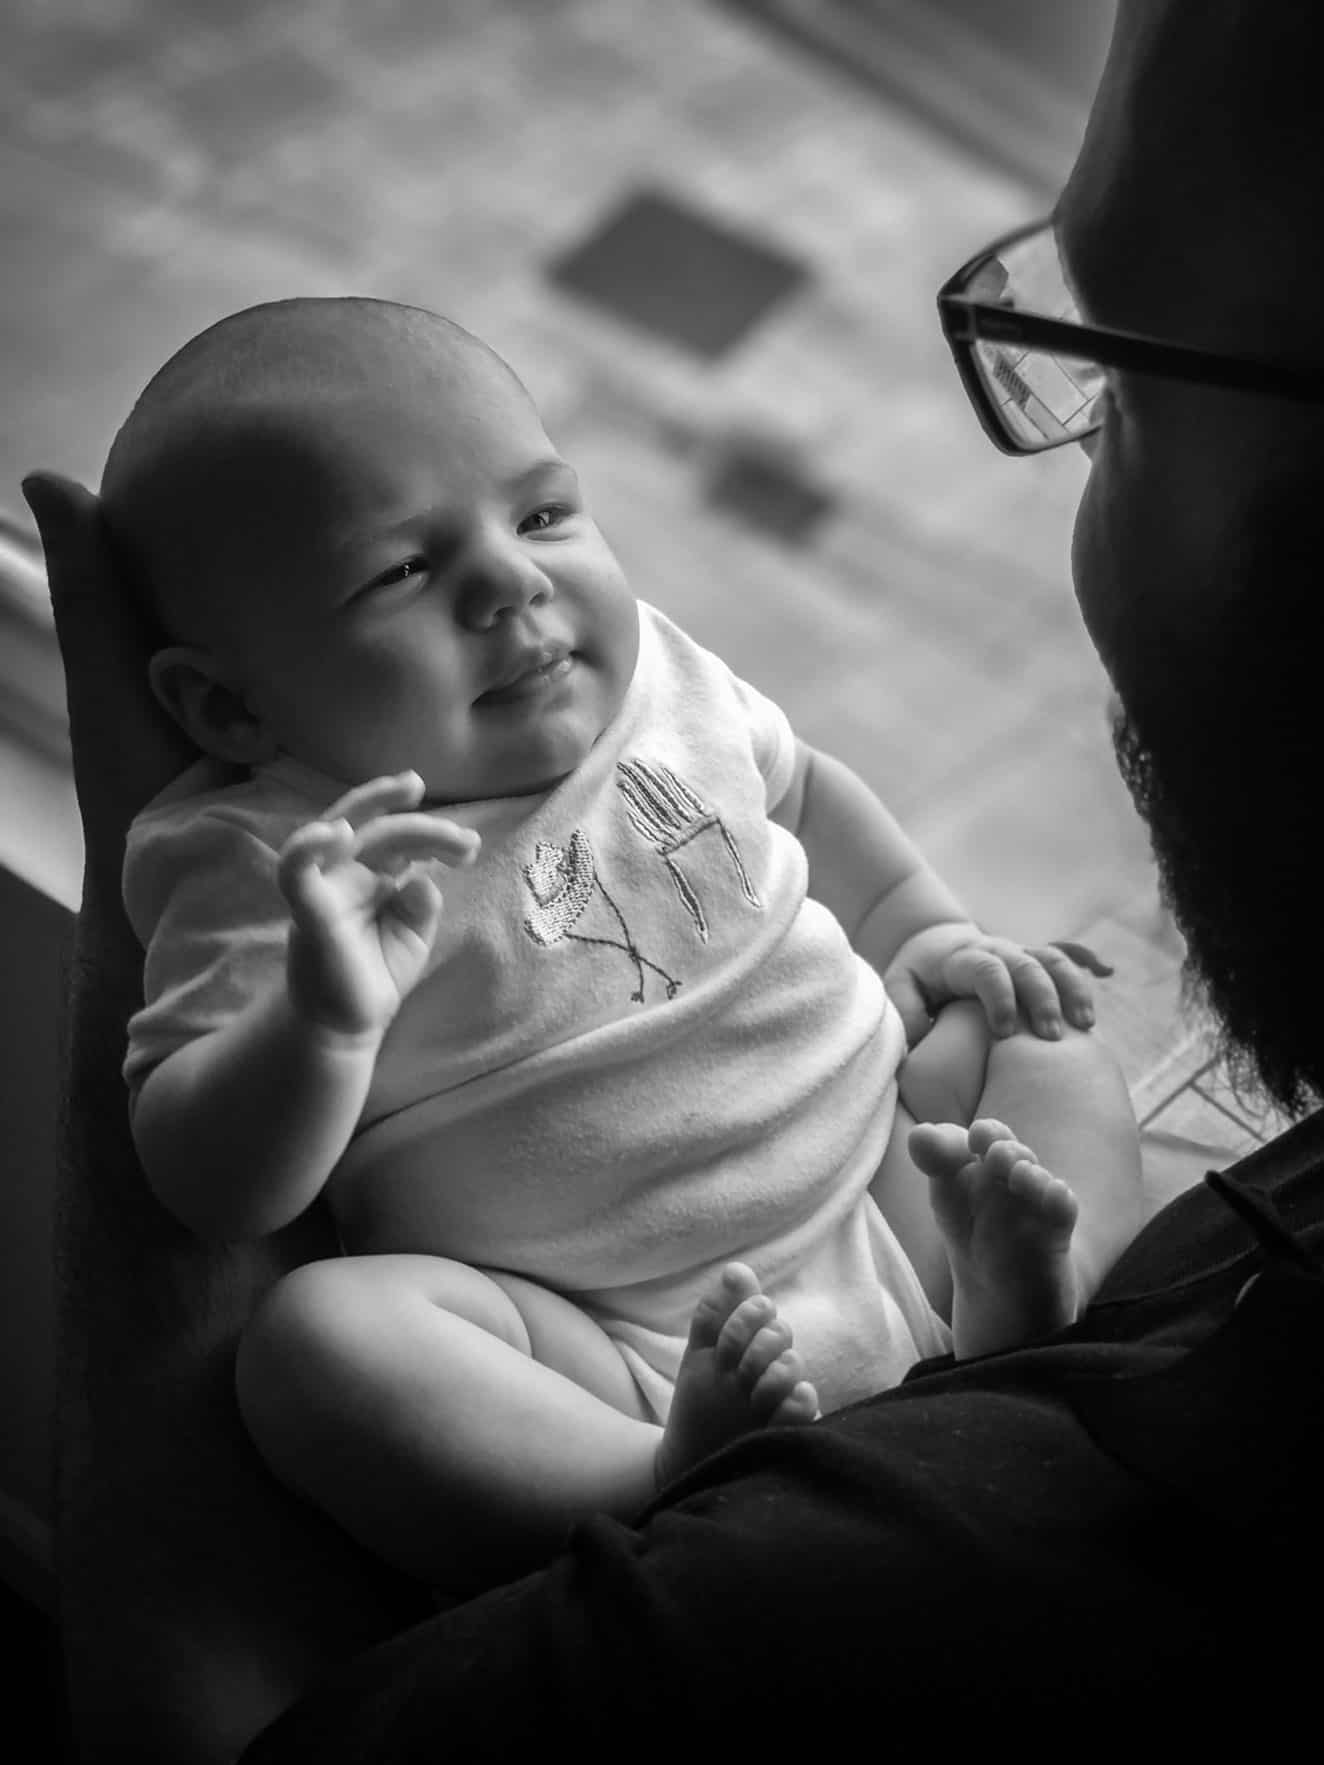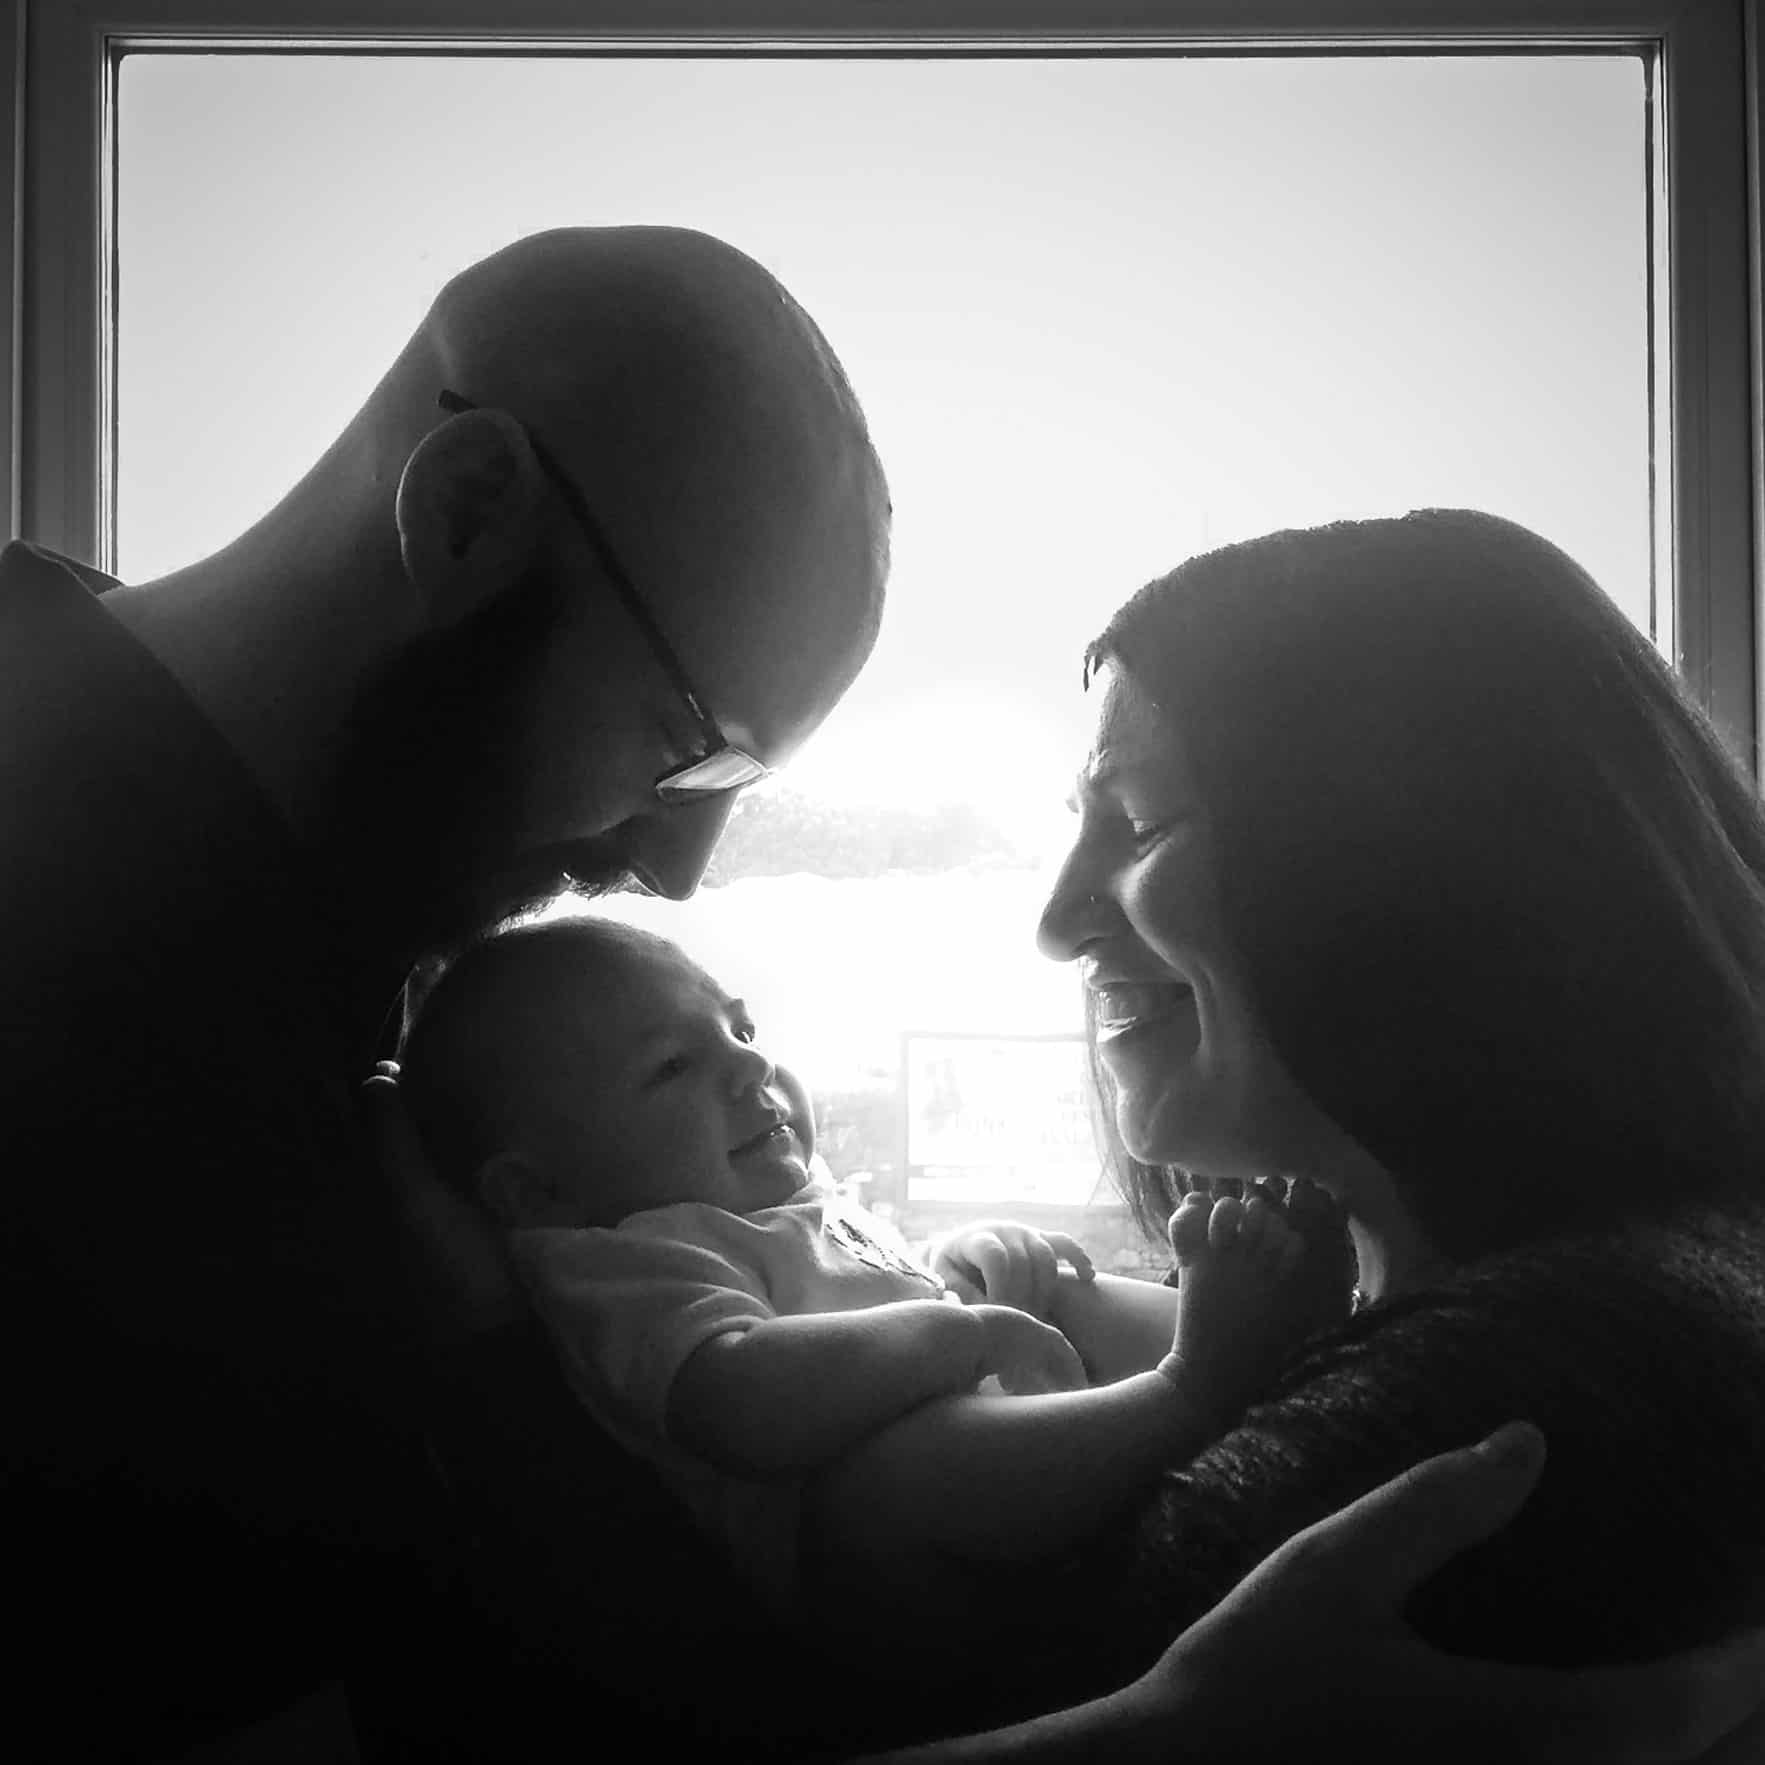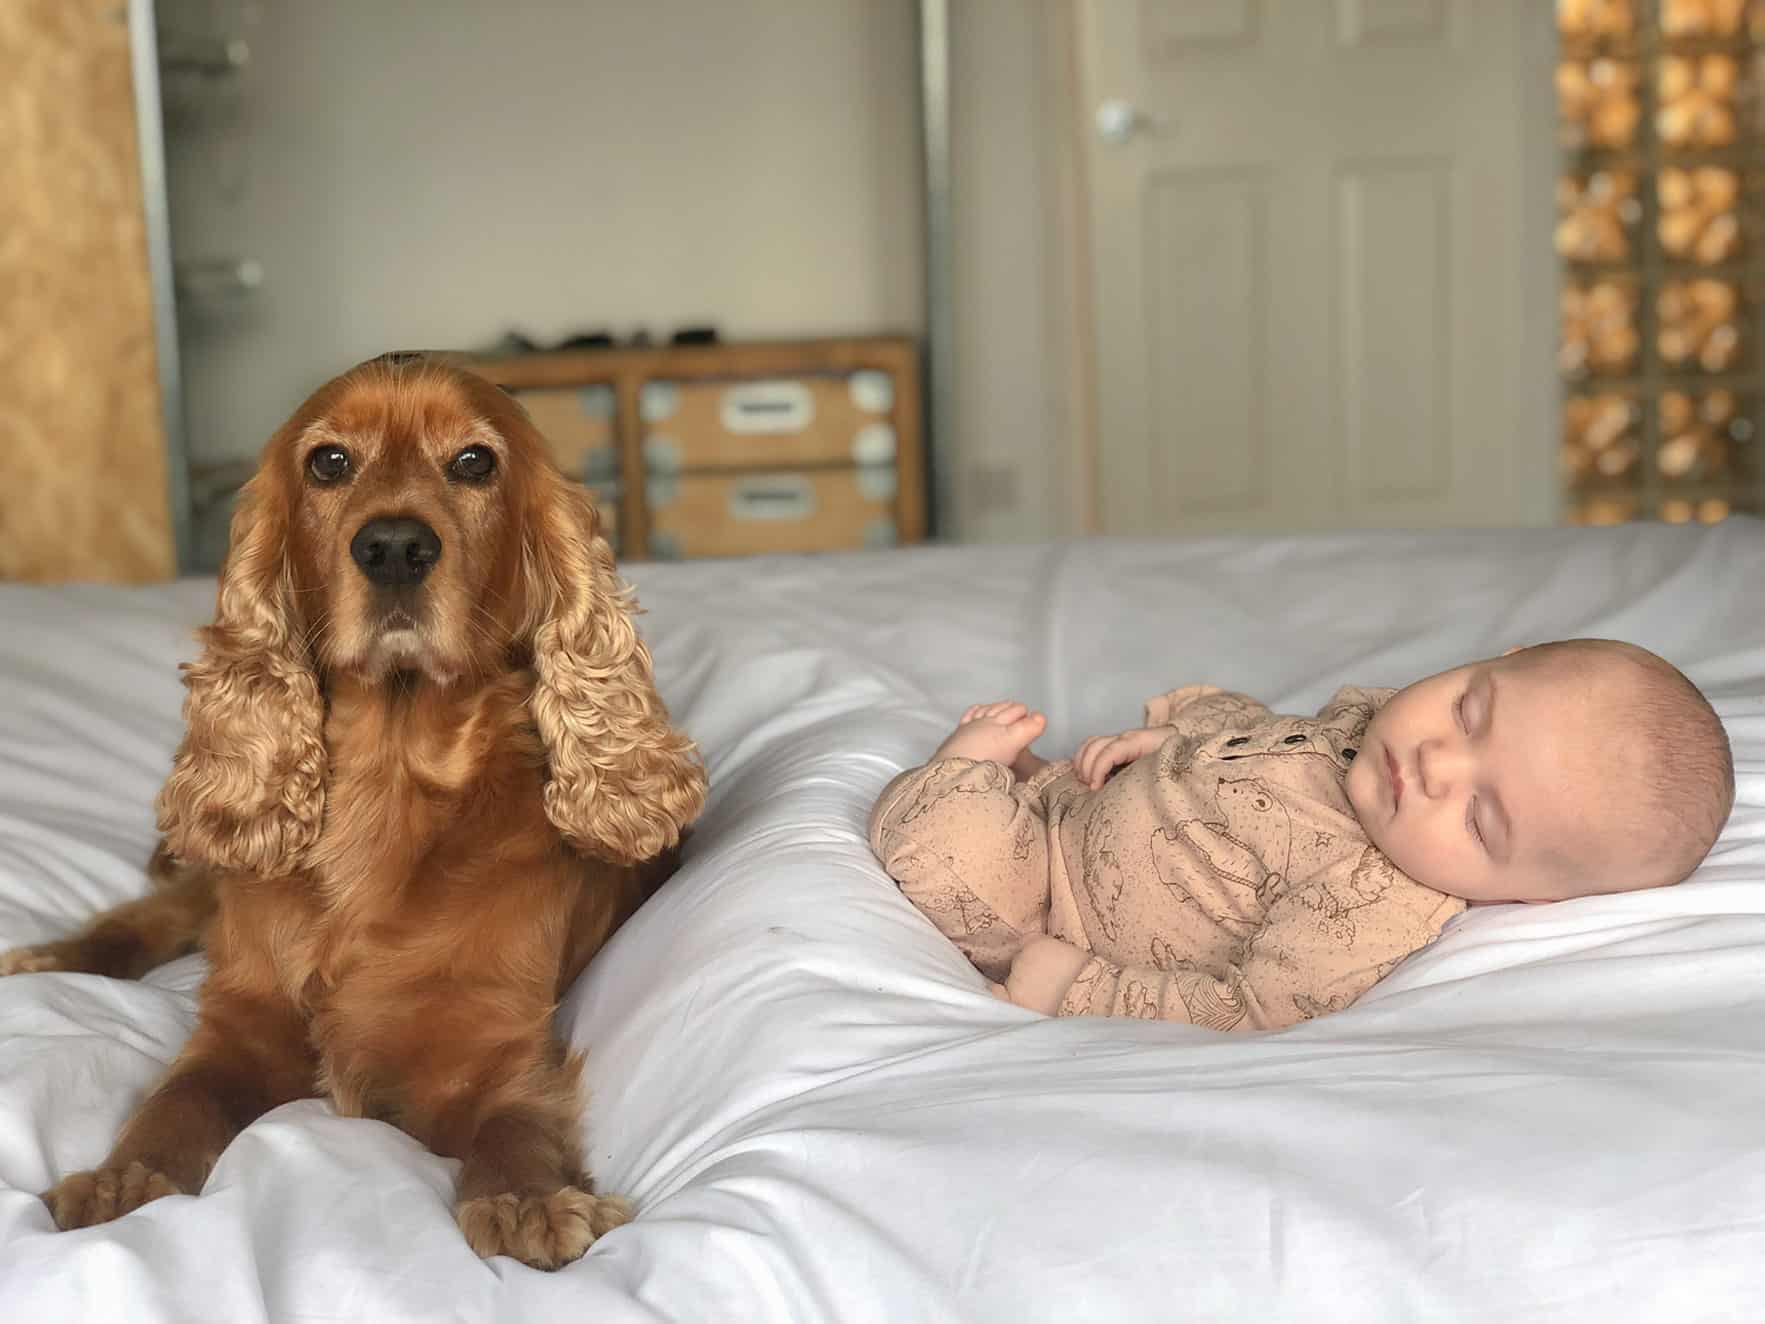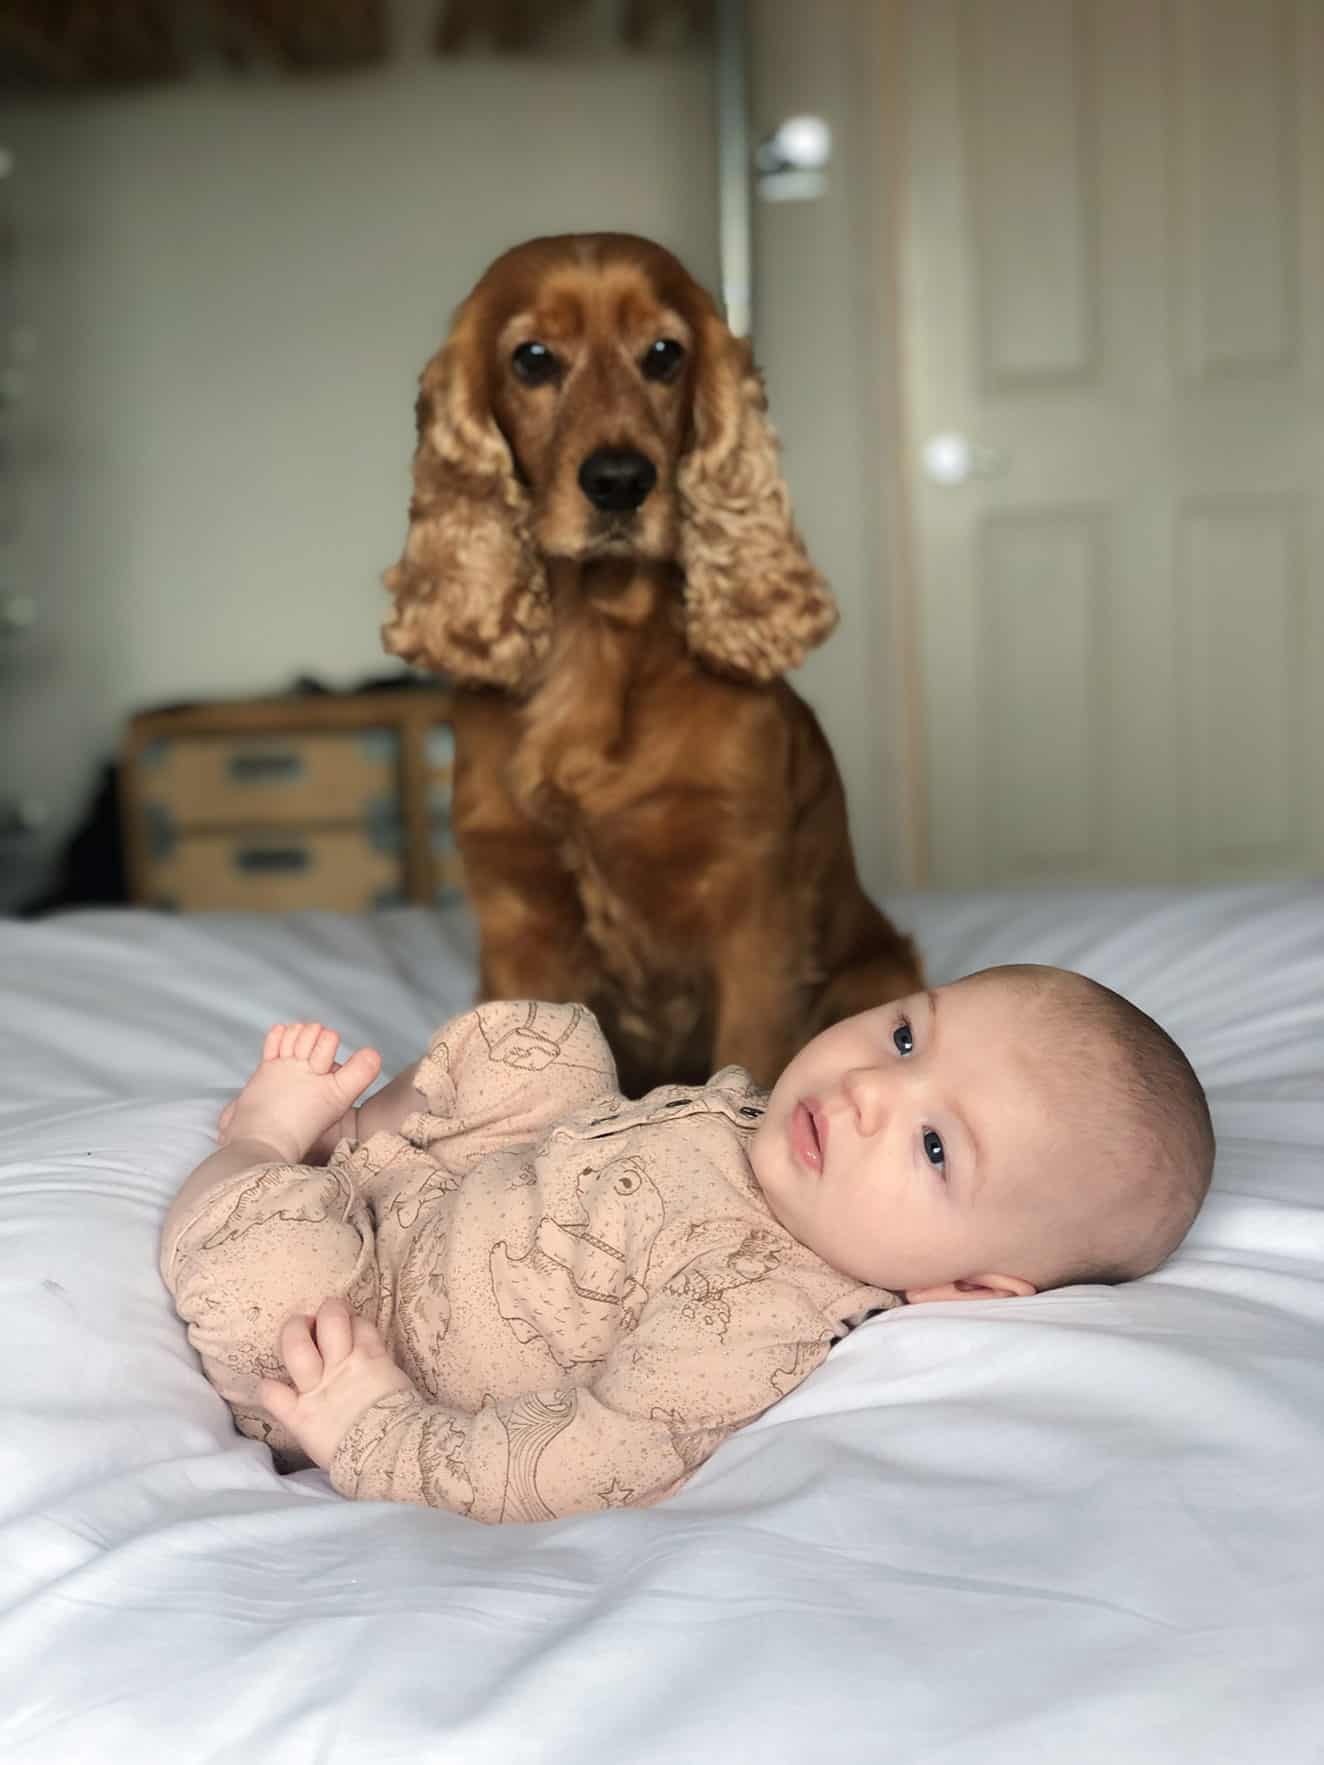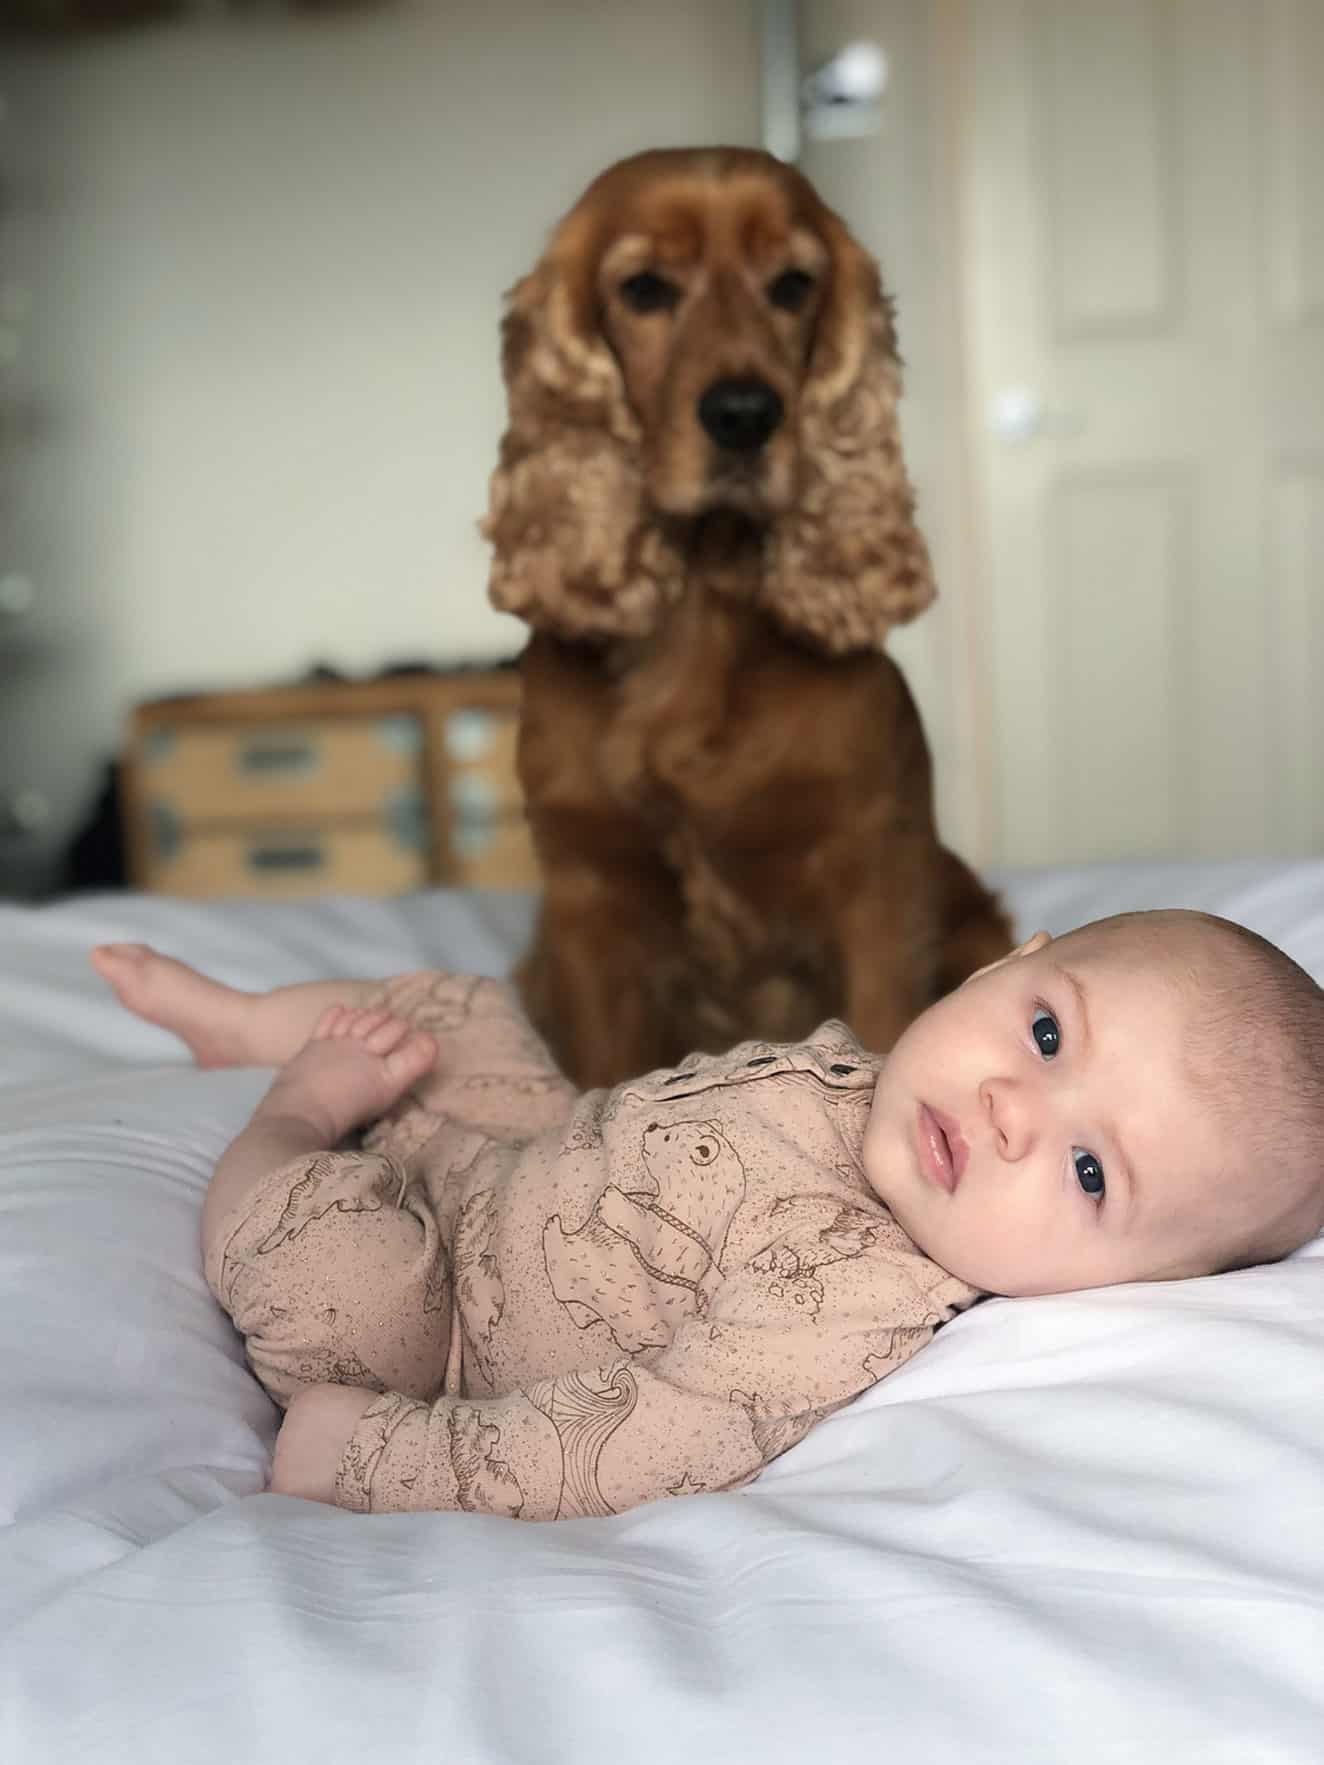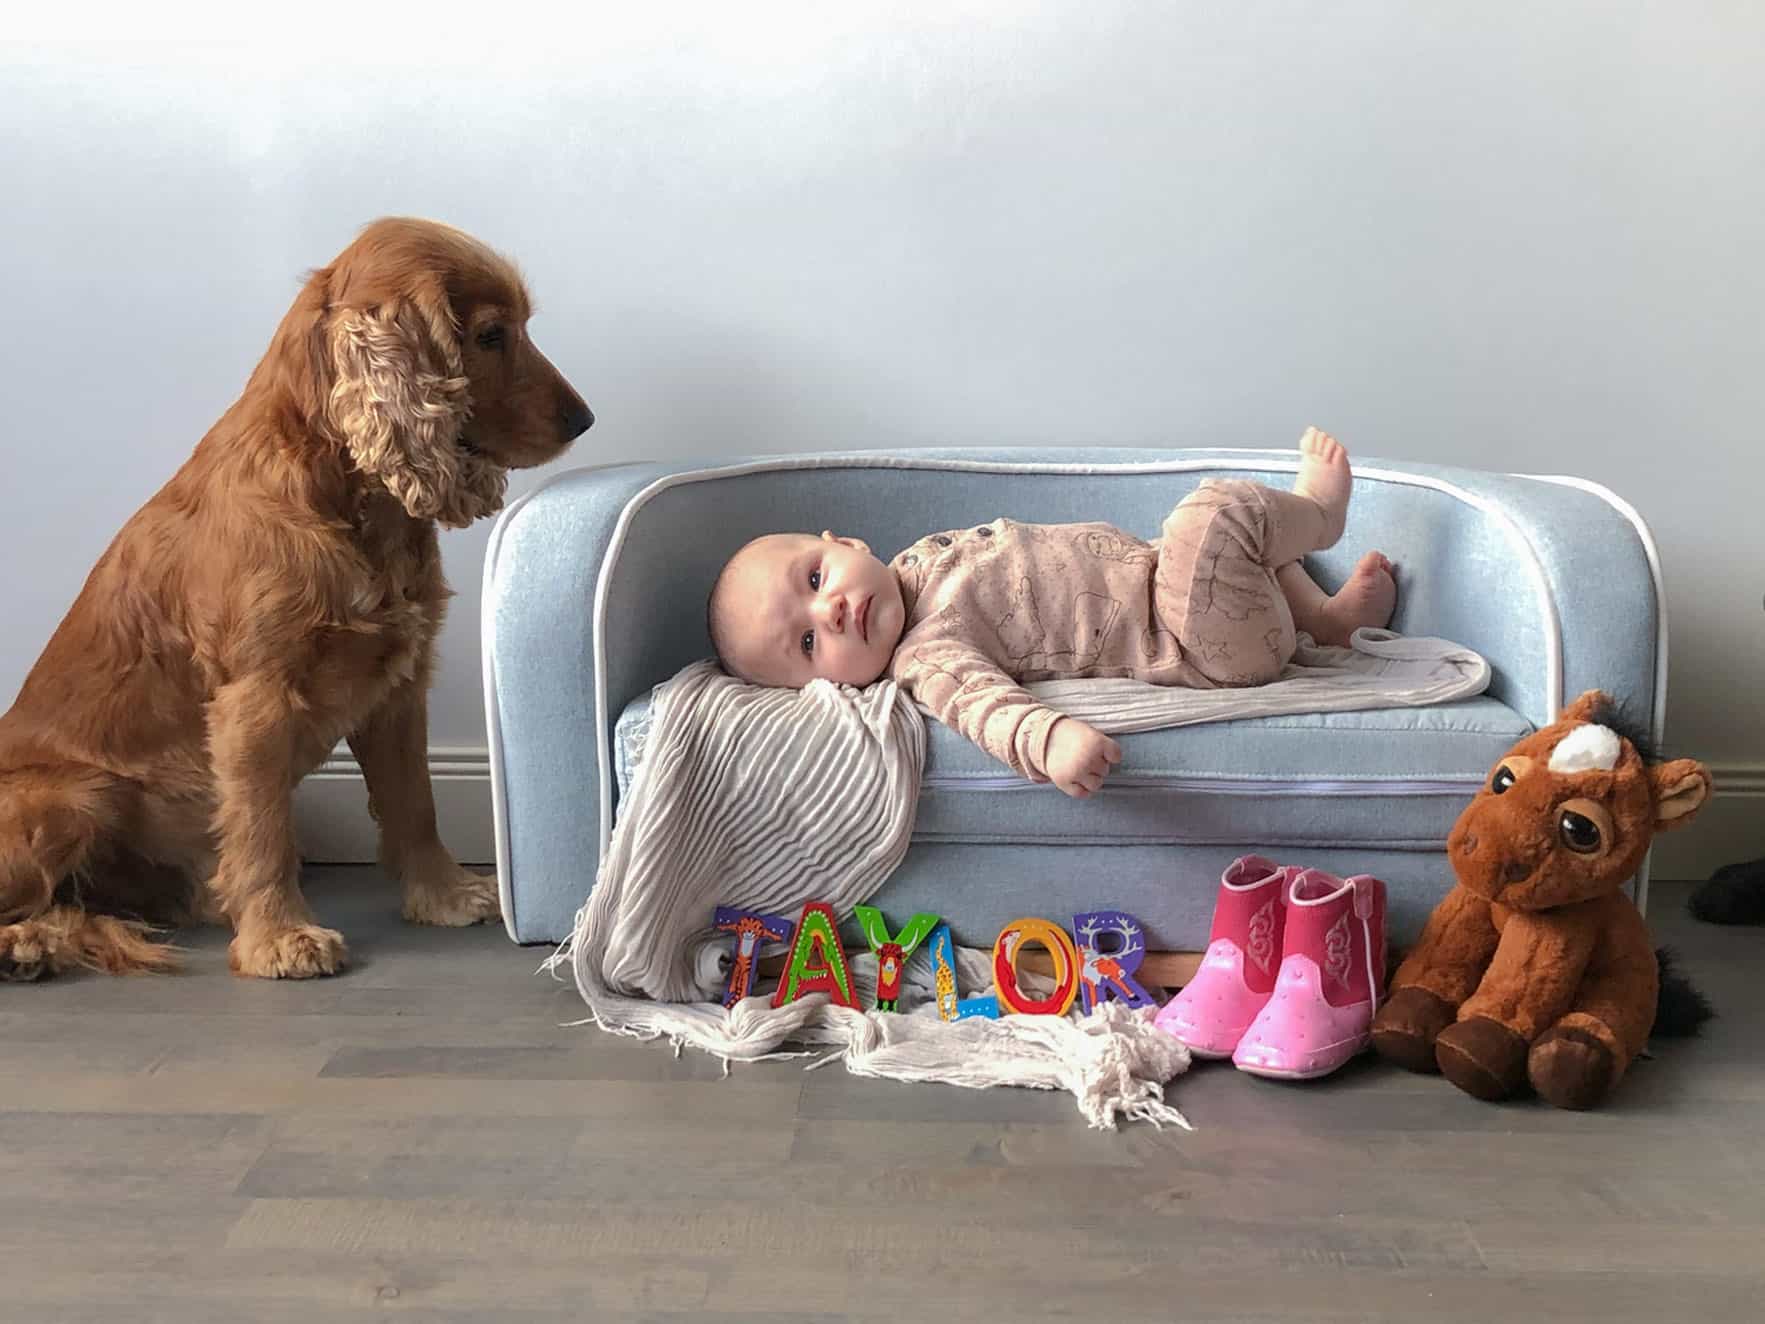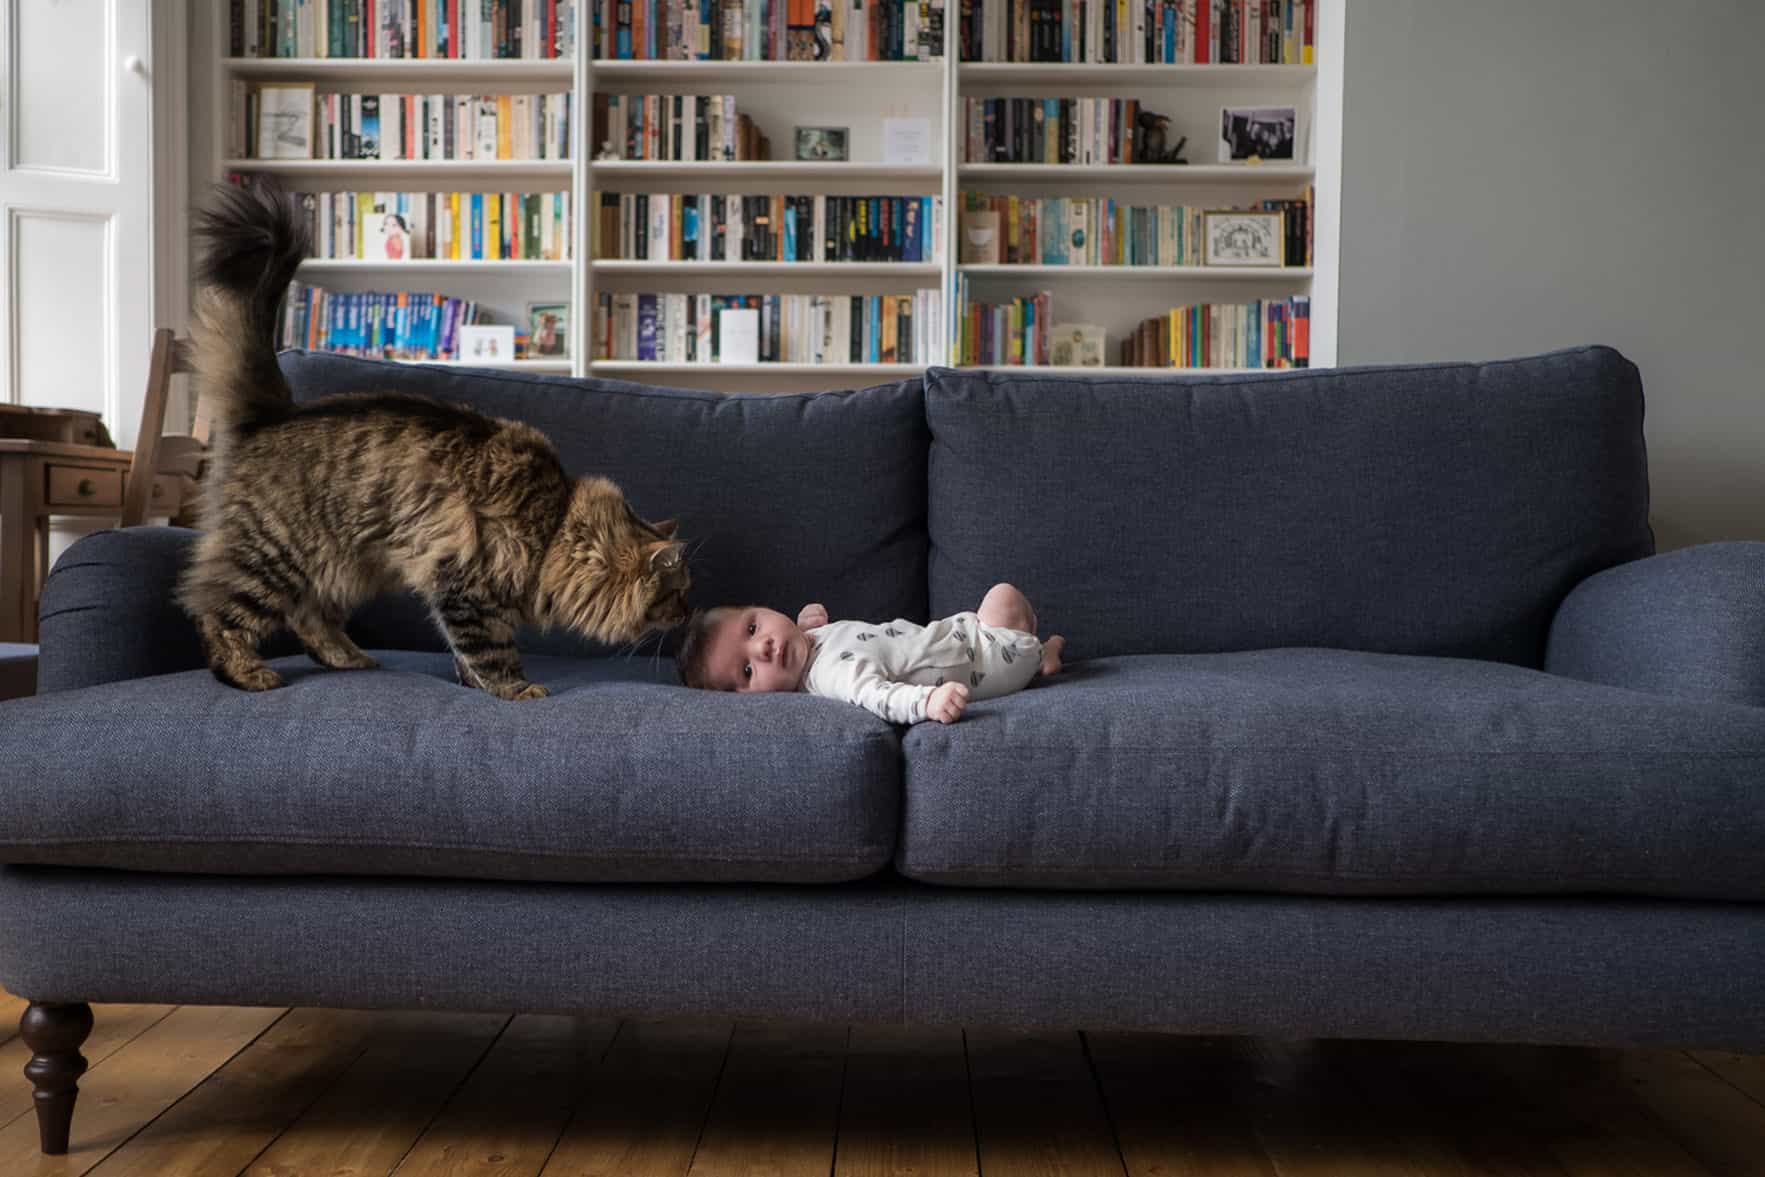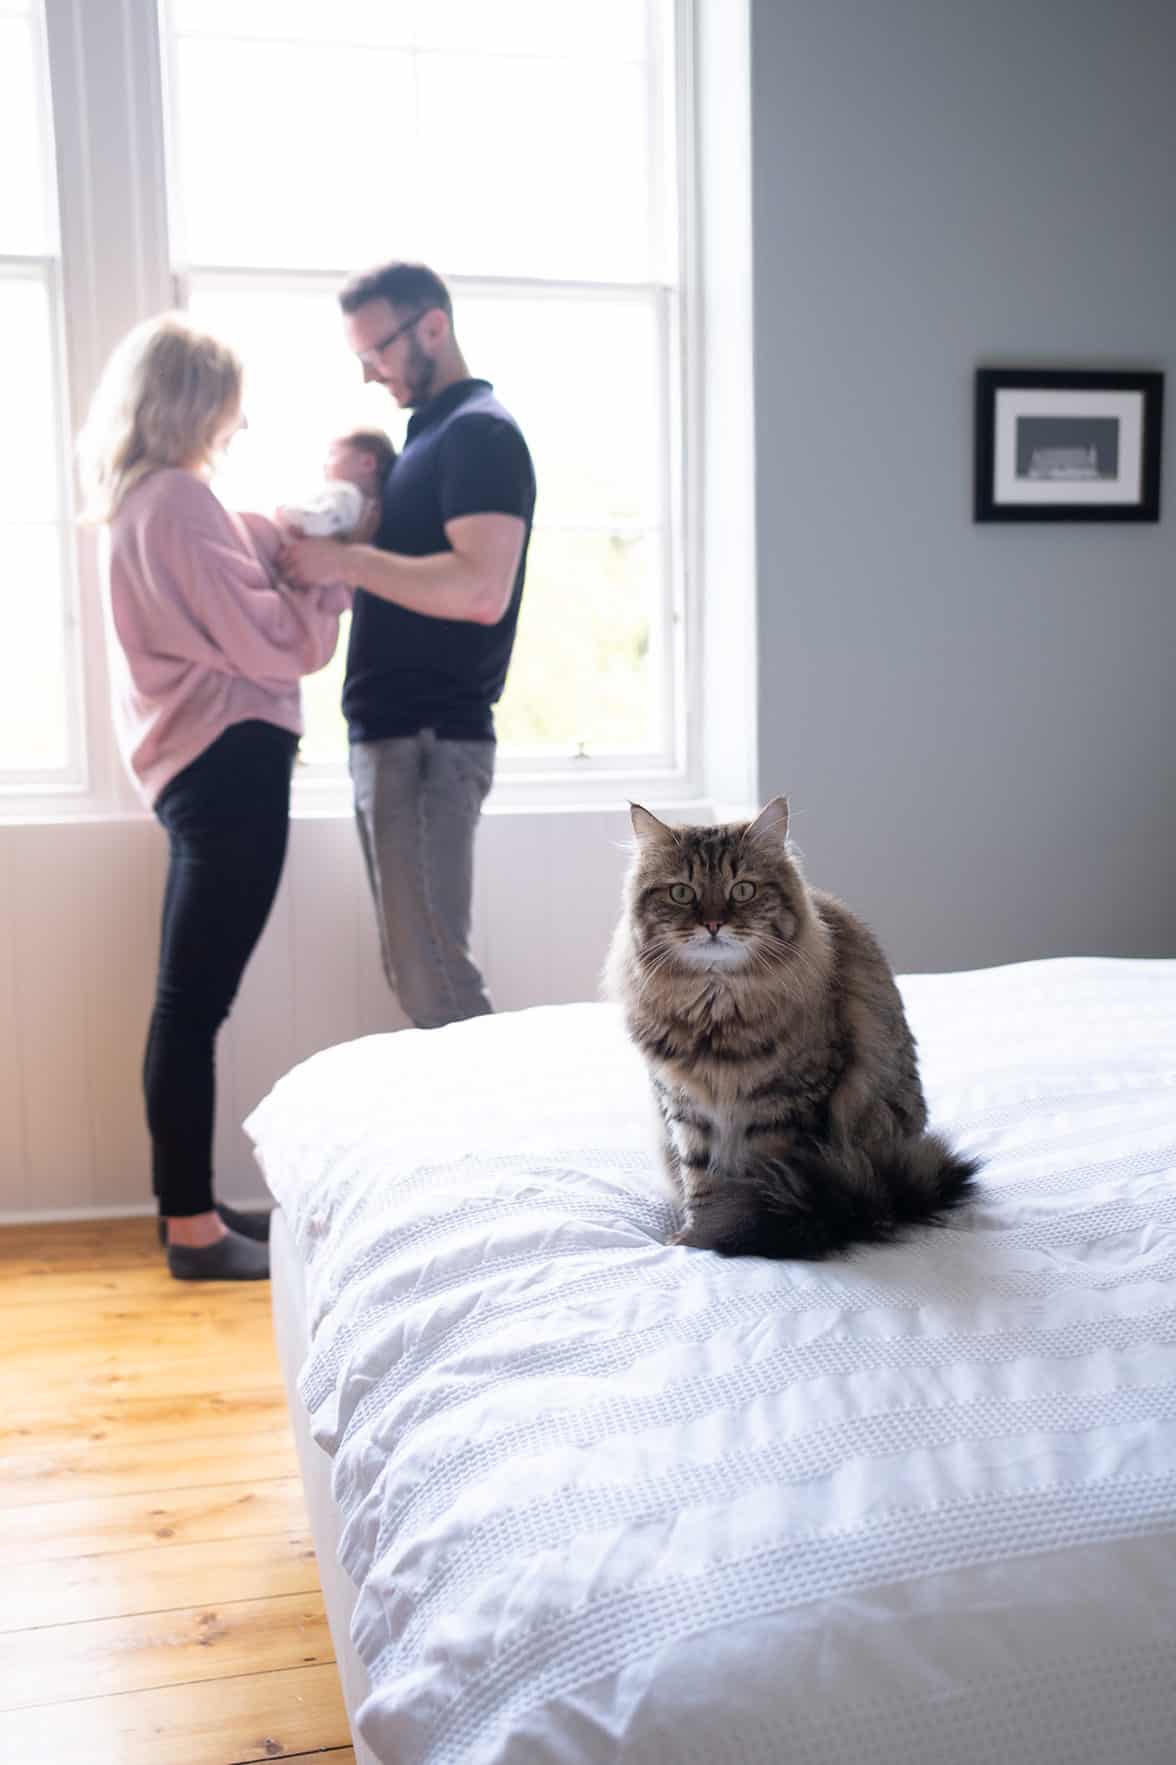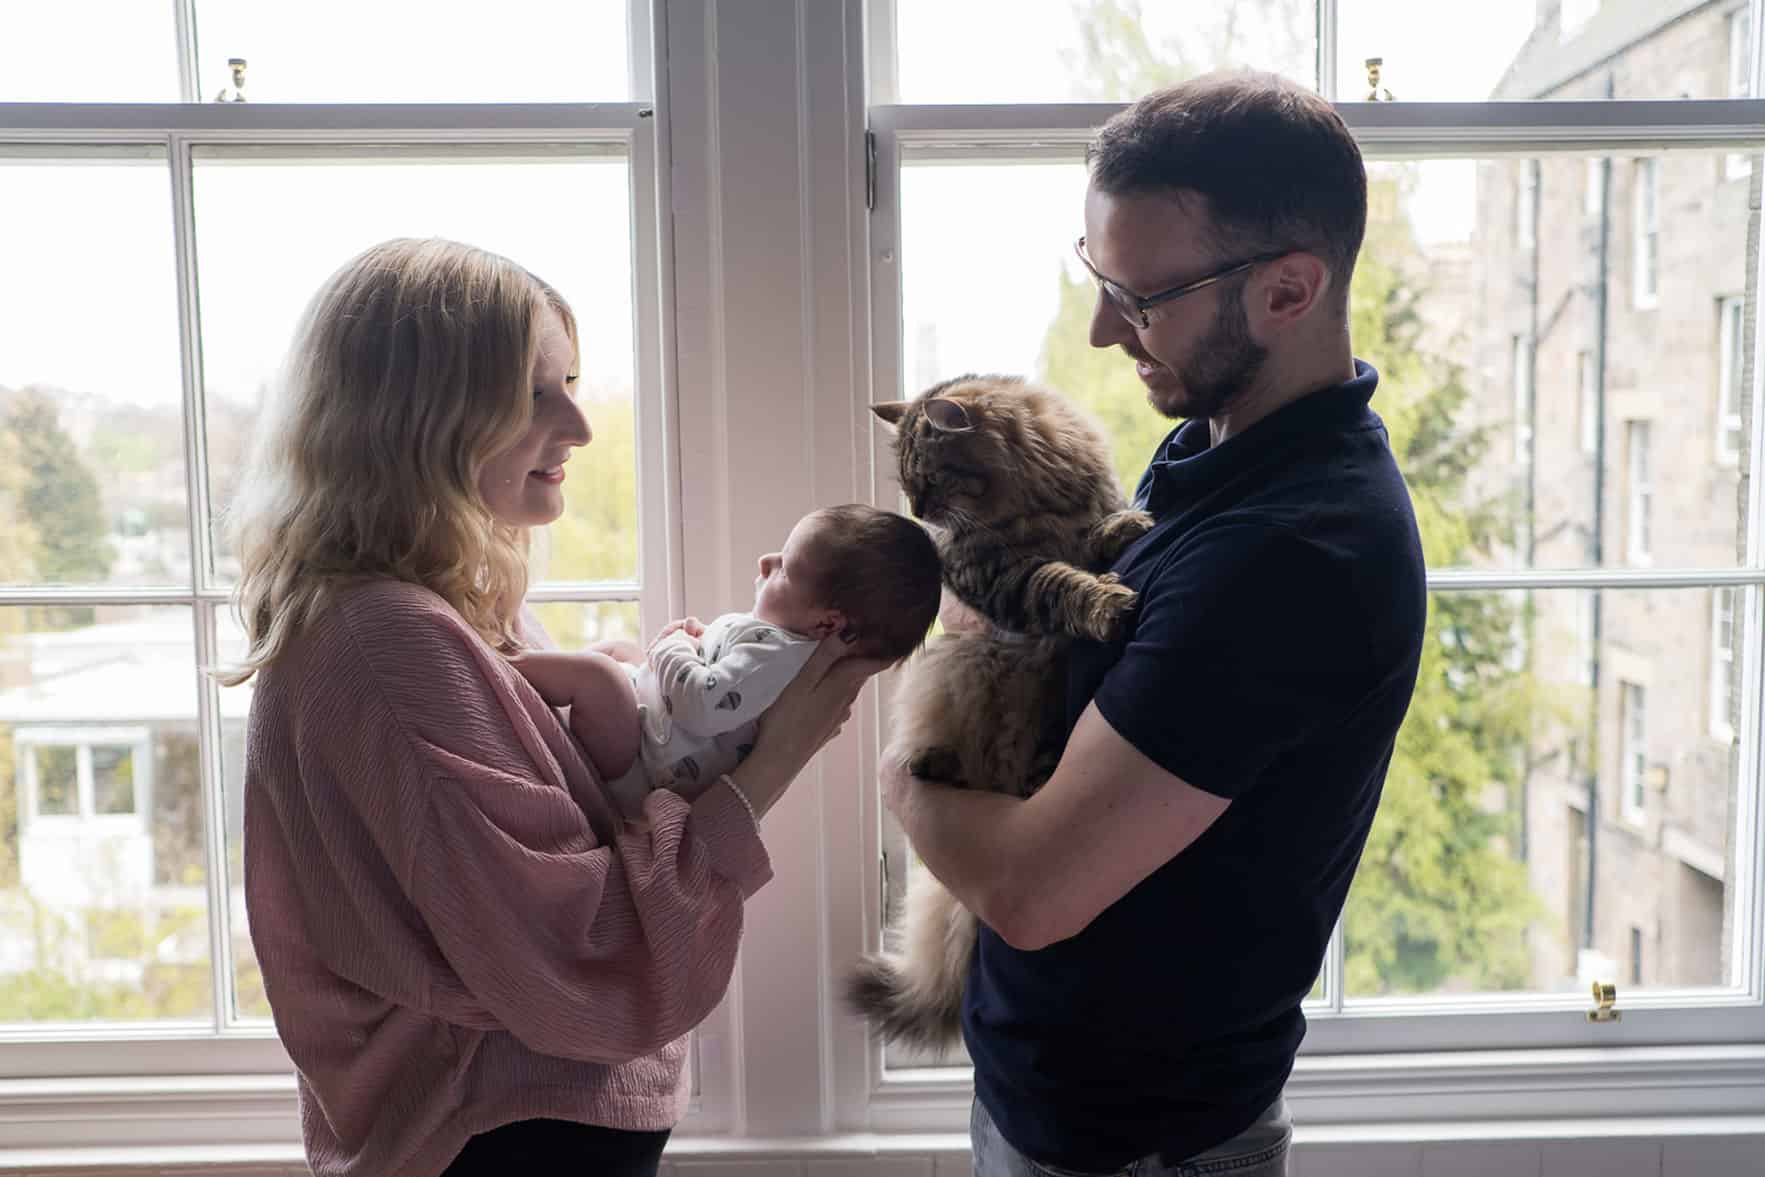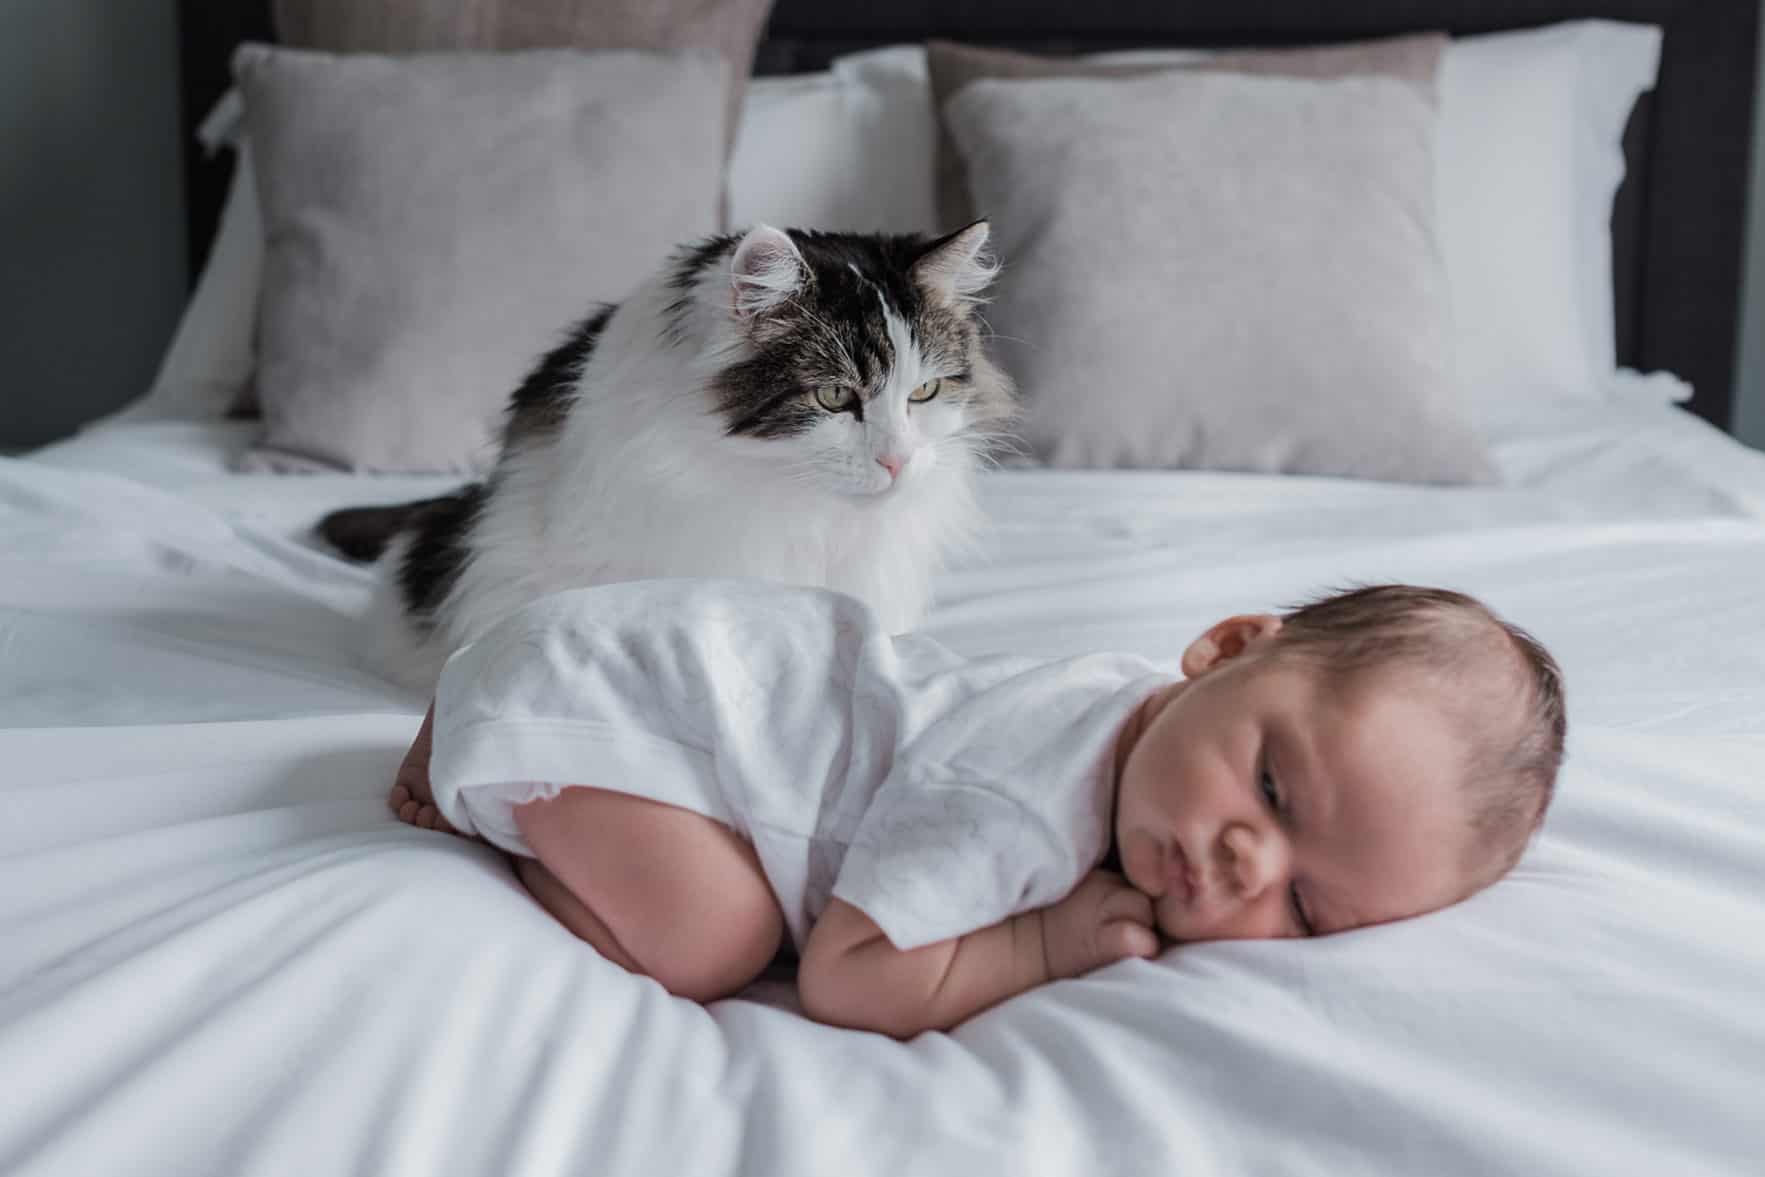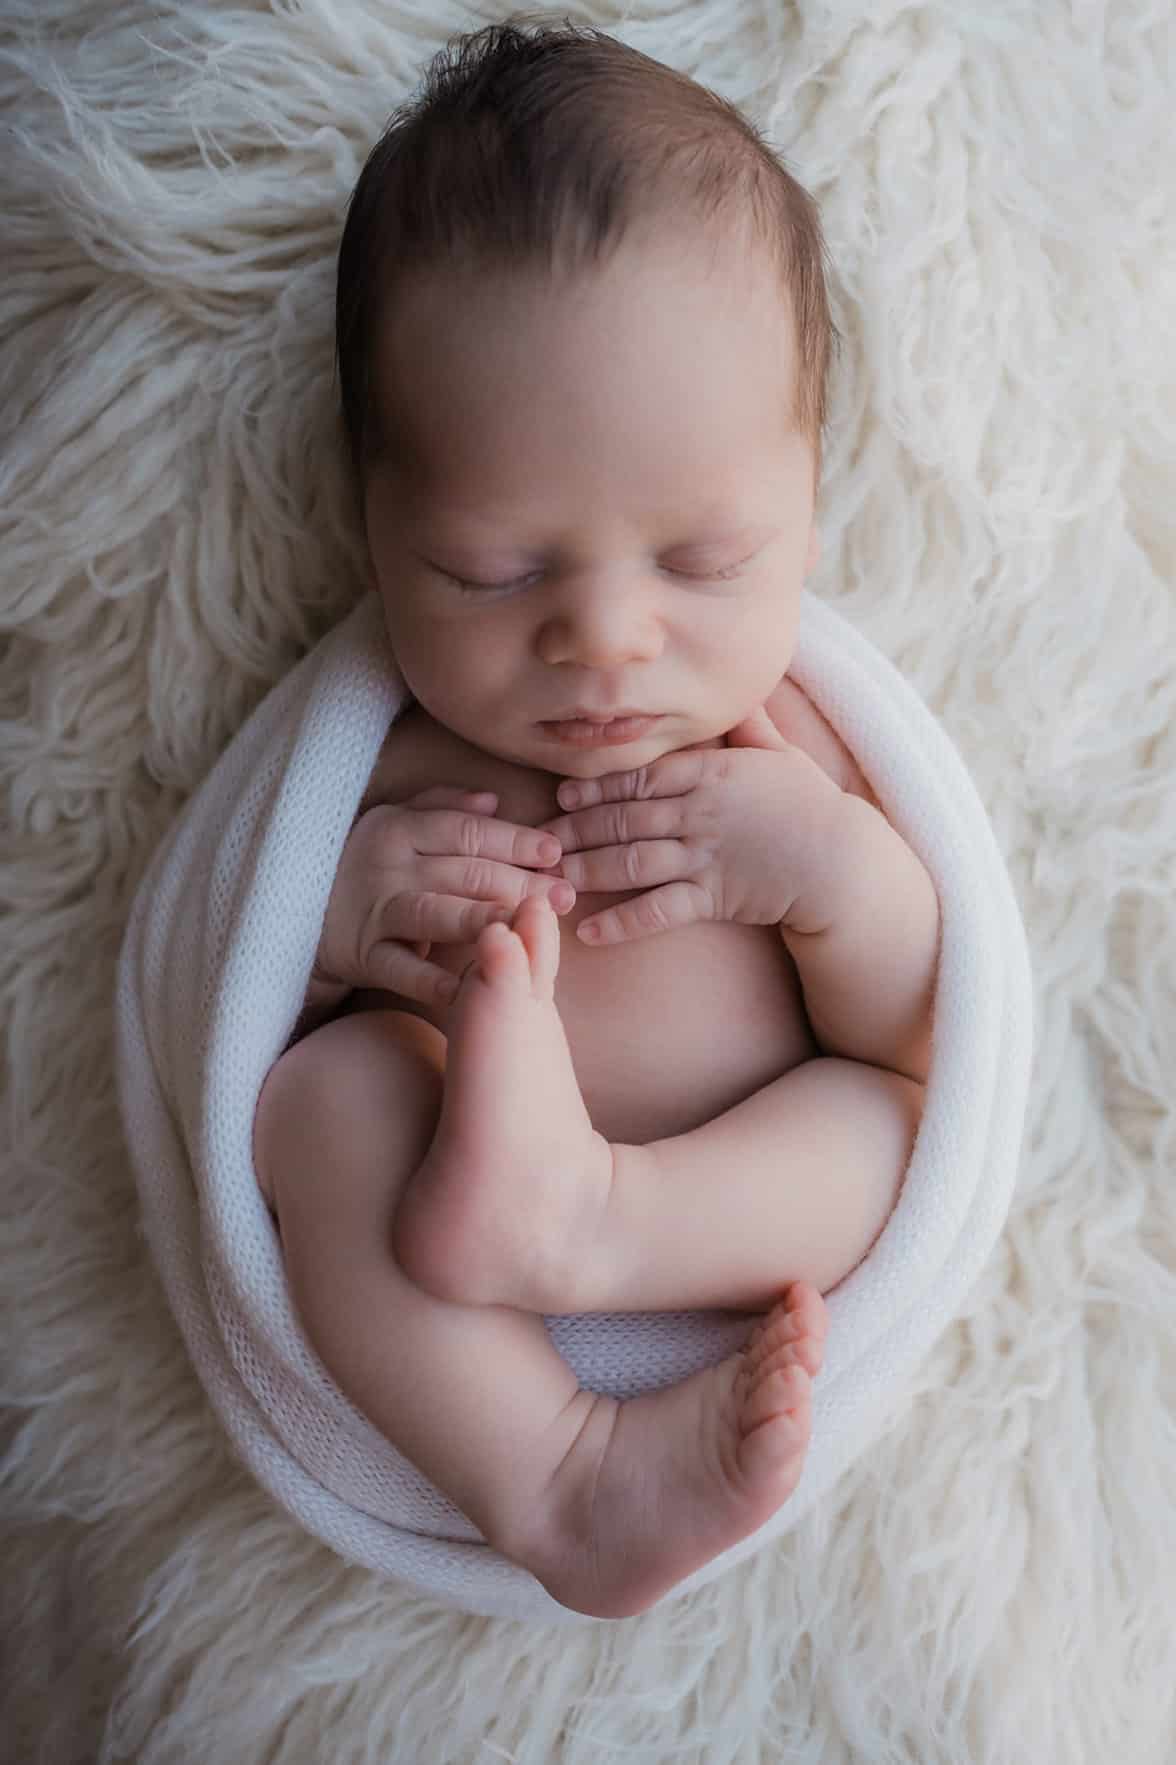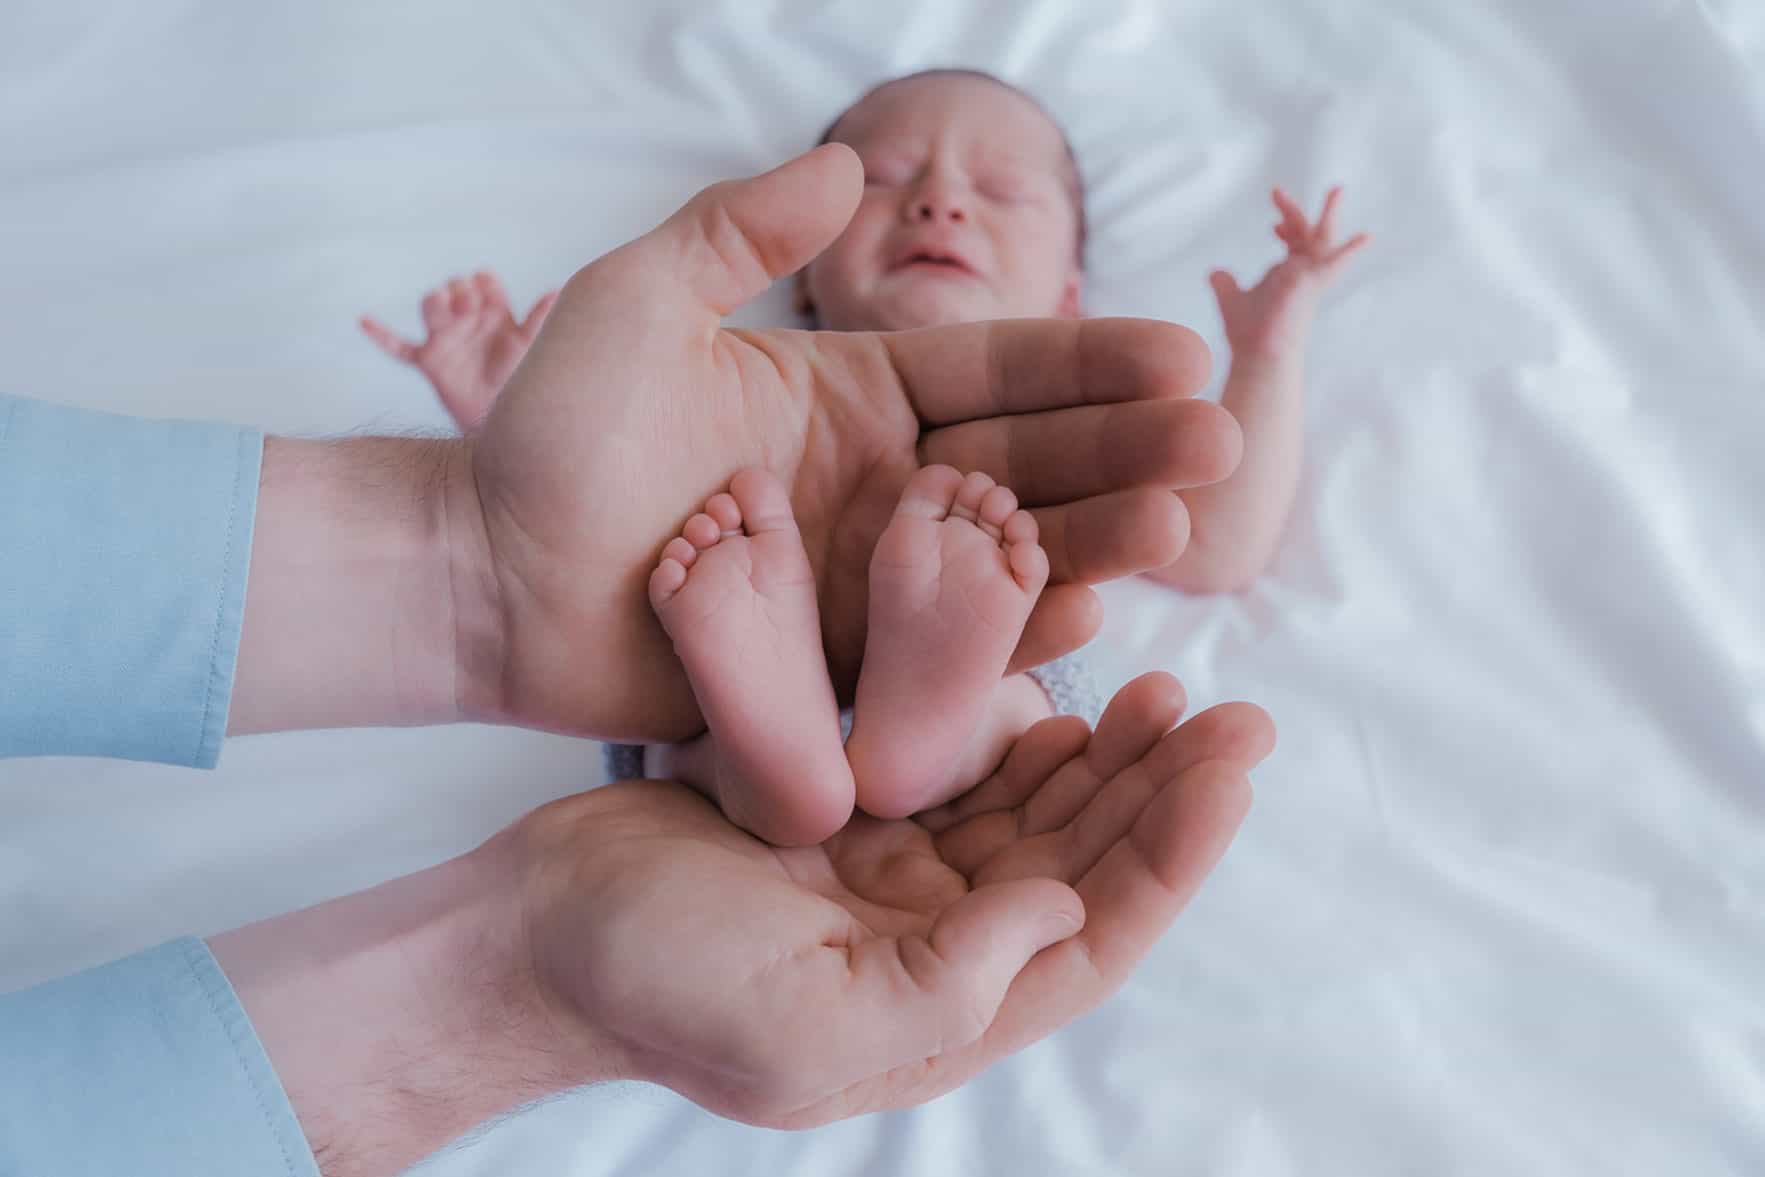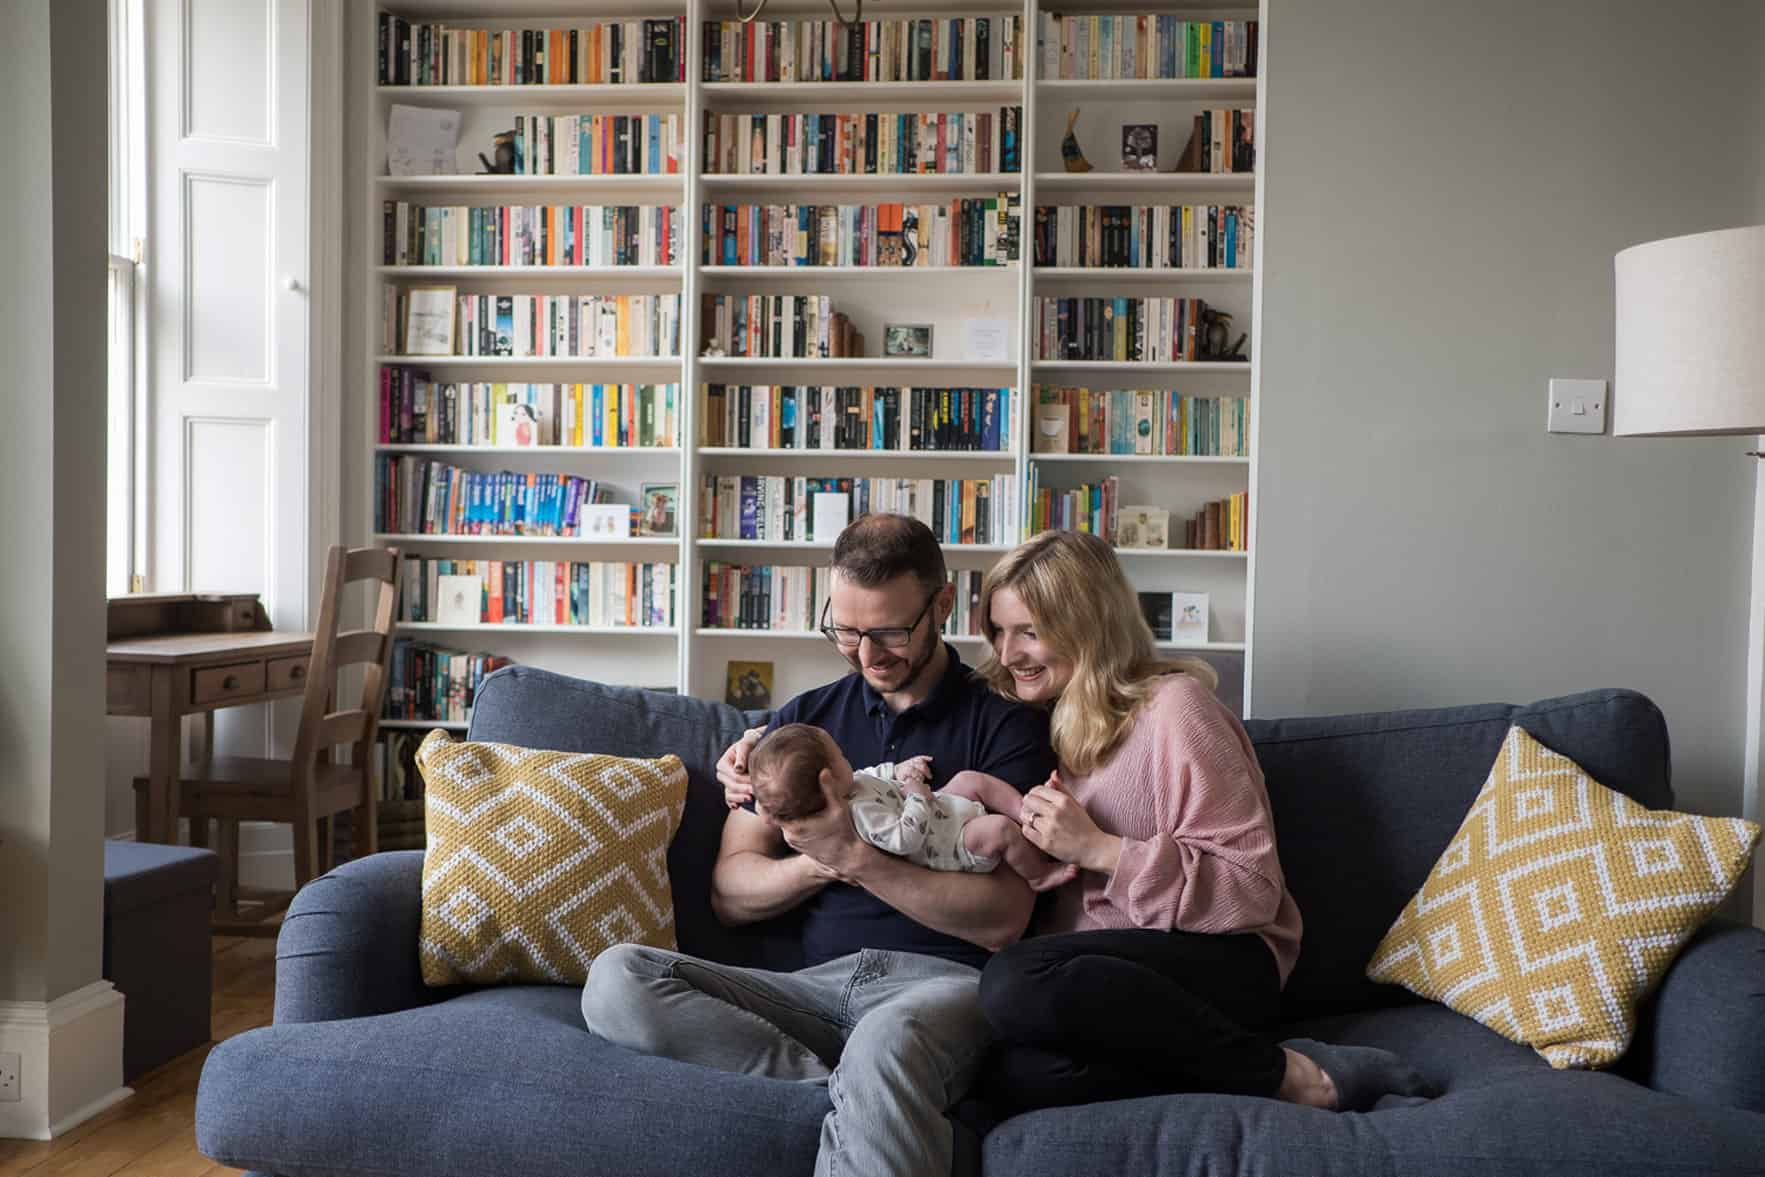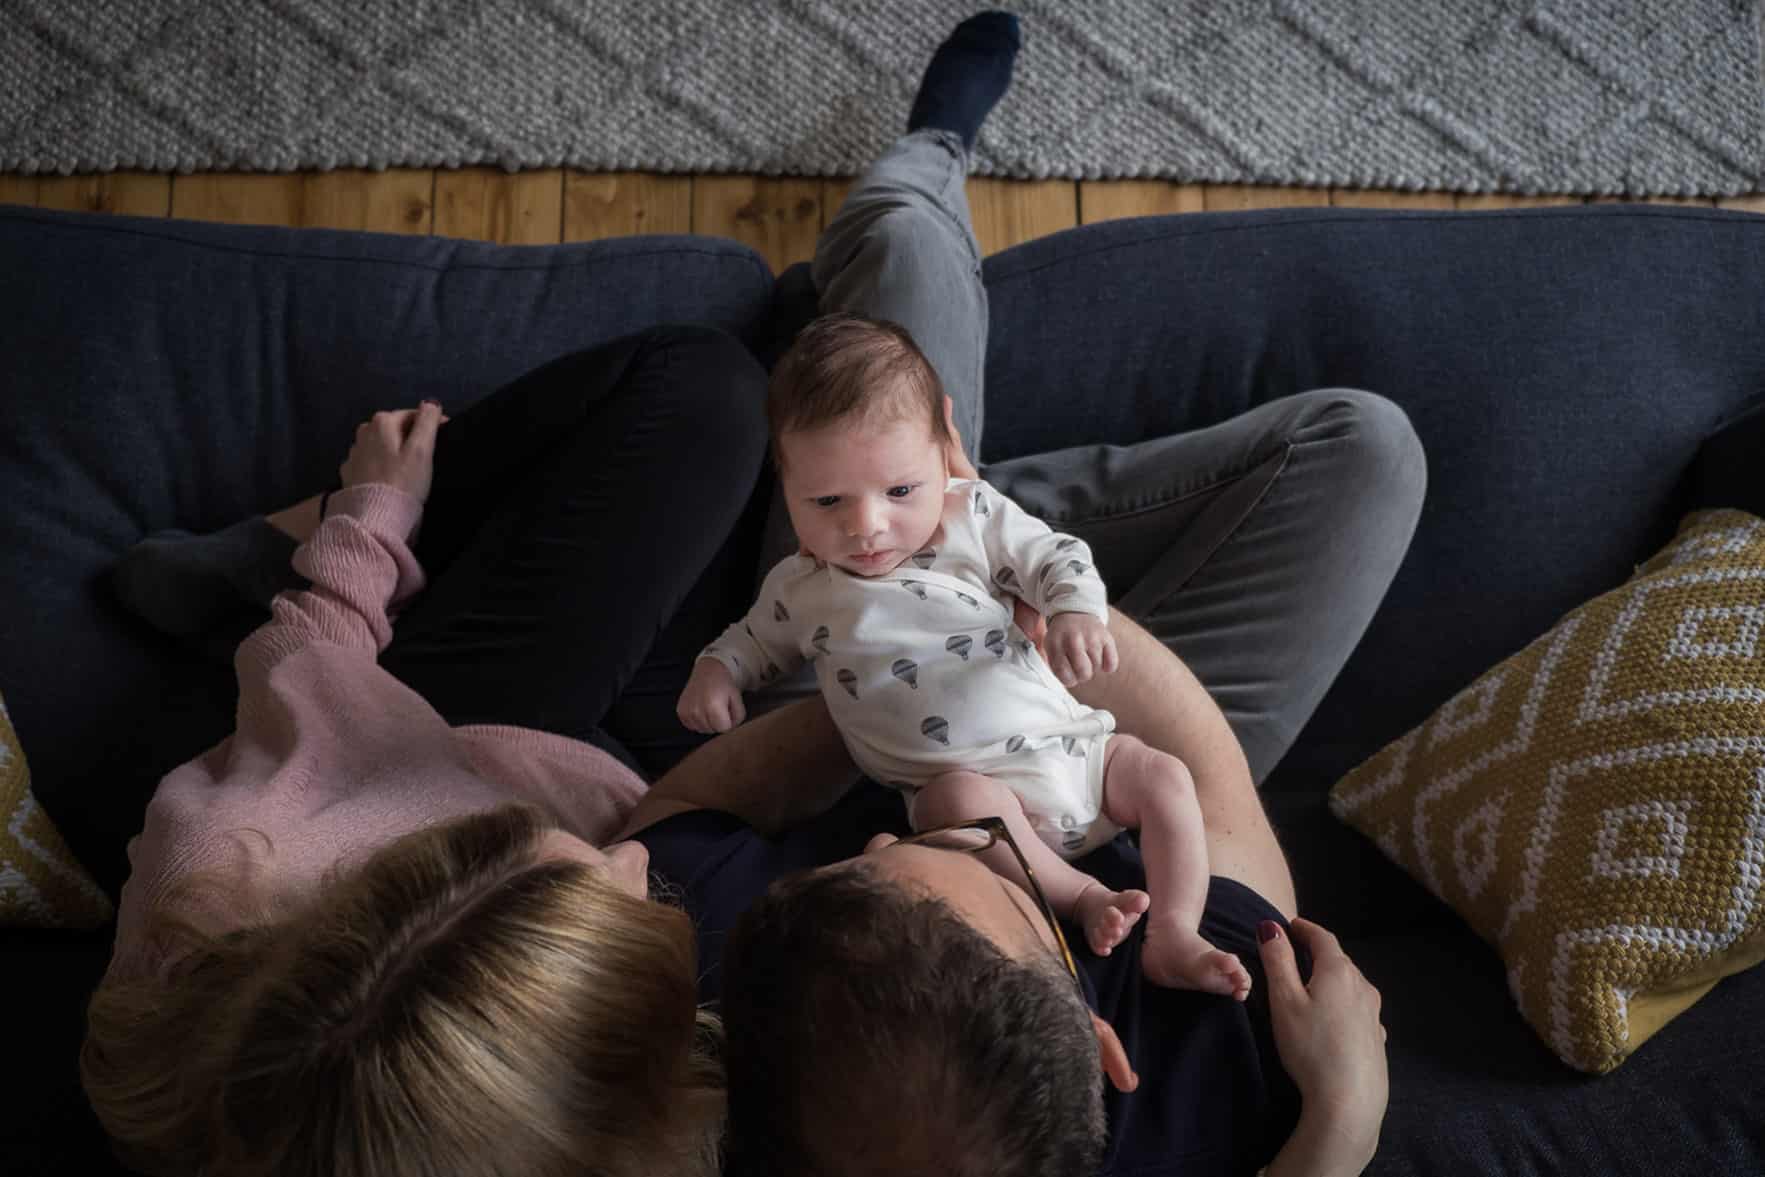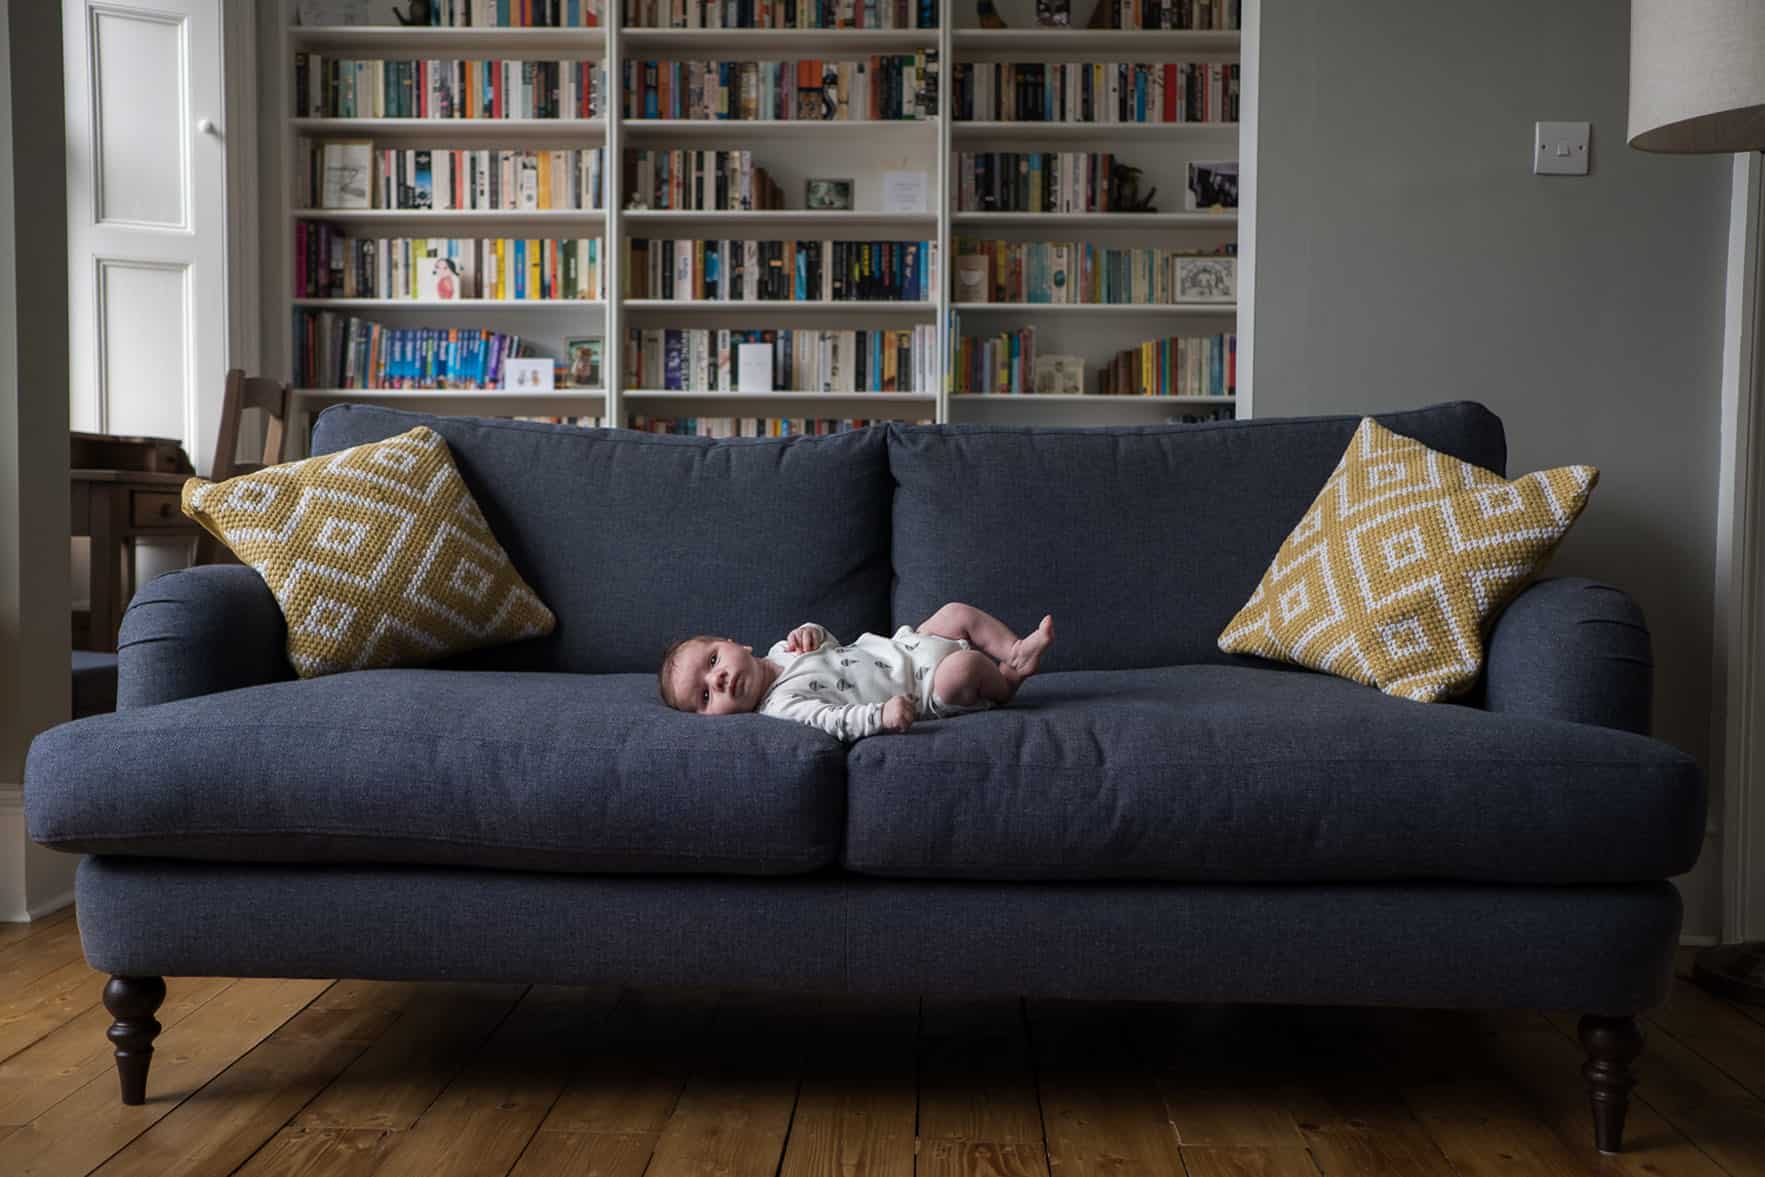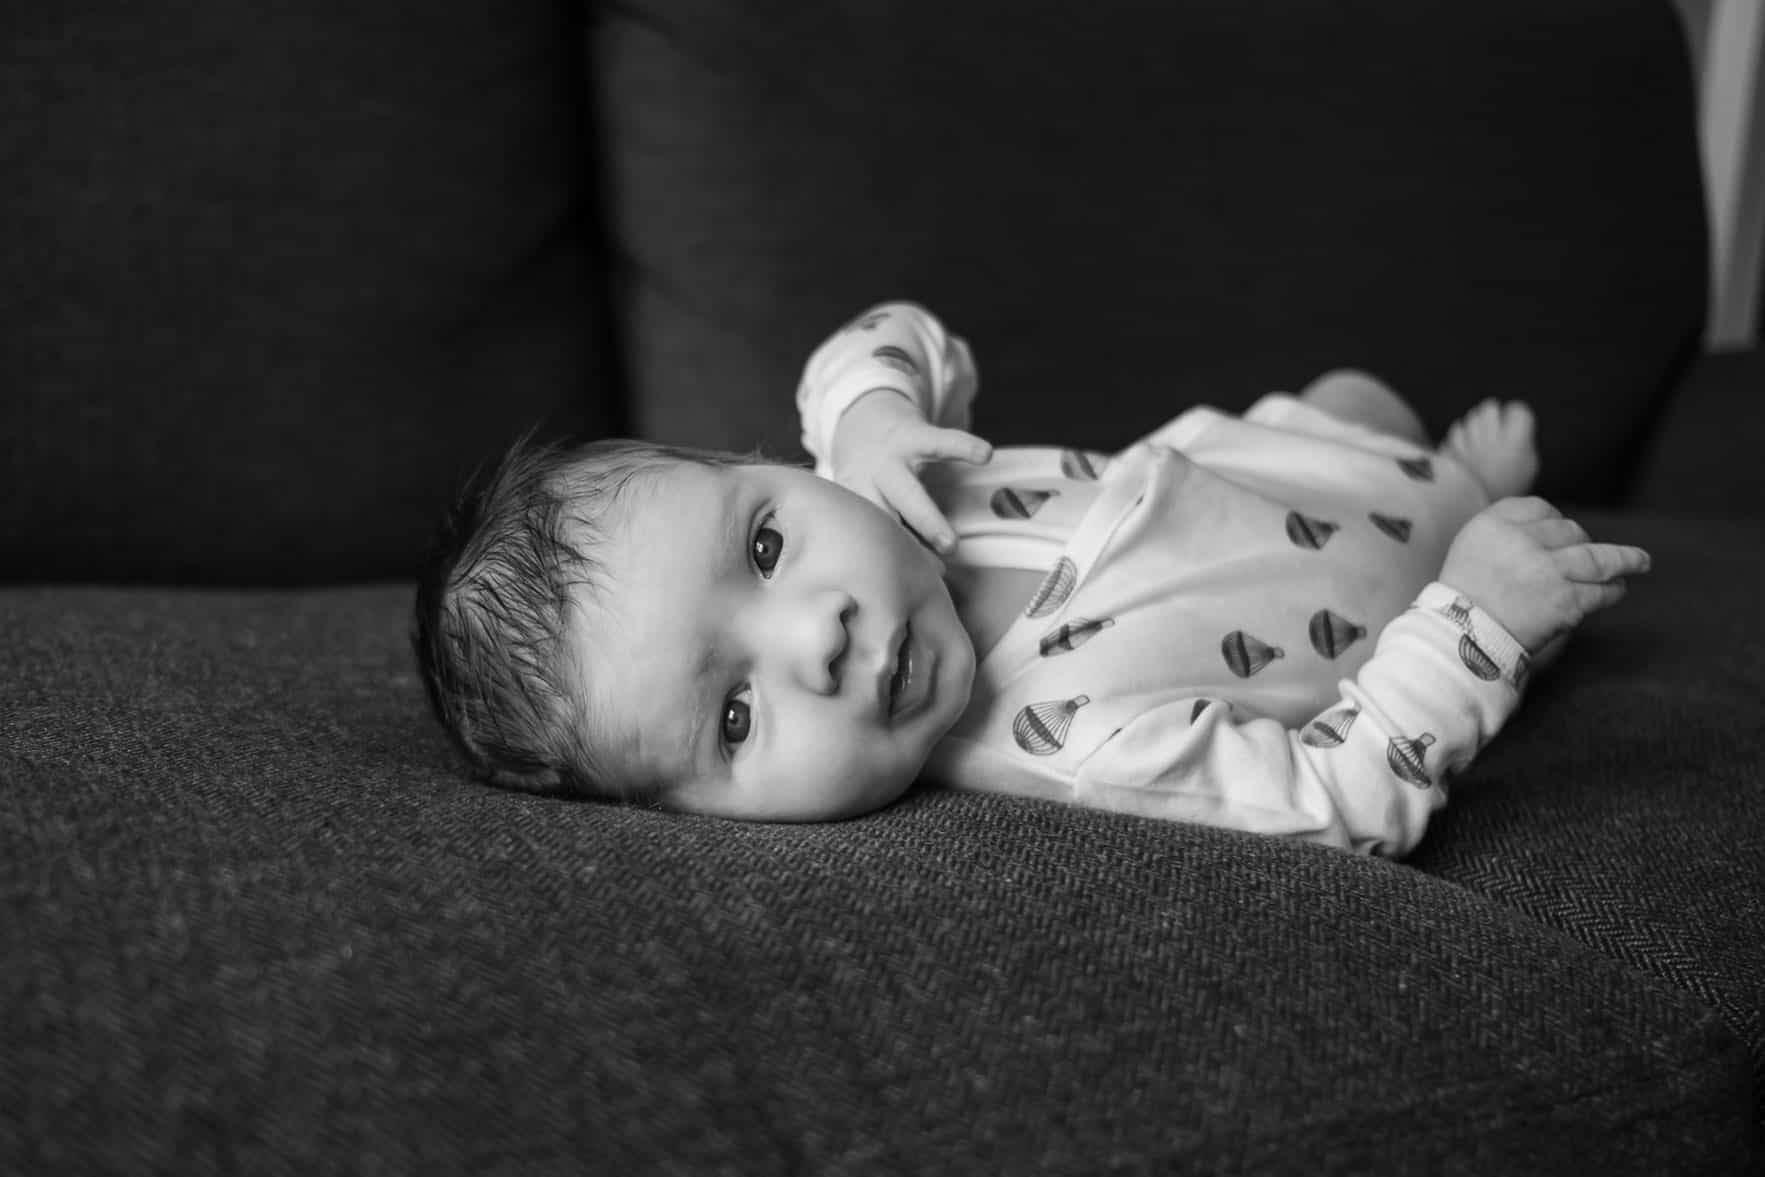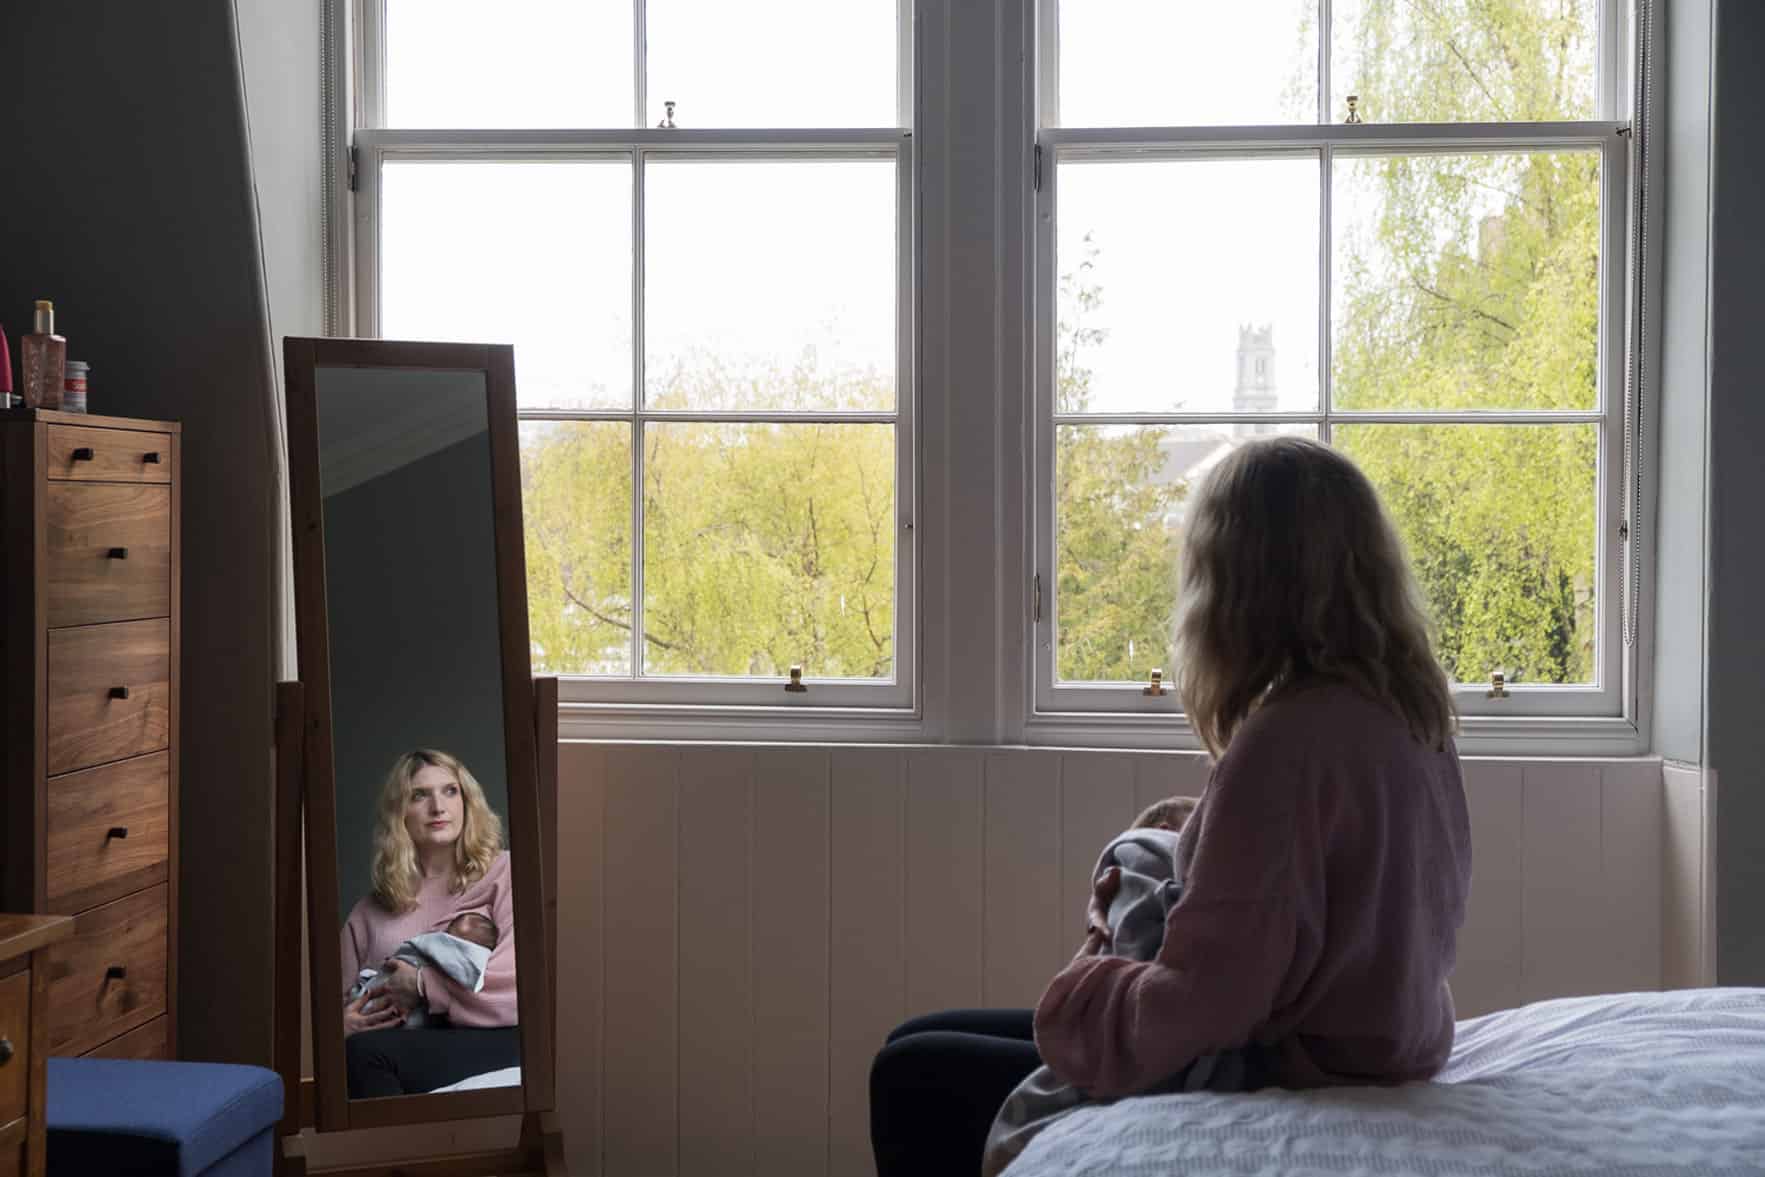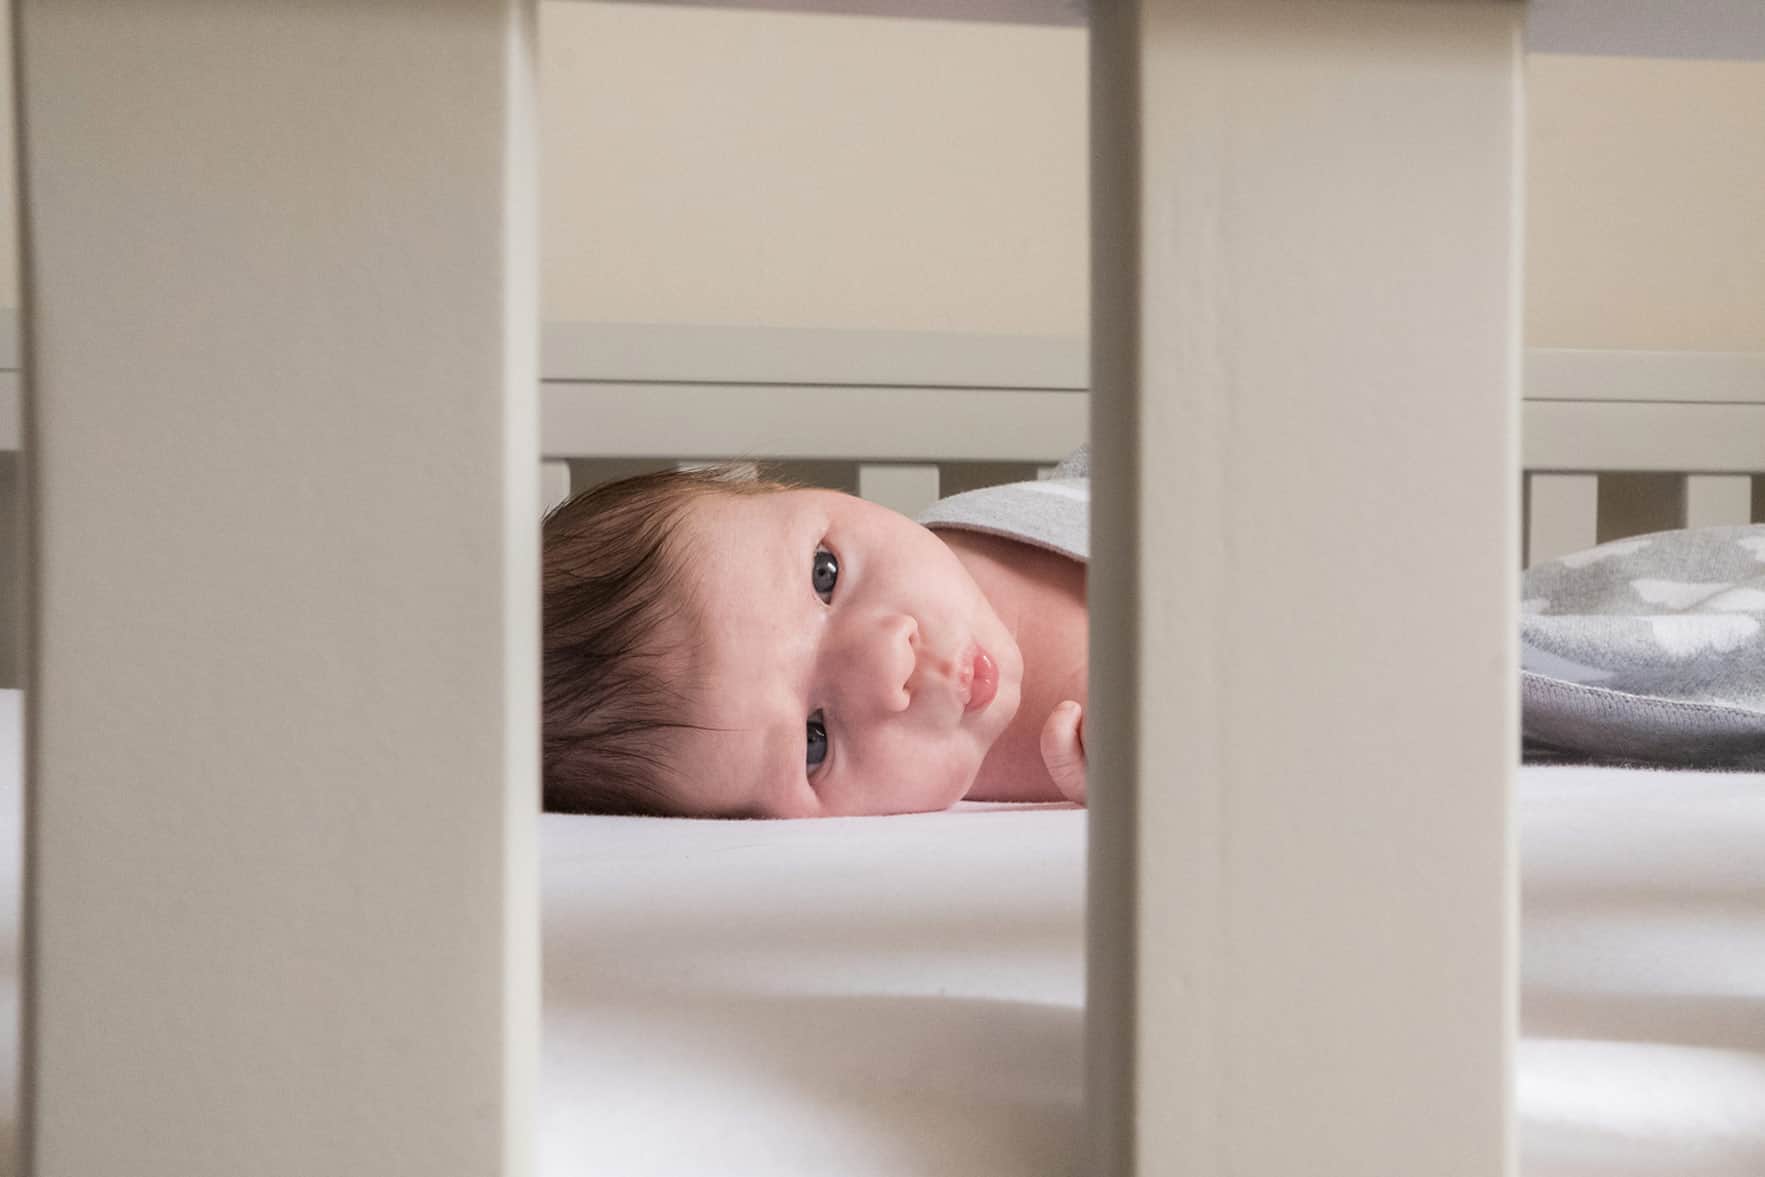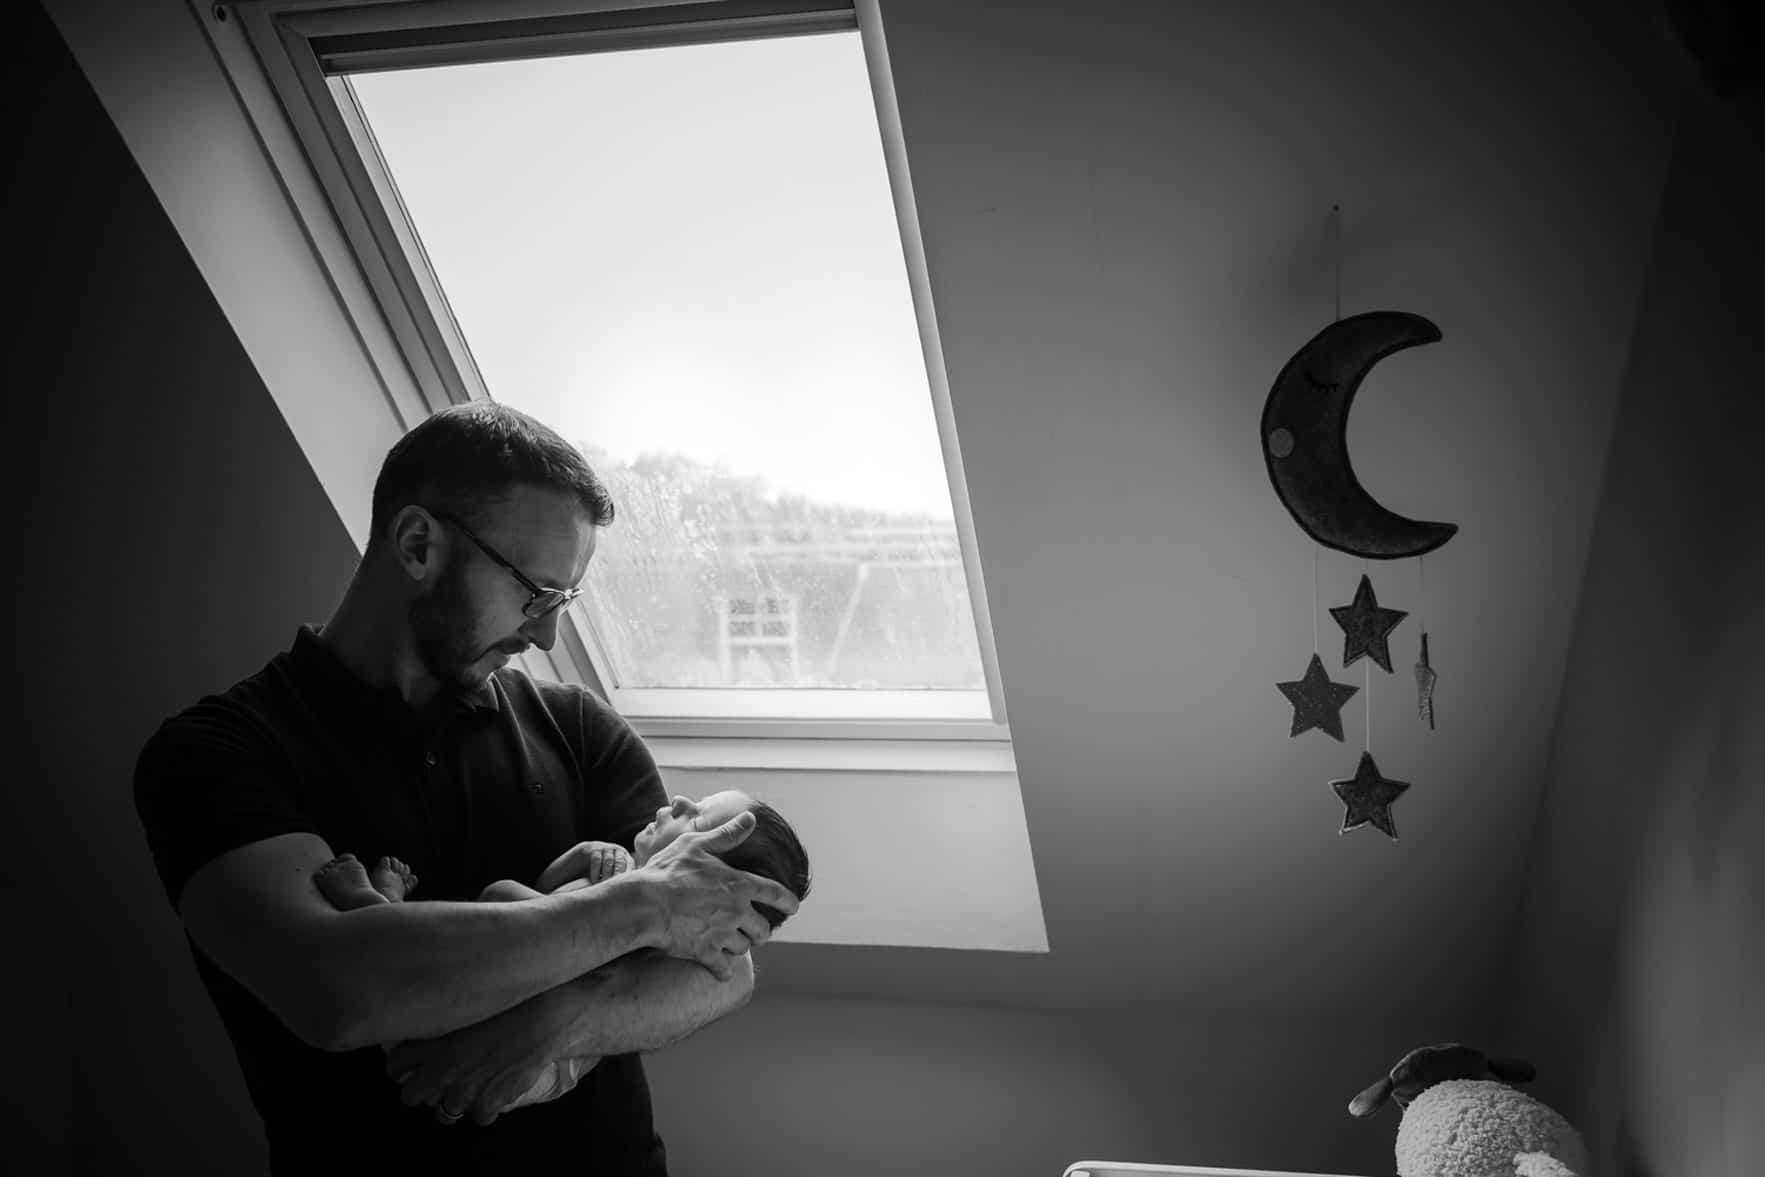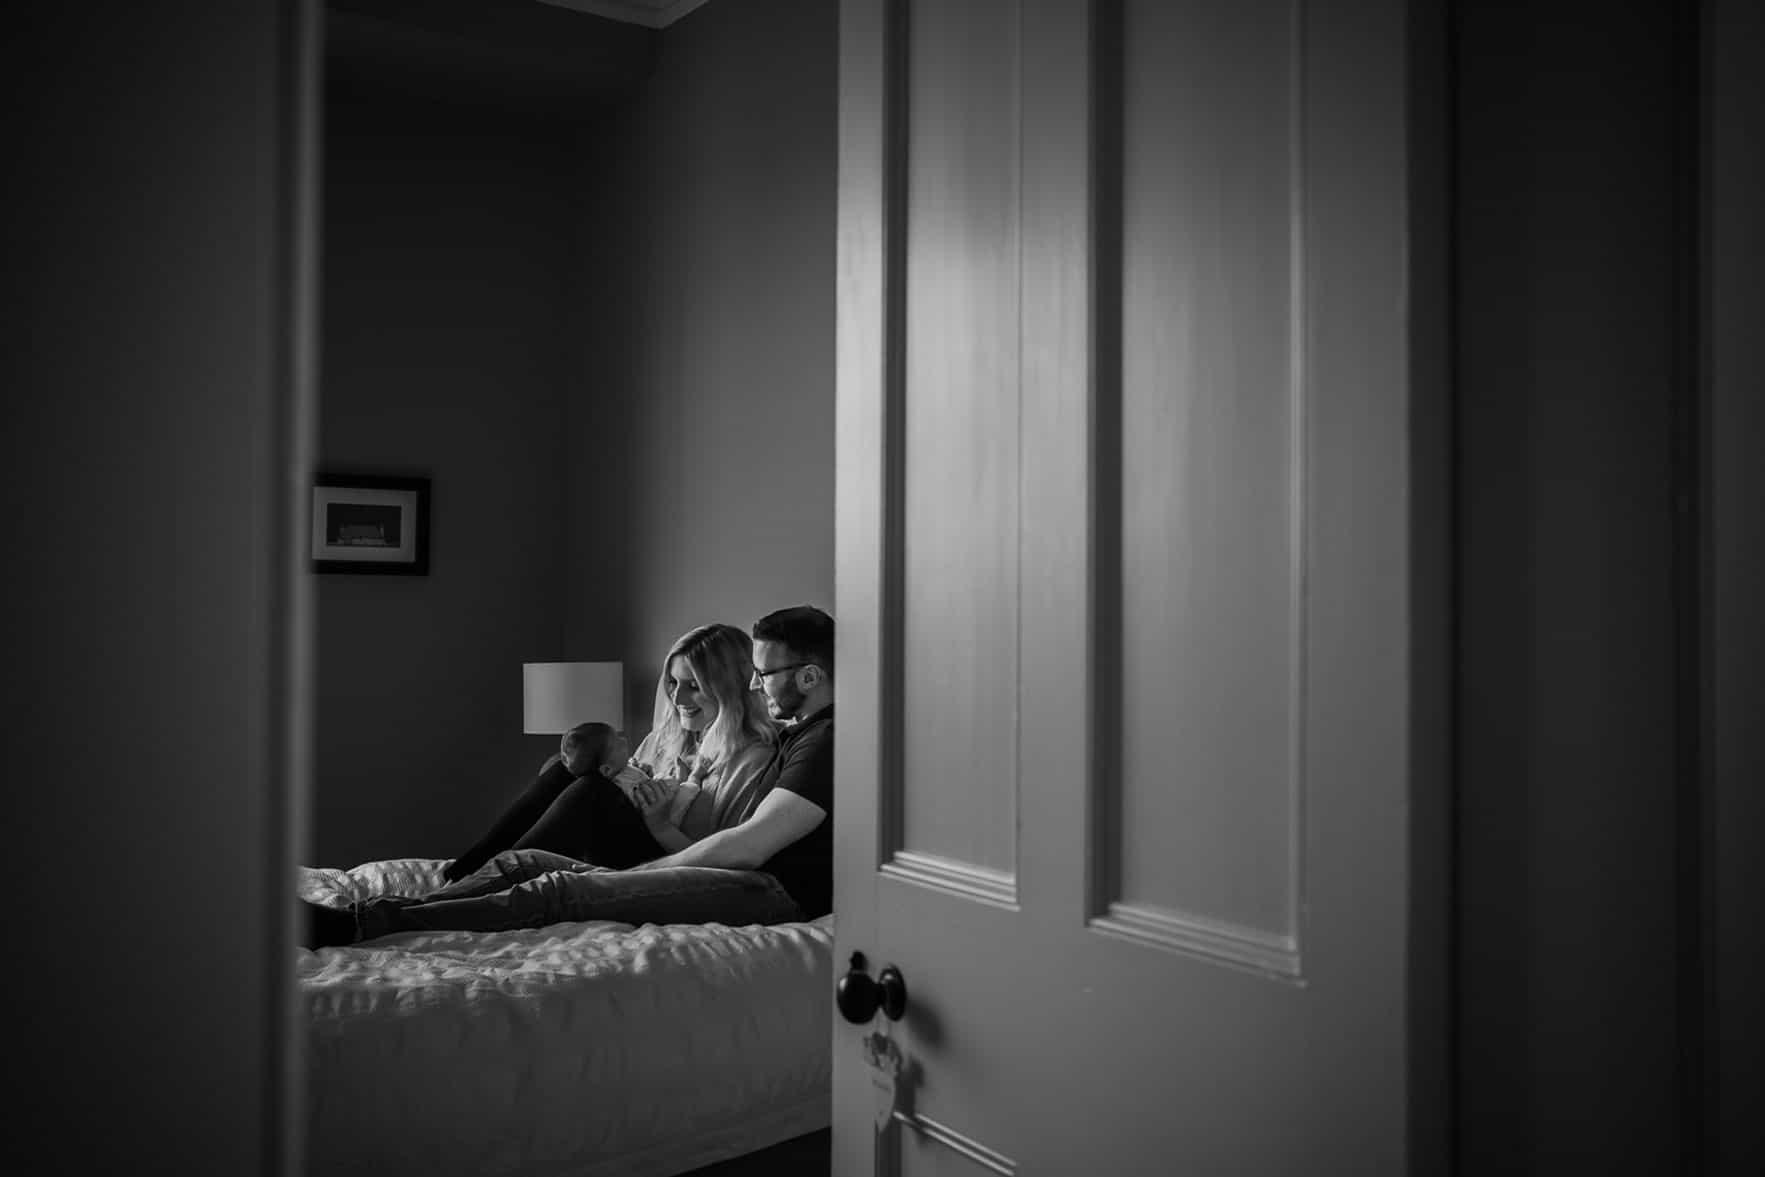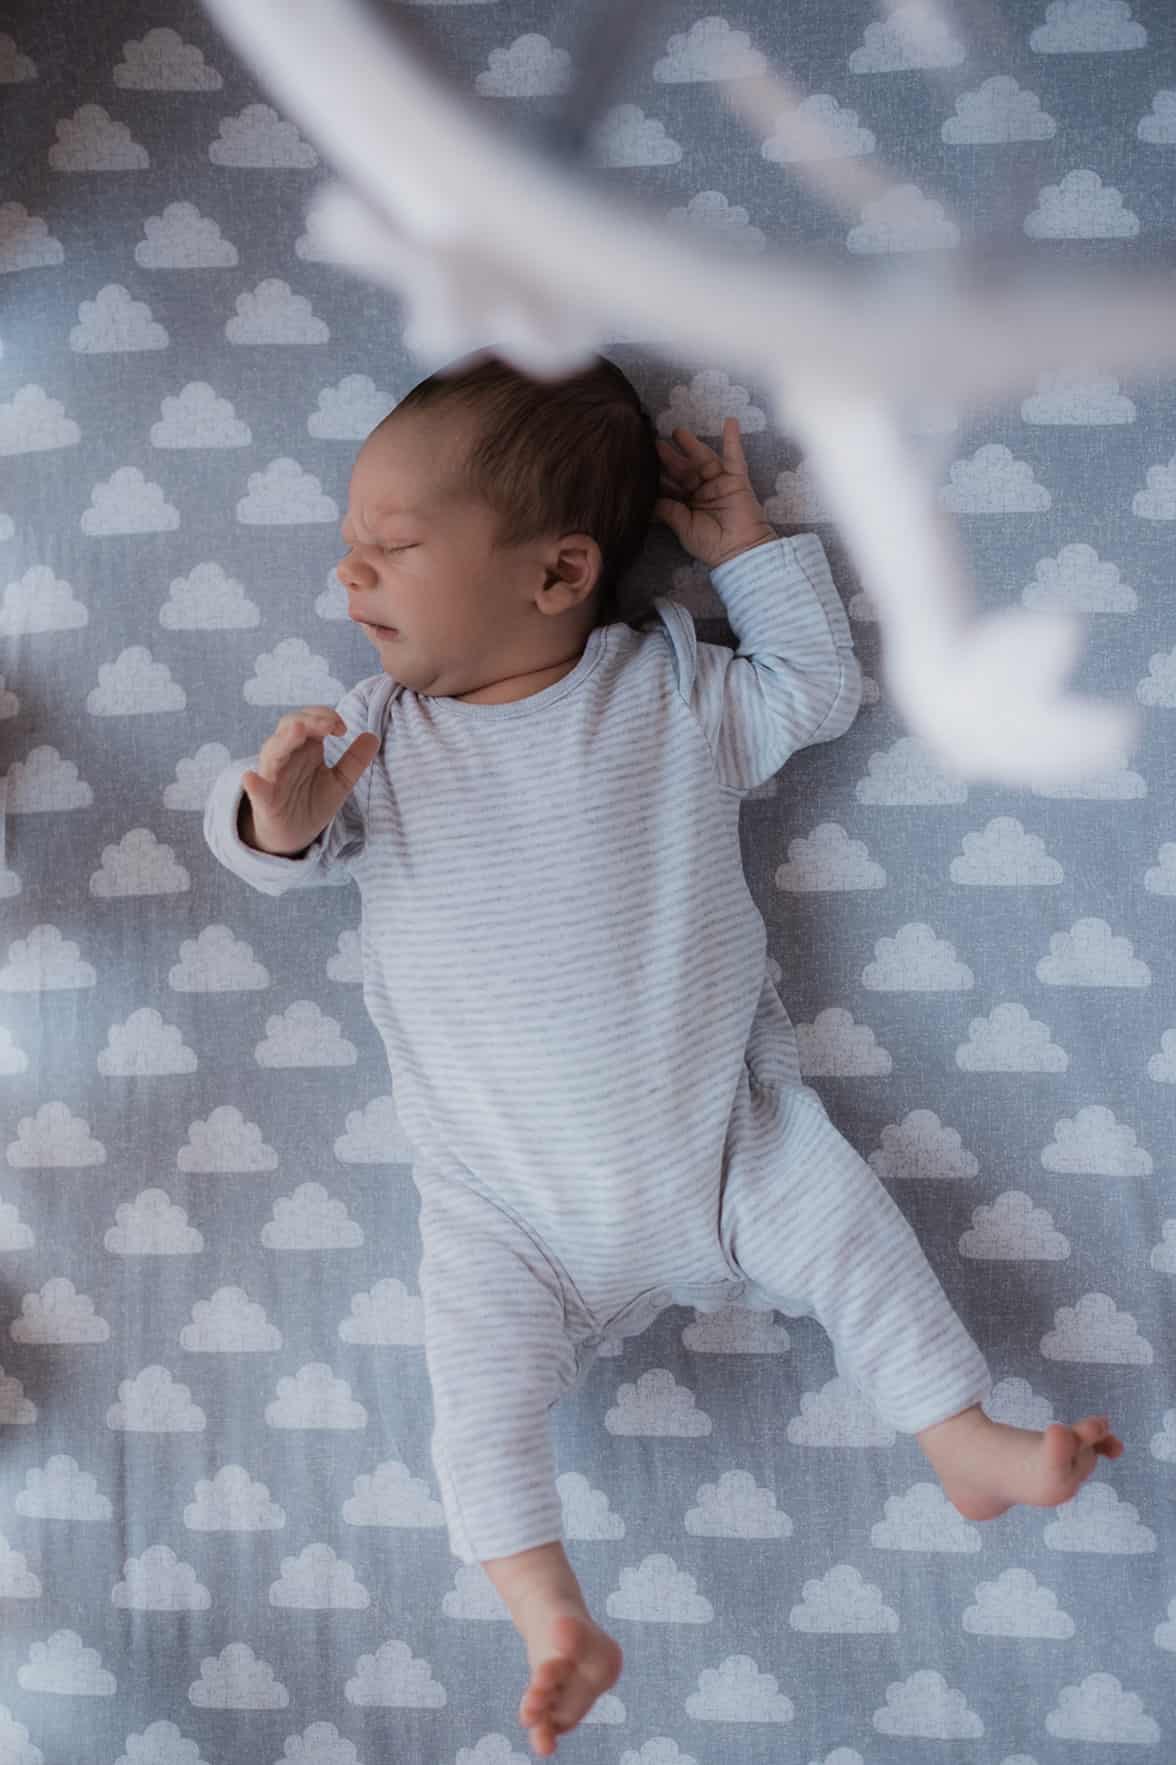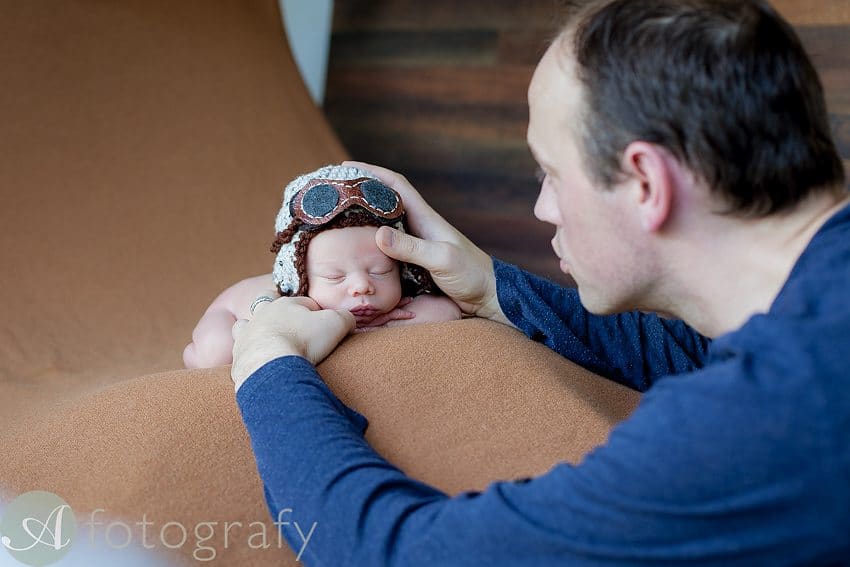
Many families choose to hire a professional newborn photographer, like me, so they have quality photographs of their newborn’s first weeks. But, you can also learn how to do DIY baby photoshoot at home if you’d prefer.
You’ll find photos and a series of video lessons that’ll guide you through each step of the process. I’ll be revealing how you can create beautiful newborn photos at home with just a camera phone!
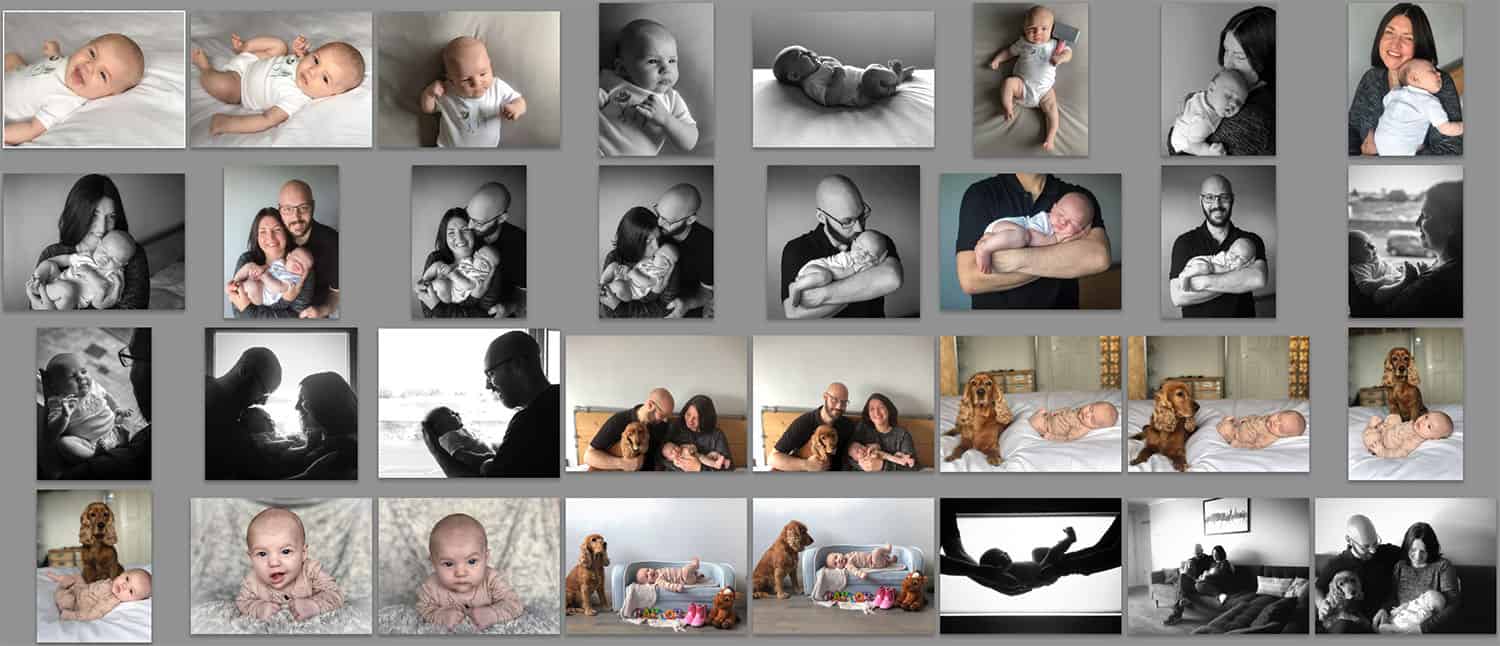
– Do your research and compile a list of baby poses you love. Look online – Pinterest is a great resource, as are newborn photographers’ websites. You can view my newborn gallery here. Choose simple poses to start with and print your list out.
– Start to compile a small collection of props, like a cute little teddy or any personal items that you want to include in the photos. Put them aside in a safe place so you have them ready to go when you need them.
– Think about the clothes you and the baby will wear for the photos. Ensure these are clean, ironed and put aside so you don’t risk wearing them the day before and getting them dirty!
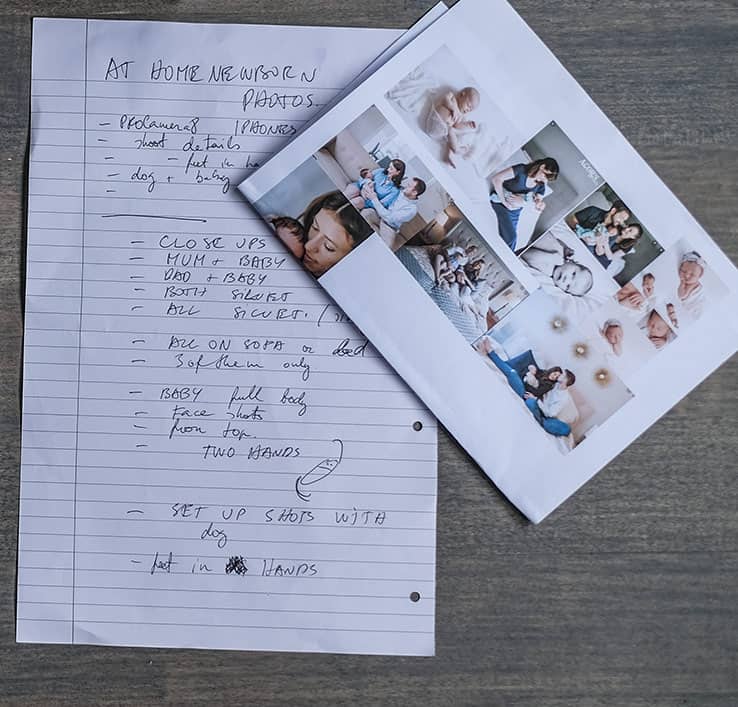
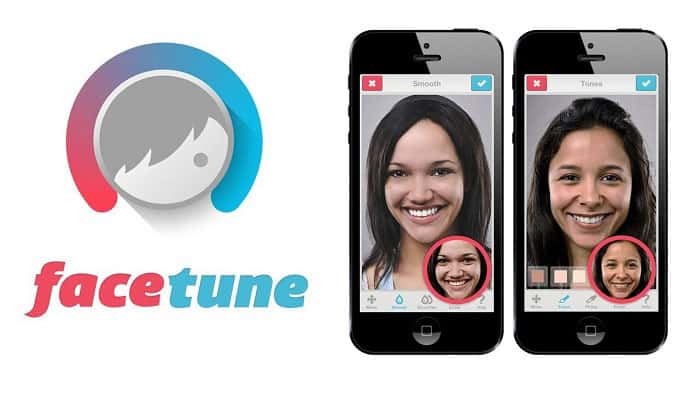
– Install any apps onto your phone that you plan to use and experiment with them. Get familiar with the functionality so you know how to adjust your camera’s exposure and that it stays consistent while you take photos.
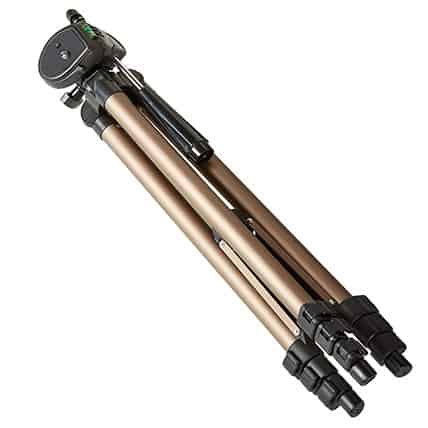
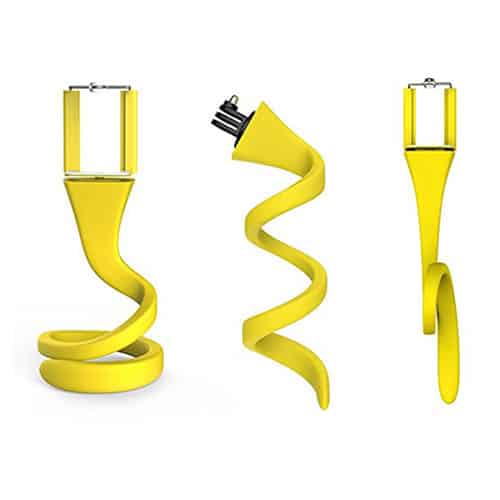
– Purchase or borrow a tripod or phone stand, and check that it is working.
– Consider the available light in the house and think through where may be best for you to take the photos and at what time of the day.
The available light in your home is the first consideration you’ll need to make, as it’s probably the most important aspect of the photoshoot.
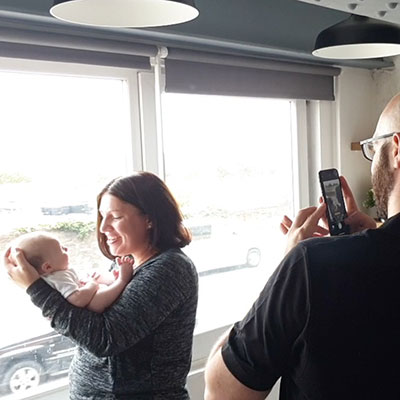
You’ll see in the first video that I begin the session by walking around the different rooms with Taylor’s family, discussing the available natural light. In the second video I talk about positioning yourself in light. What is flat light and what is defined as rebrand lighting.
It is possible to take newborn photos at home using the camera that you already have on your smartphone.
You’ll see in the first video that I begin the session by walking around the different rooms with Taylor’s family, discussing the available natural light. In the second video I talk about positioning yourself in light. What is flat light and what is defined as rebrand lighting.
There are several items that are required, and I’ll talk about each in more detail below. These are:
– Camera phone or a holiday camera. If you have a DSLR even better.
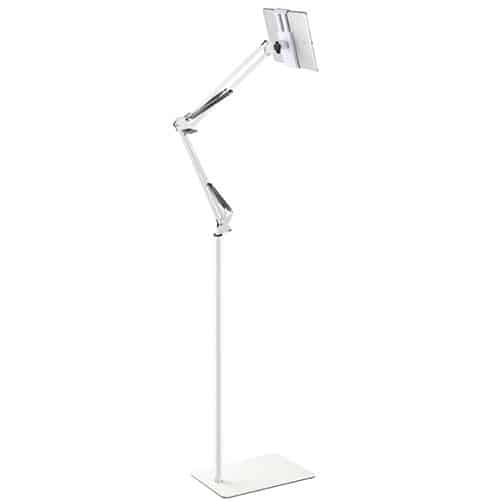
– Tripod or phone floor stand (here is the link to one clients have)
– Phone holder to attach it to the chair
– Remote control for your phone
– Towels and large throws in solid colours, or large pieces of fabric
– Clips to stretch the blankets or fabrics.
Using the camera on your phone to take photos is great as you already have it there, ready to go. But the main disadvantage is that you have to get the exposure in the phone correct, and this may prove difficult if you aren’t sure of what you’re doing.
Also, if you adjust the exposure setting and make the image too bright, you can’t edit the photo afterwards and the image becomes washed out.
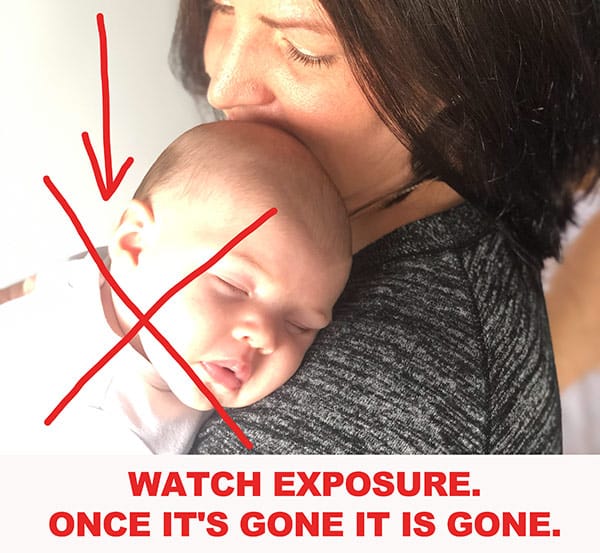
On the iPhoneX, I found that ‘portrait’ mode (which is when it automatically blurs the background of the image) helped a lot to create professional looking photos. Unfortunately, I don’t have this as a setting on my personal phone, but if you do have an iPhone, definitely use this feature.
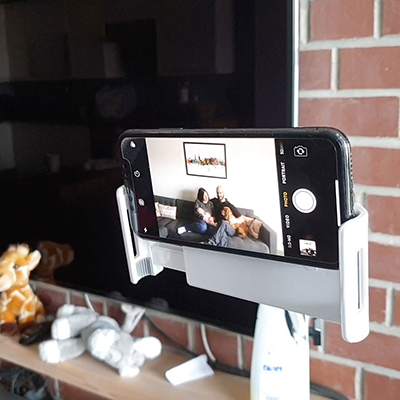
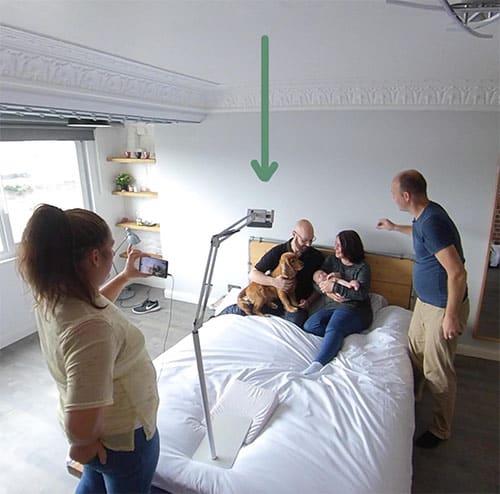
Using your tripod and camera standWhile you can take your baby’s photos holding the camera in your hand, I recommend you use a device to hold and support your phone while you take your own family self-portraits.
This could be either a very simple, cheap camera holder like the one I had with me, or a more sophisticated one like the parents had in the video.
I liked the family’s camera/iPad holder stand as it was heavy and stable. But you needed to prop it up on something to raise it higher. Full height tripod would reach out to around 6ft and doesn’t need propping up.
With both, you can adjust a better shooting angle. Ideally slightly above the chin line and tilted down. If you are a very tall humans, feel free to sit down for the portraits.
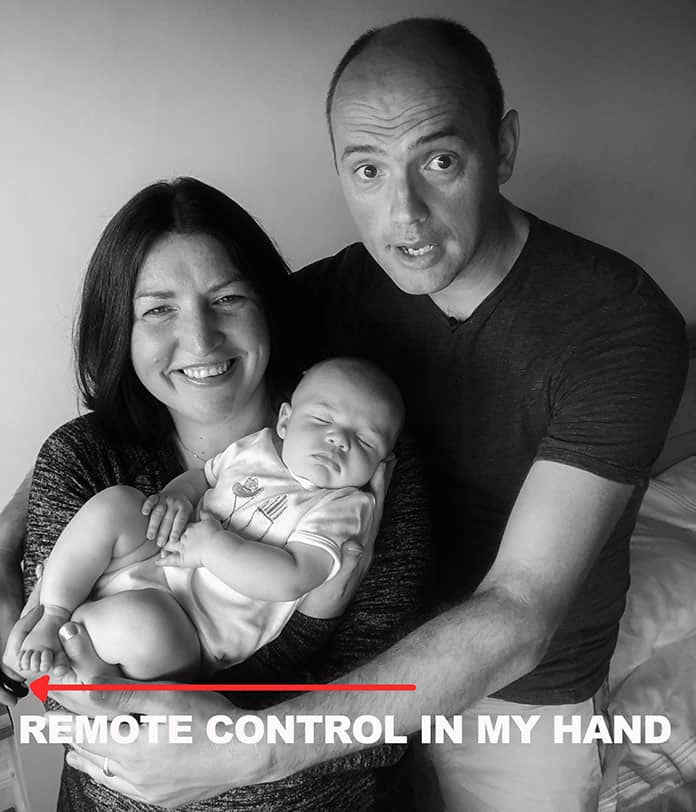
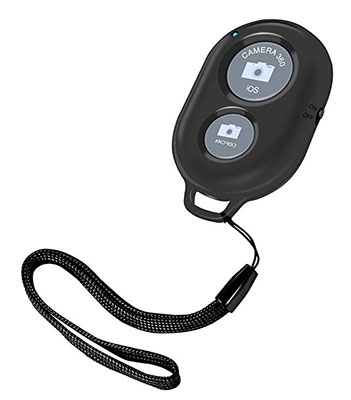
A remote-control device to activate the camera on your phone is really helpful when doing a DIY photoshoot, so invest in one of these if you can.
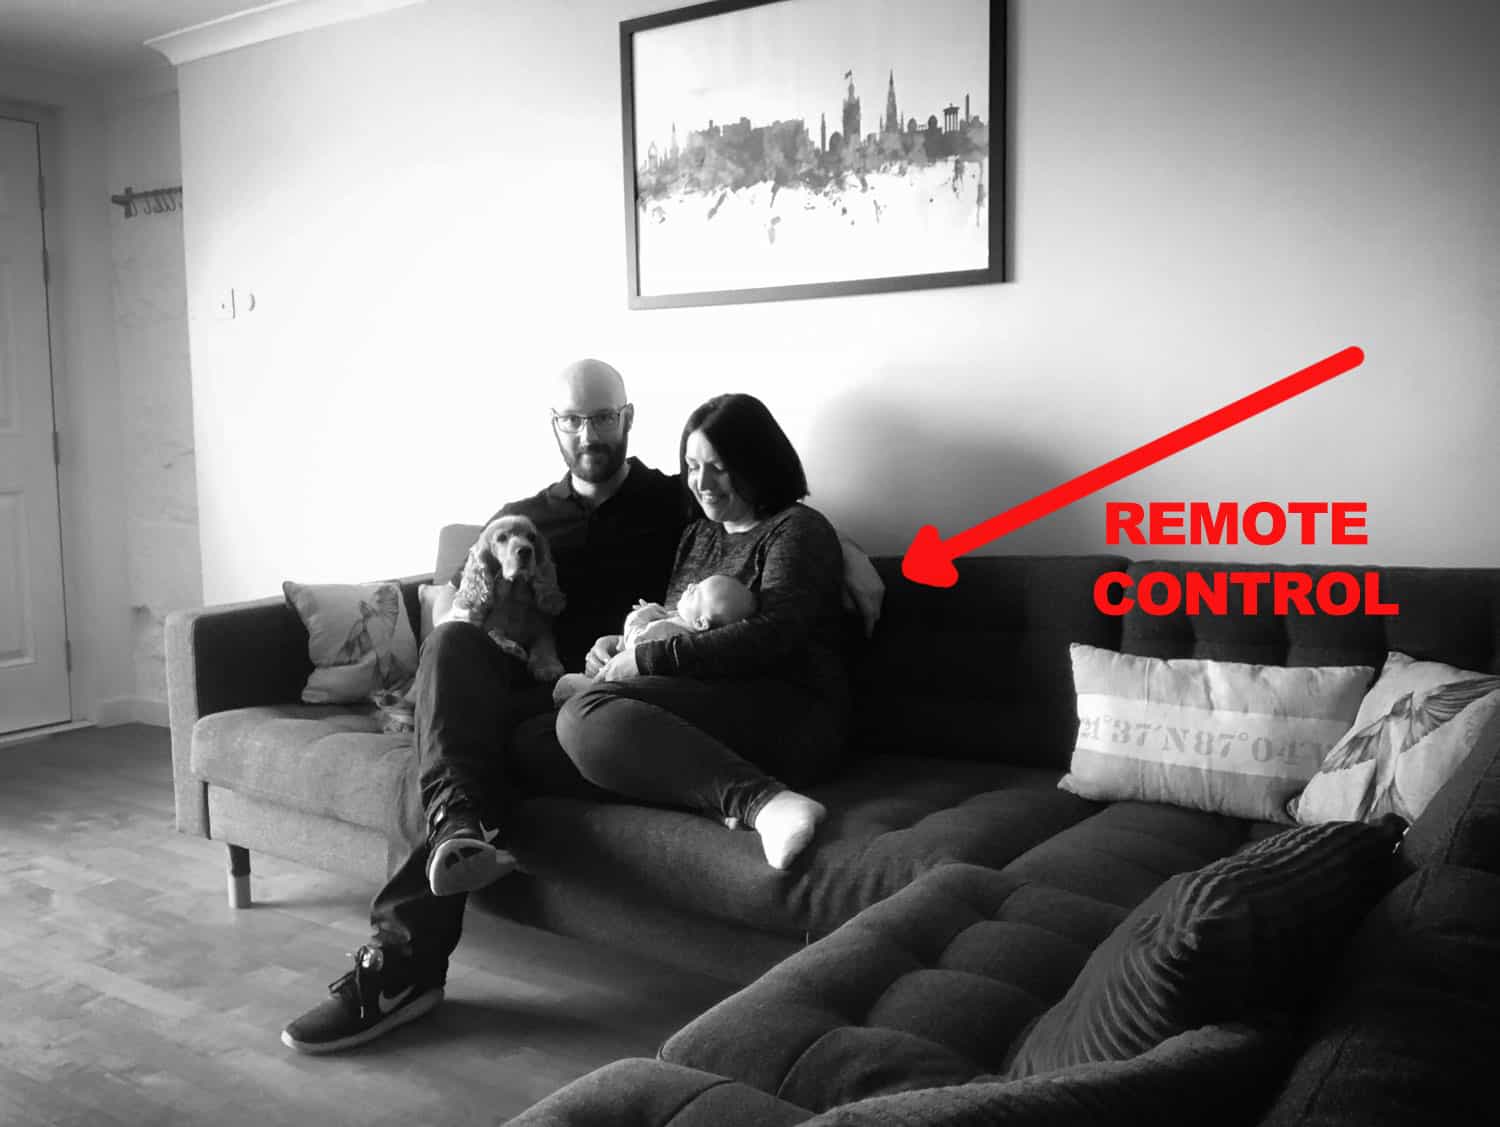
Instead of you having to run up and down to the phone to set the timer for each shot, you simply activate Bluetooth and the remote connects to your phone. They are usually very easy to hide in the palm of your hand, so you can be holding the remote control without it being noticeable in the photos.
You can see me holding remote in my hand while showing dad how to pose for the family photo.
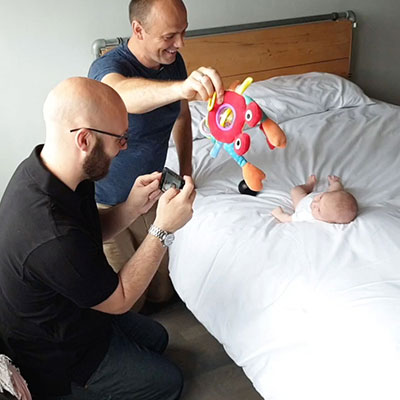
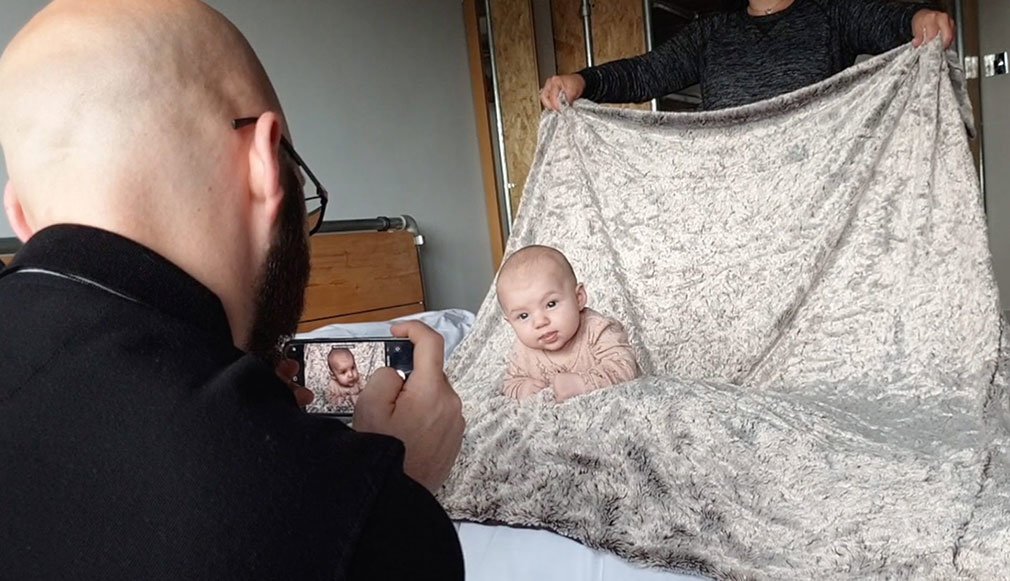
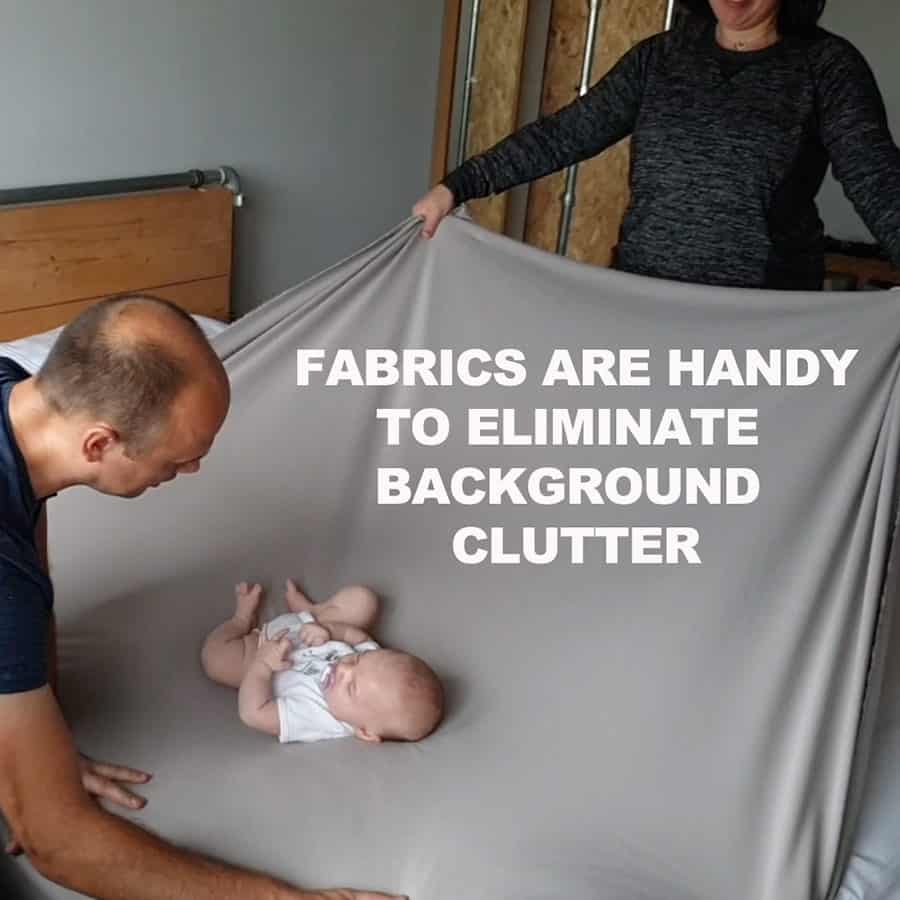
One thing you’ll definitely want for your newborn photoshoot at home is one or more large coloured throws or pieces of fabric on which you’ll place your baby for the photographs.
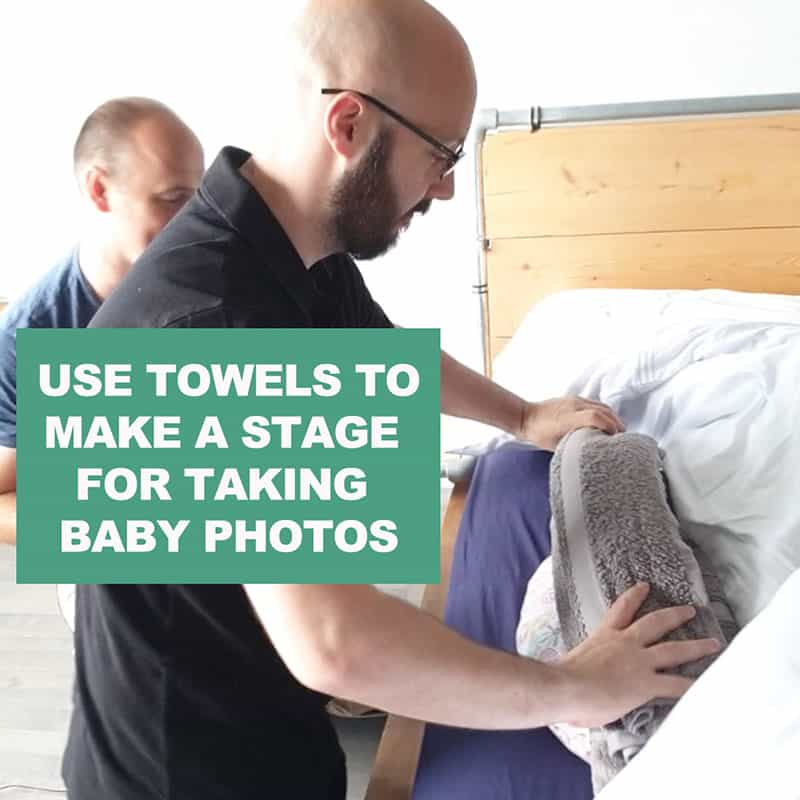
Then, once you have positioned them there, you will need to wrap up towels and prop them under the duvet, around your baby, in order to pose them. What you don’t want is for your newborn to sink into the duvet – we need to prop them up to make them more visible.
Using the towels is also a safety precaution and will keep them in place.
Watch the video to learn how to set up the bed for baby photos at home. Covering safety, posing, setting up the background and lots more.
I use clips (laundry pegs or hair clasps should be fine) in the video to stretch the fabrics as much as possible. This is because you don’t want wrinkly blankets in the photos – you want a clean, smooth backdrop.
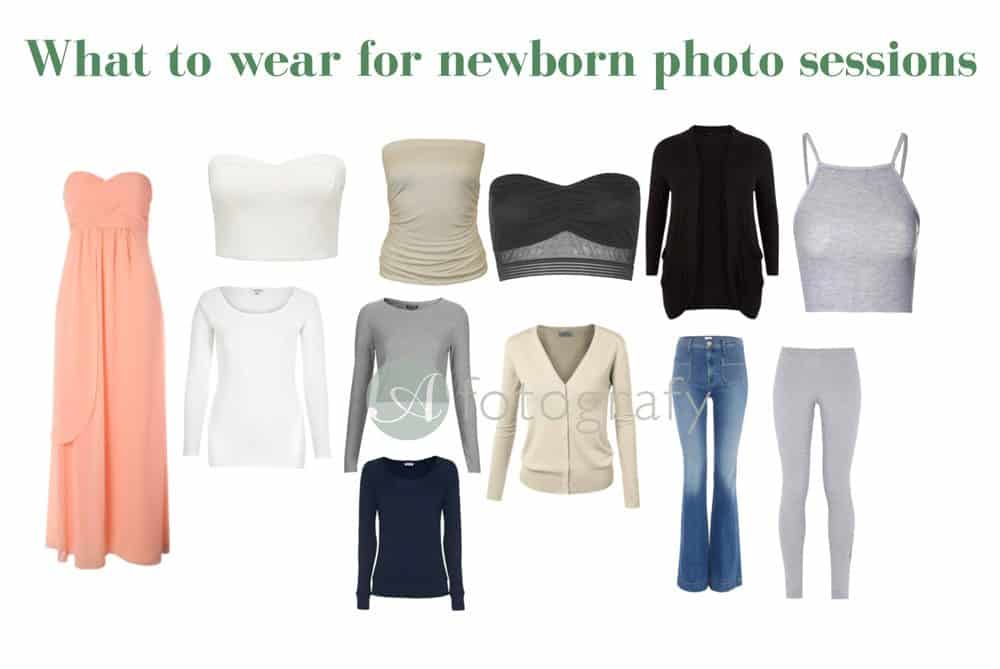
The question of what to wear for the photos is one I get asked a LOT. My answer is simple.
Both you and the baby should wear plain, solid colour clothing (no patterns or fancy details). This is because you’ll want the focus of the photo to be on yours and your baby’s face, and not on their clothing. Either choose solid light or dark clothing for the parents and try to have both of you in similar colours. You can check blog post I did about newborn photo shoot clothing here.
– Warm up the house. I normally suggest having rooms around 23 degrees Celsius. Your baby might spend much of the time while you’re taking photos without clothes, so it’s essential that you keep your baby warm and fed. This will keep them happy and content and will increase the likelihood that you’ll manage to get some adorable sleeping baby photos.
– If mum is breastfeeding, then I recommend that the dad should do all of the baby posing on the day. That’s because babies smell milk whenever mum is close by, so they might think it’s feed time again if mum is handling them throughout the photoshoot.
– Take your time with baby poses. Patience is key here. Slowly let them ease into each pose and don’t try to rush things. There’s a reason why my professional newborn photoshoots last several hours!
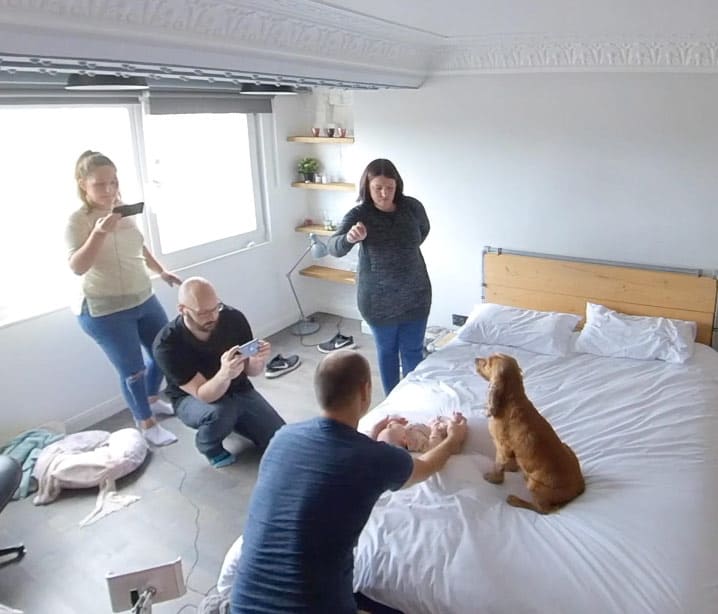
– If you can organise someone to come and help you on the day of the photoshoot, that would be helpful. An extra pair of hands is always good to have on the set. I have mentioned this during the videos quiet few times because having that third adult around can make a big difference to how smoothly it can go!
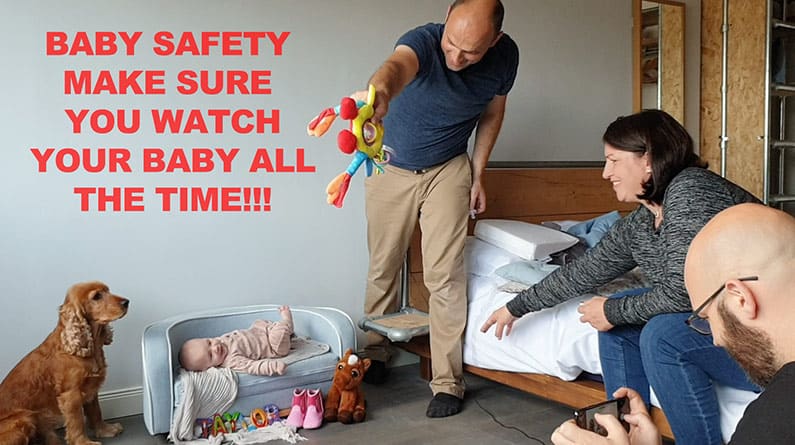
In the videos, I demonstrate a number of simple setups and poses. You will see in the videos that the ‘tummy pose’ we tried did not go down well with baby Taylor, but since I’m trained in newborn safety and my eyes were on the baby ALL OF THE TIME, I knew what to do.
The key thing to ensure though is that your baby is held and supported at all times – safety is paramount in newborn photography! Please follow the instructions below and the advice in the videos in order to ensure that you are creating newborn photos safely at home.
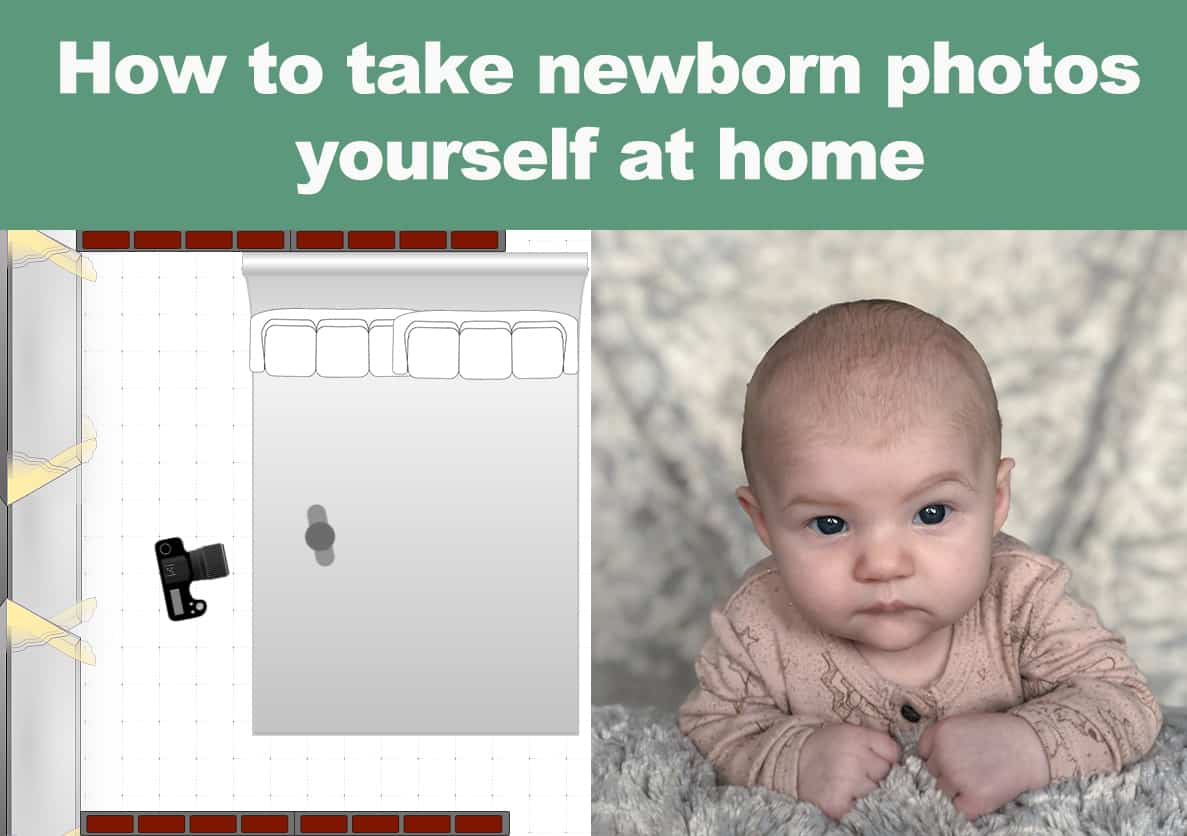
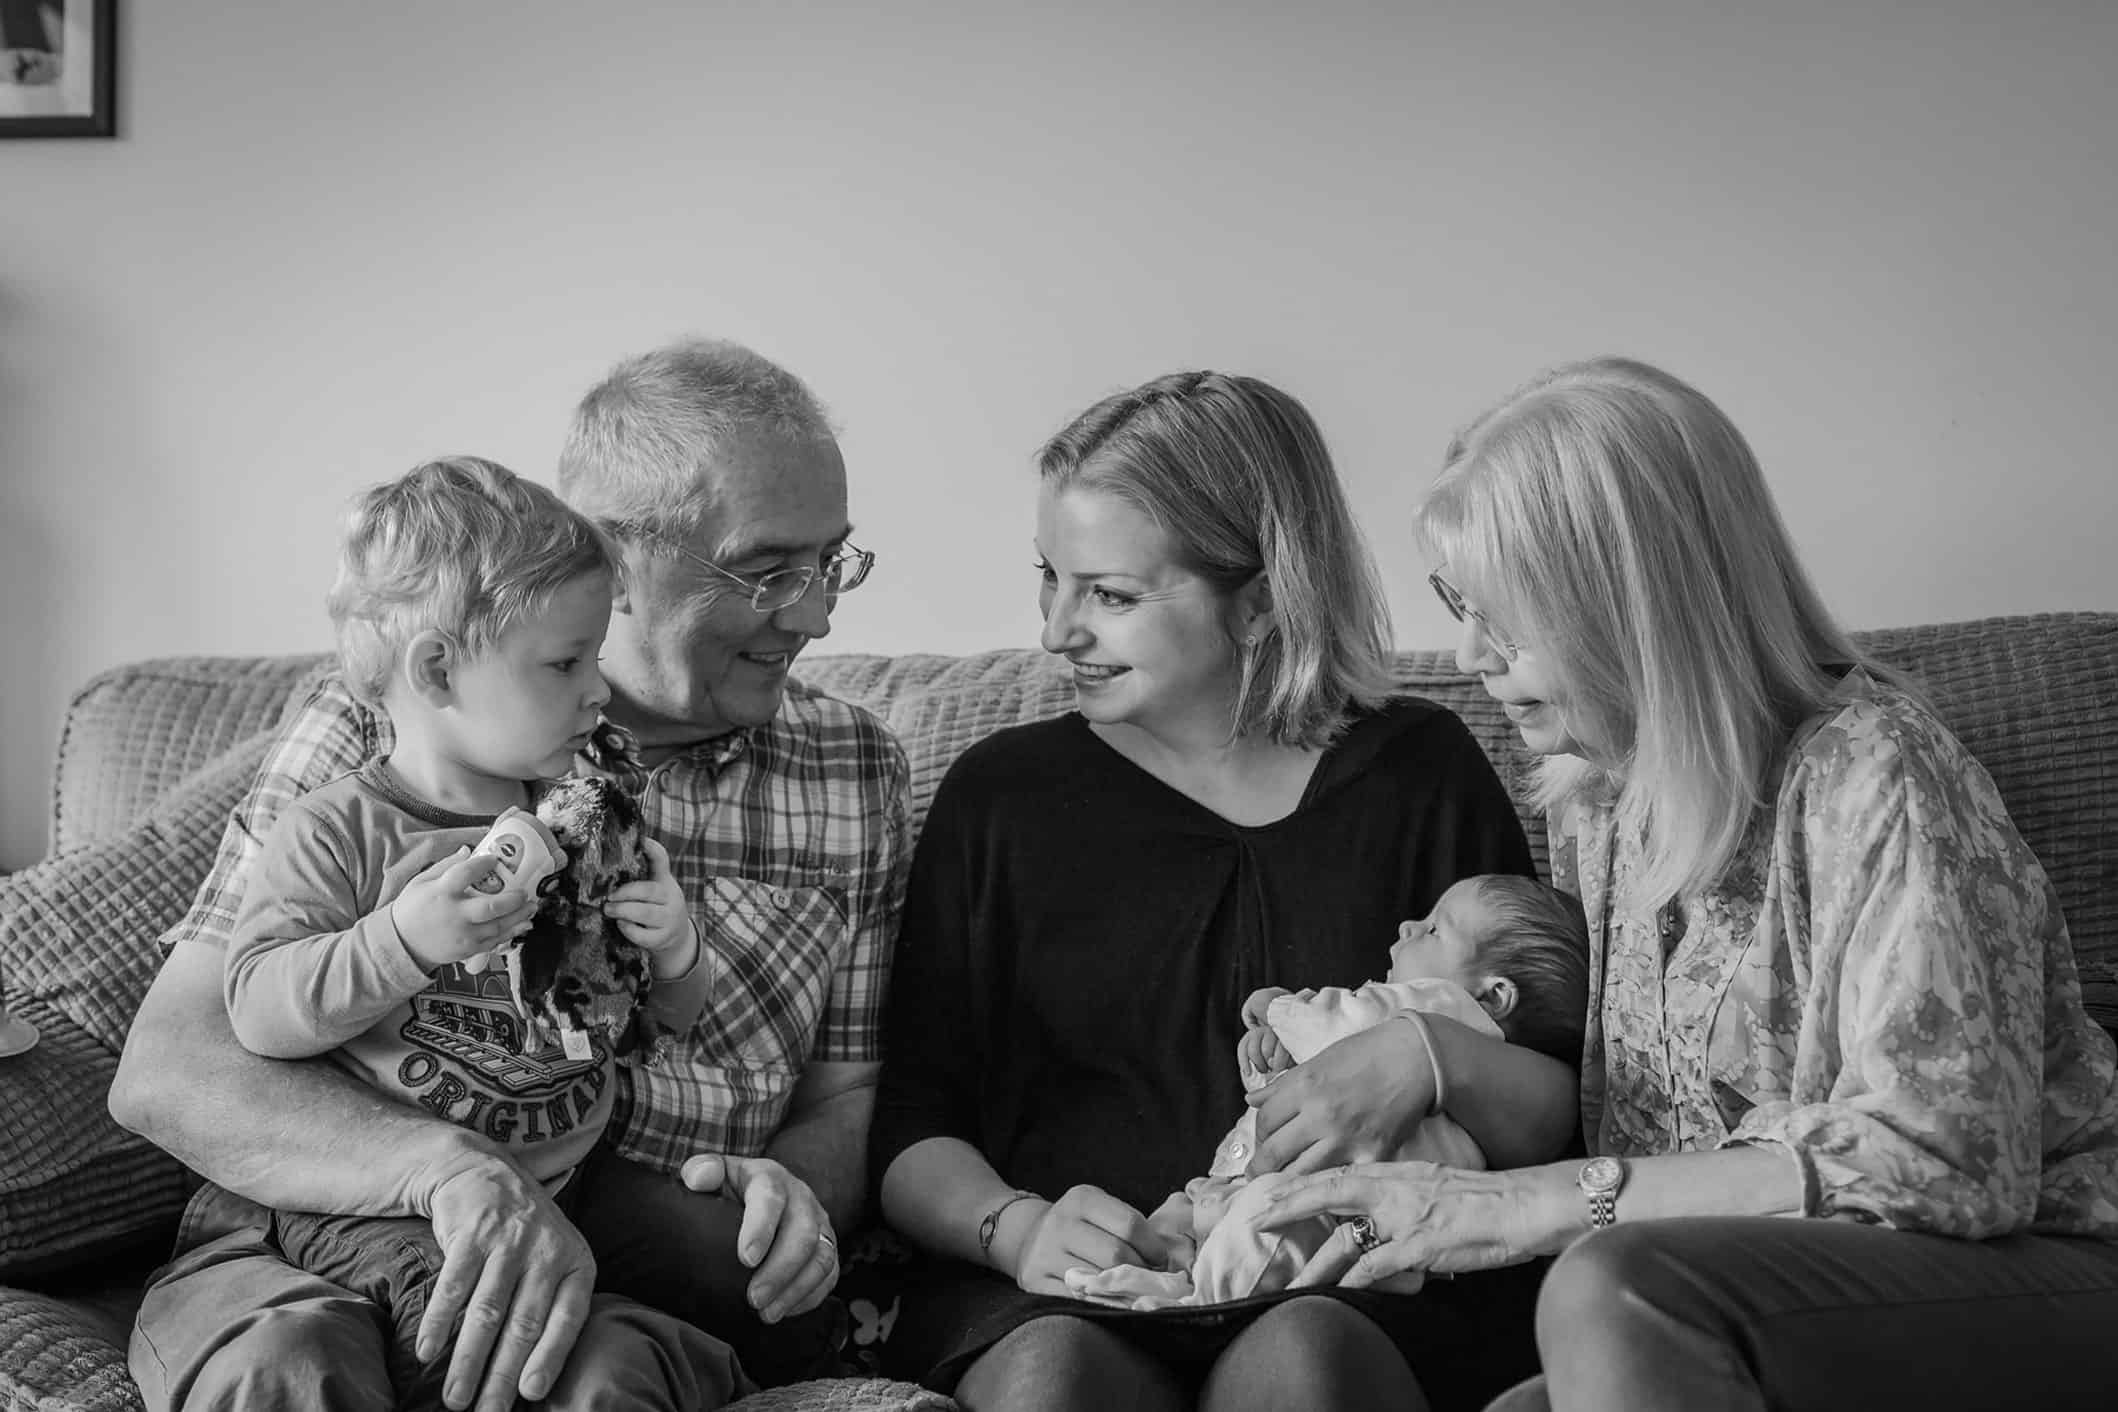
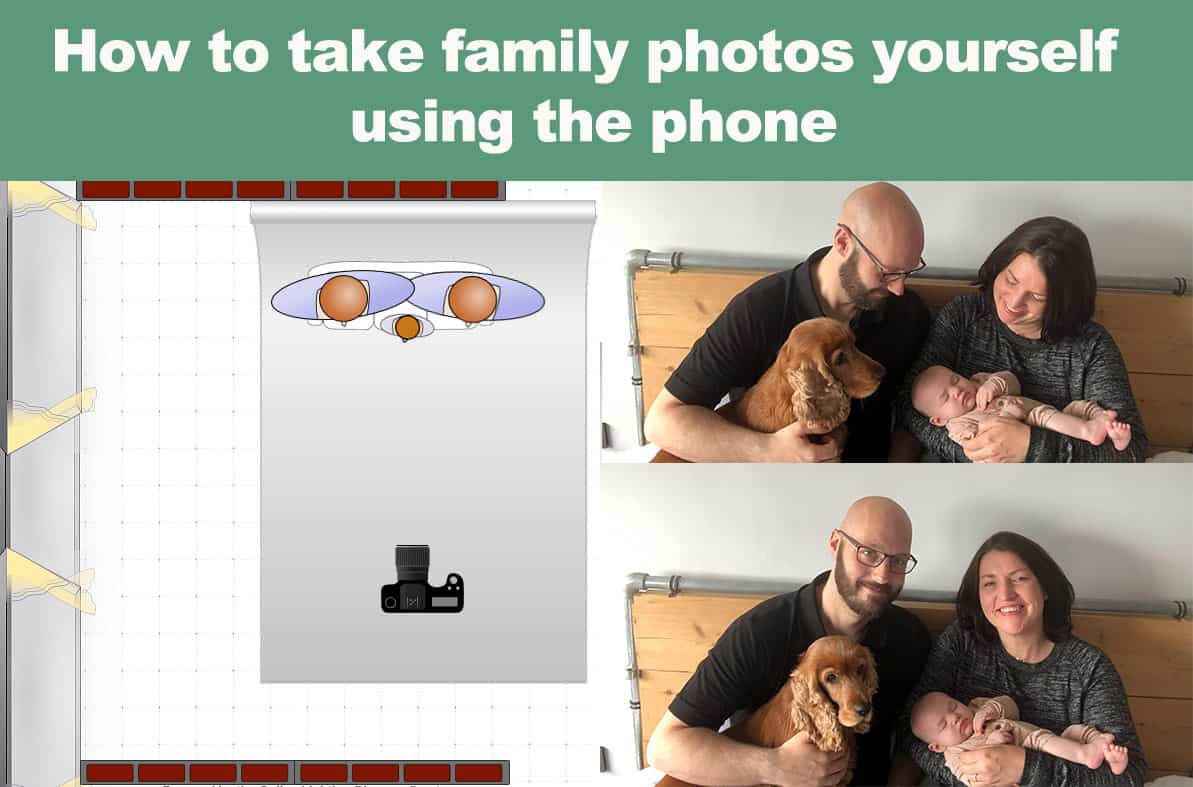
You may also want to include yourself and other family members – perhaps grandparents – in the photos too, and there’s lots of information shared in the video tutorial how to do family photos. We created 3 separate scenes for family and individual mum and dad portraits too. Lots to take in. You might want to grab a drink as it will be a couple long videos.
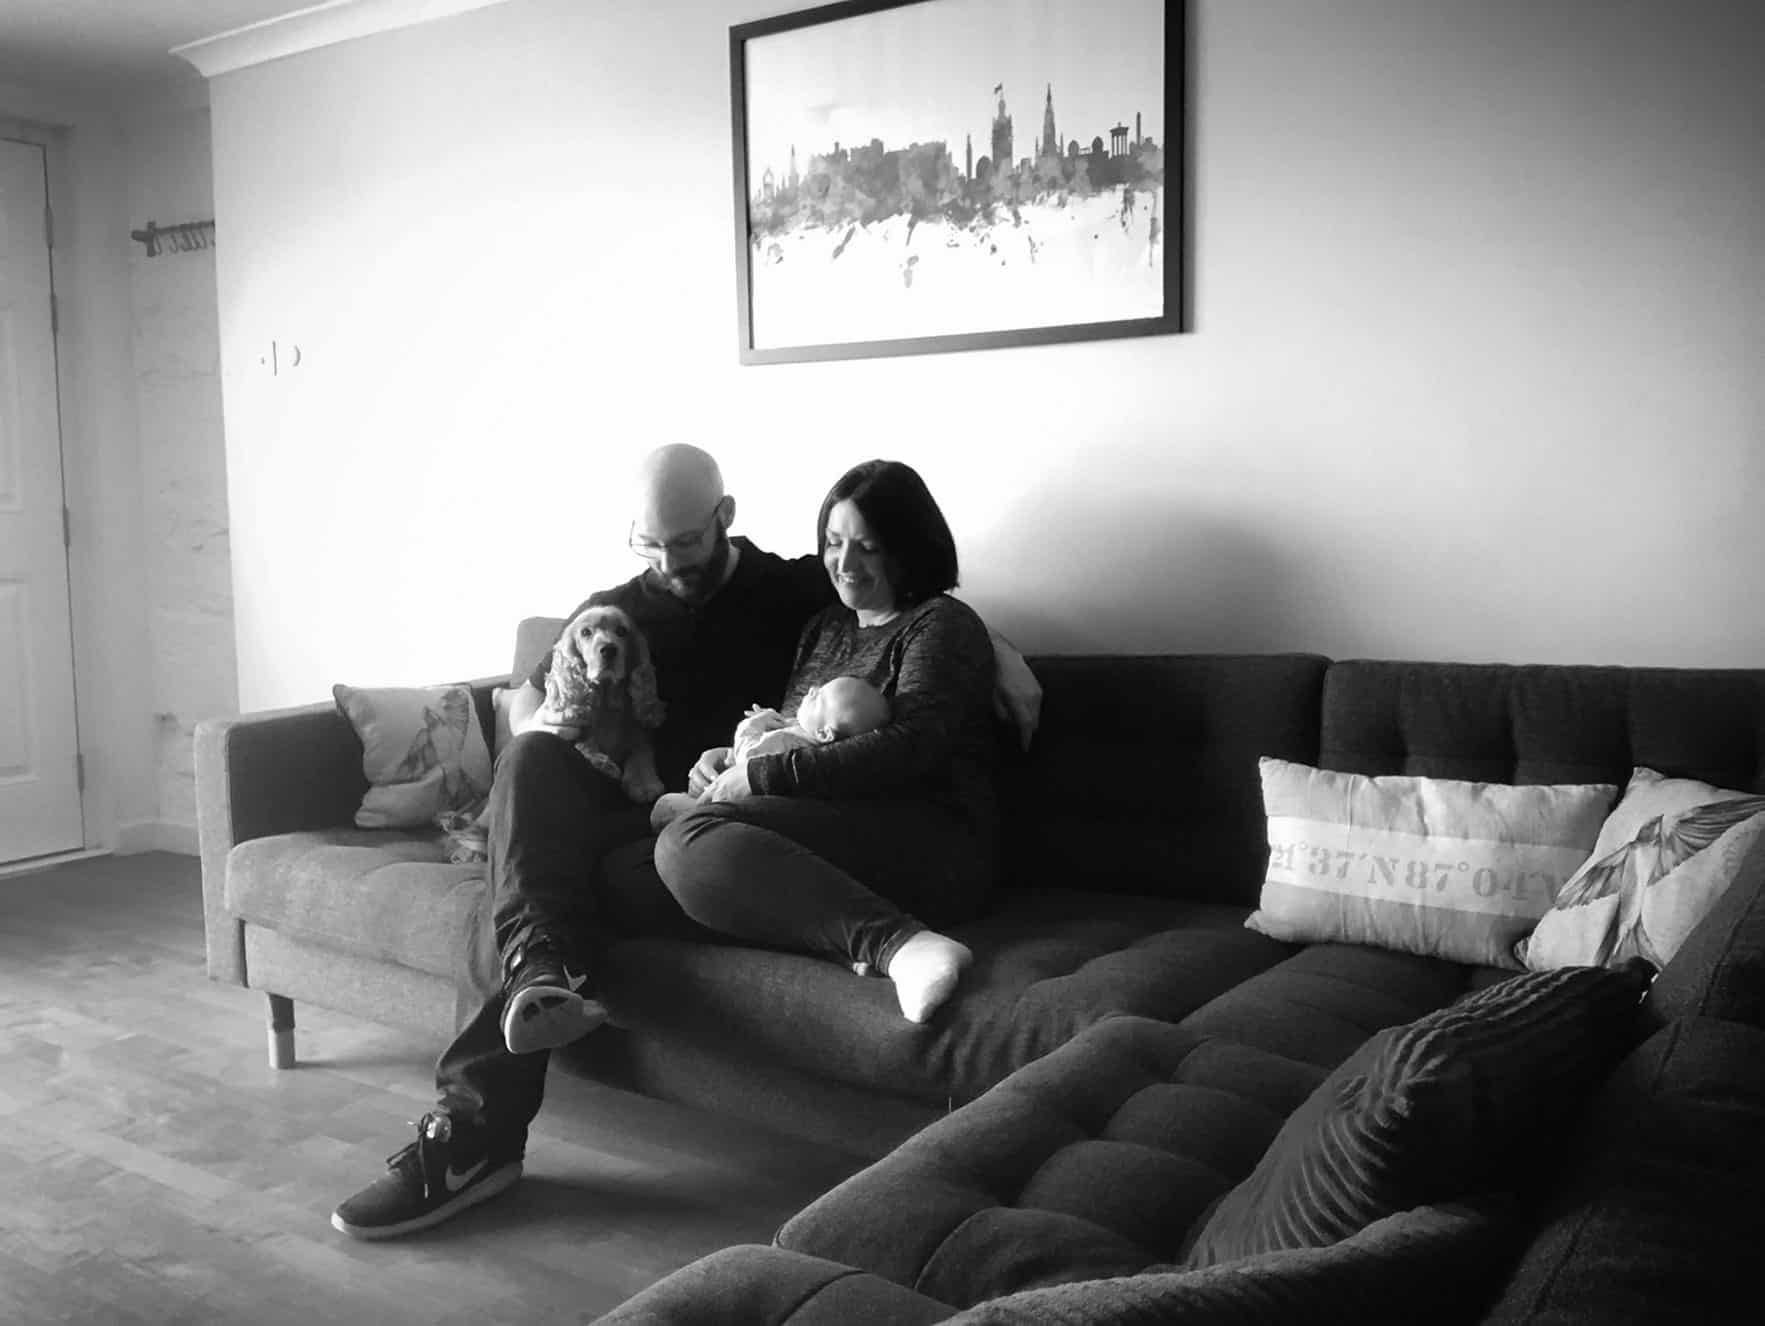
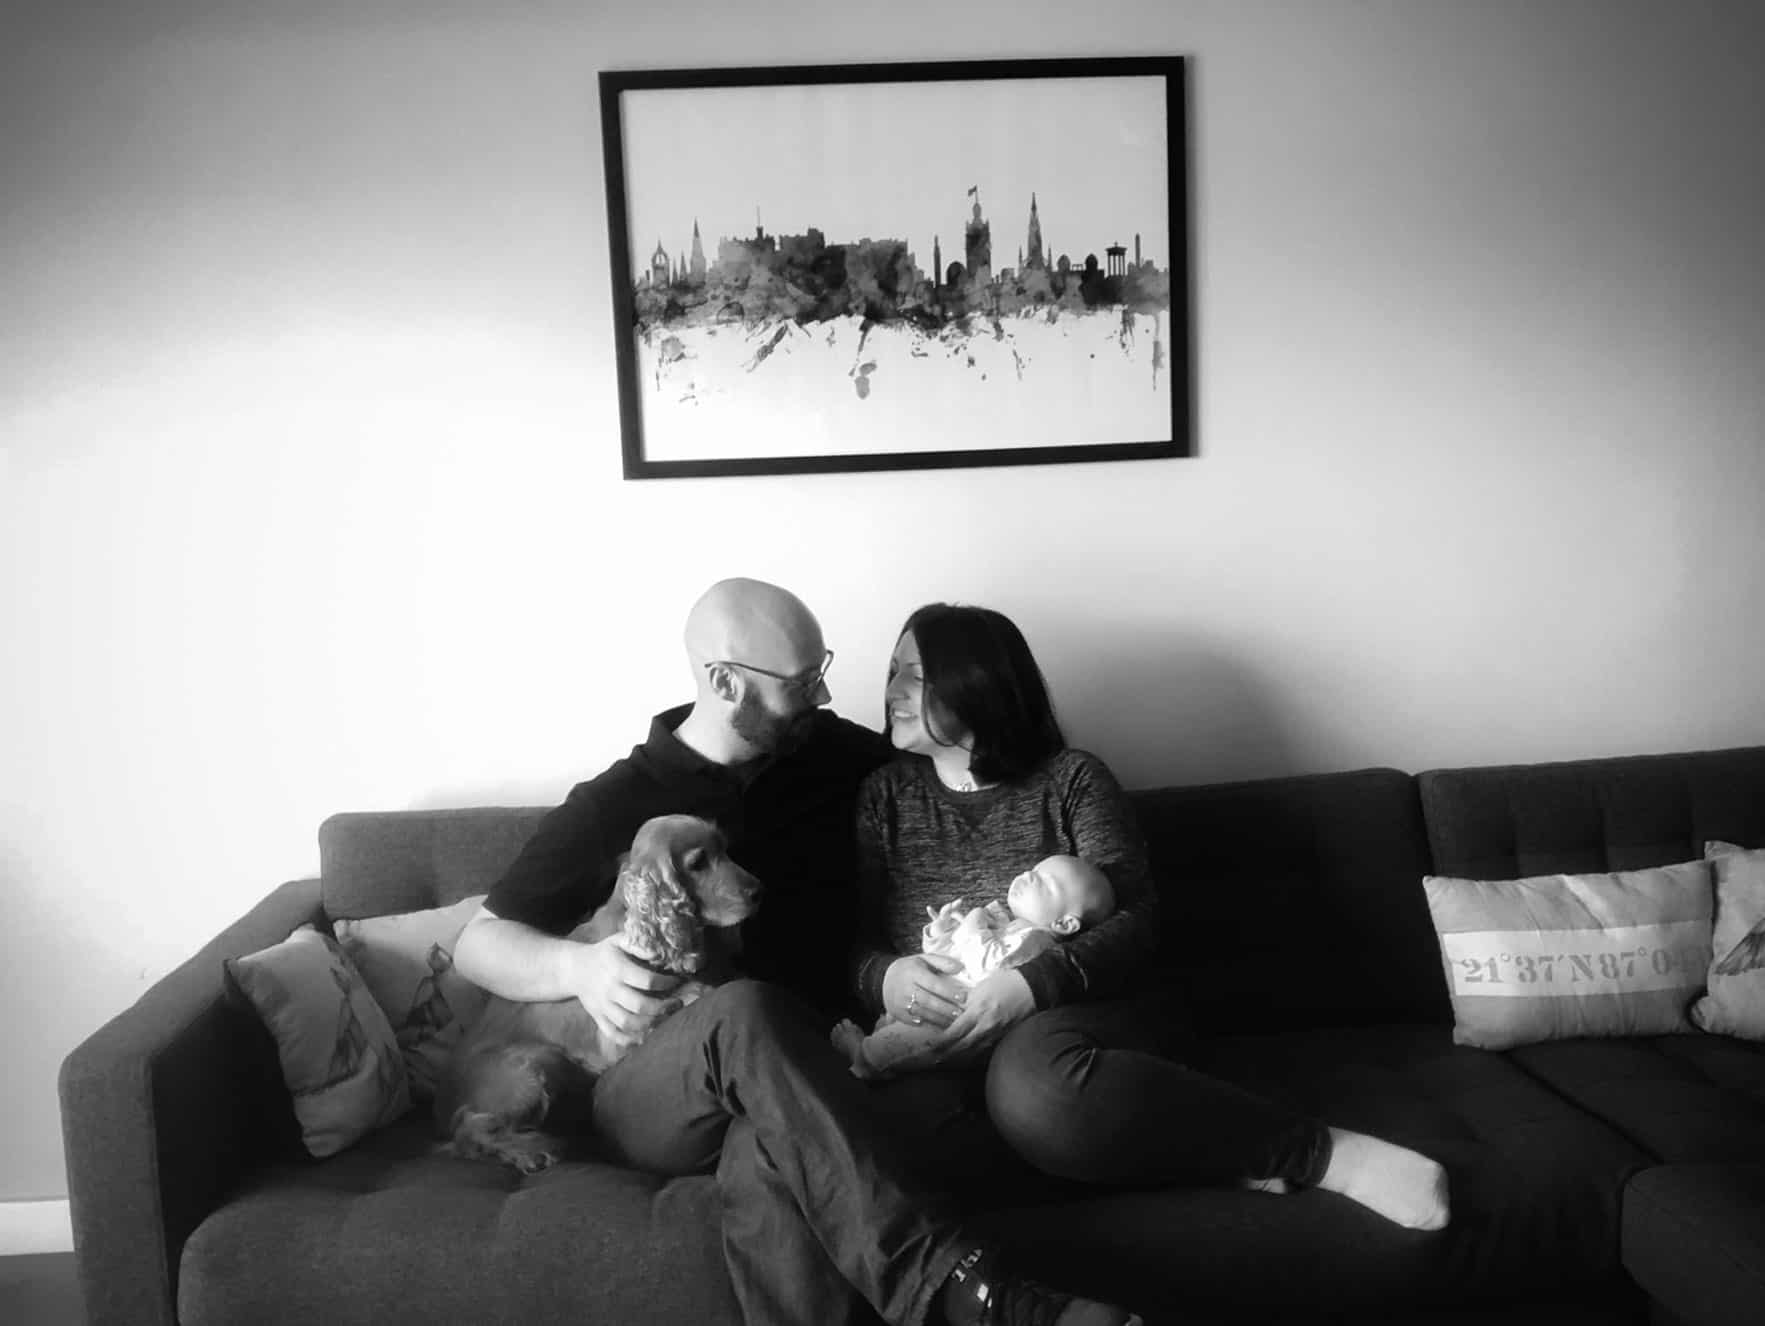
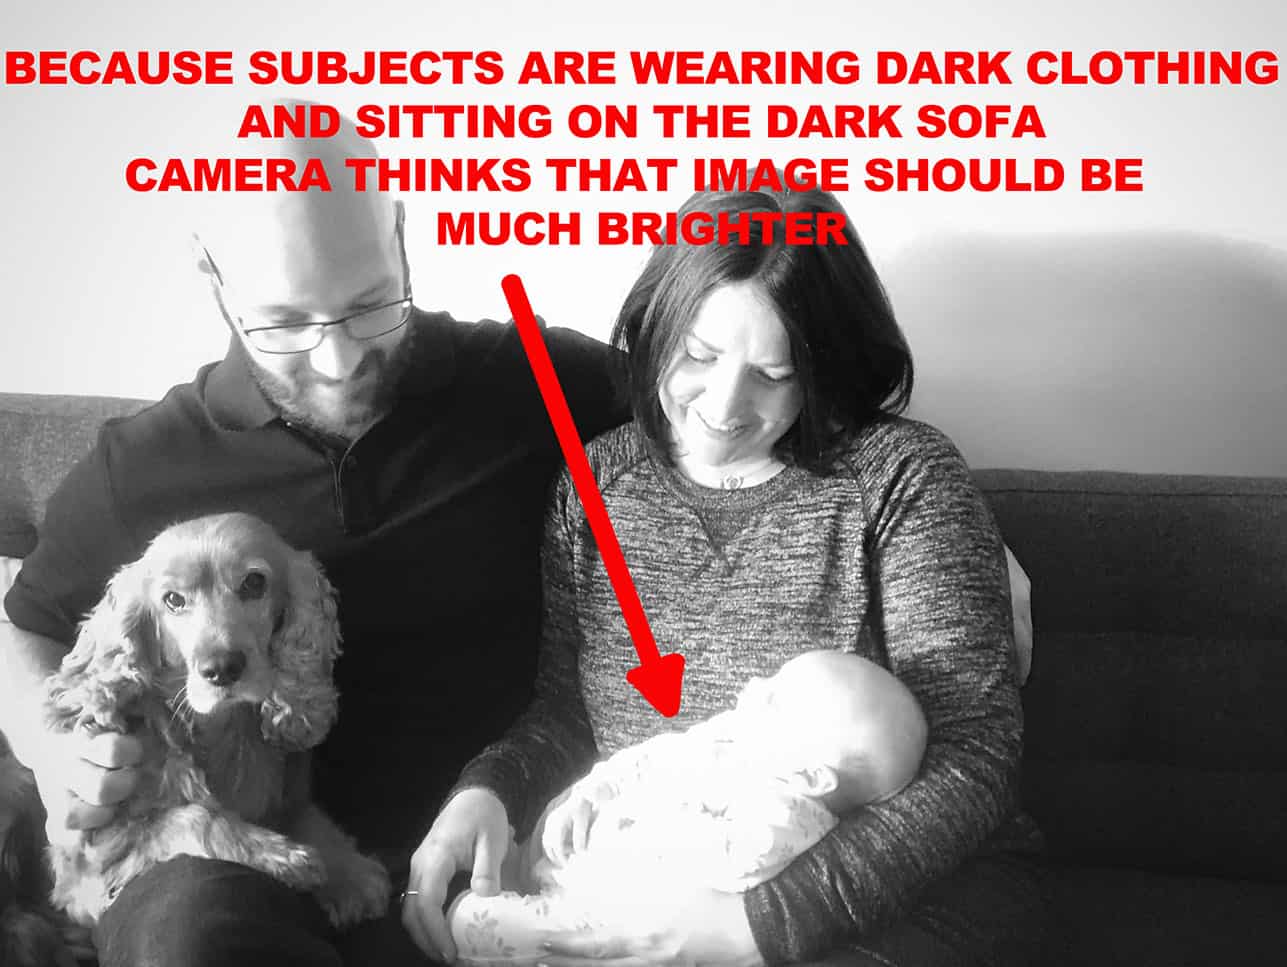
As our last family photo set up we tried to do it in the main living space. It is always great to do family photos in more open space as you can document your own environment. Take wider photos and have a more candid feel to the photos. For these, you definitely need the remote control. We were struggling with light here as the camera was doing either too bright or too dark photos. In manual settings, this could be easily avoided.
Another solution in this difficult lighting scenario would be using a holiday camera or DSLR. Would make editing easier and photos not so grainy.
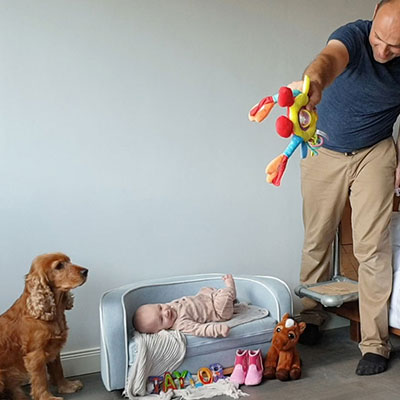
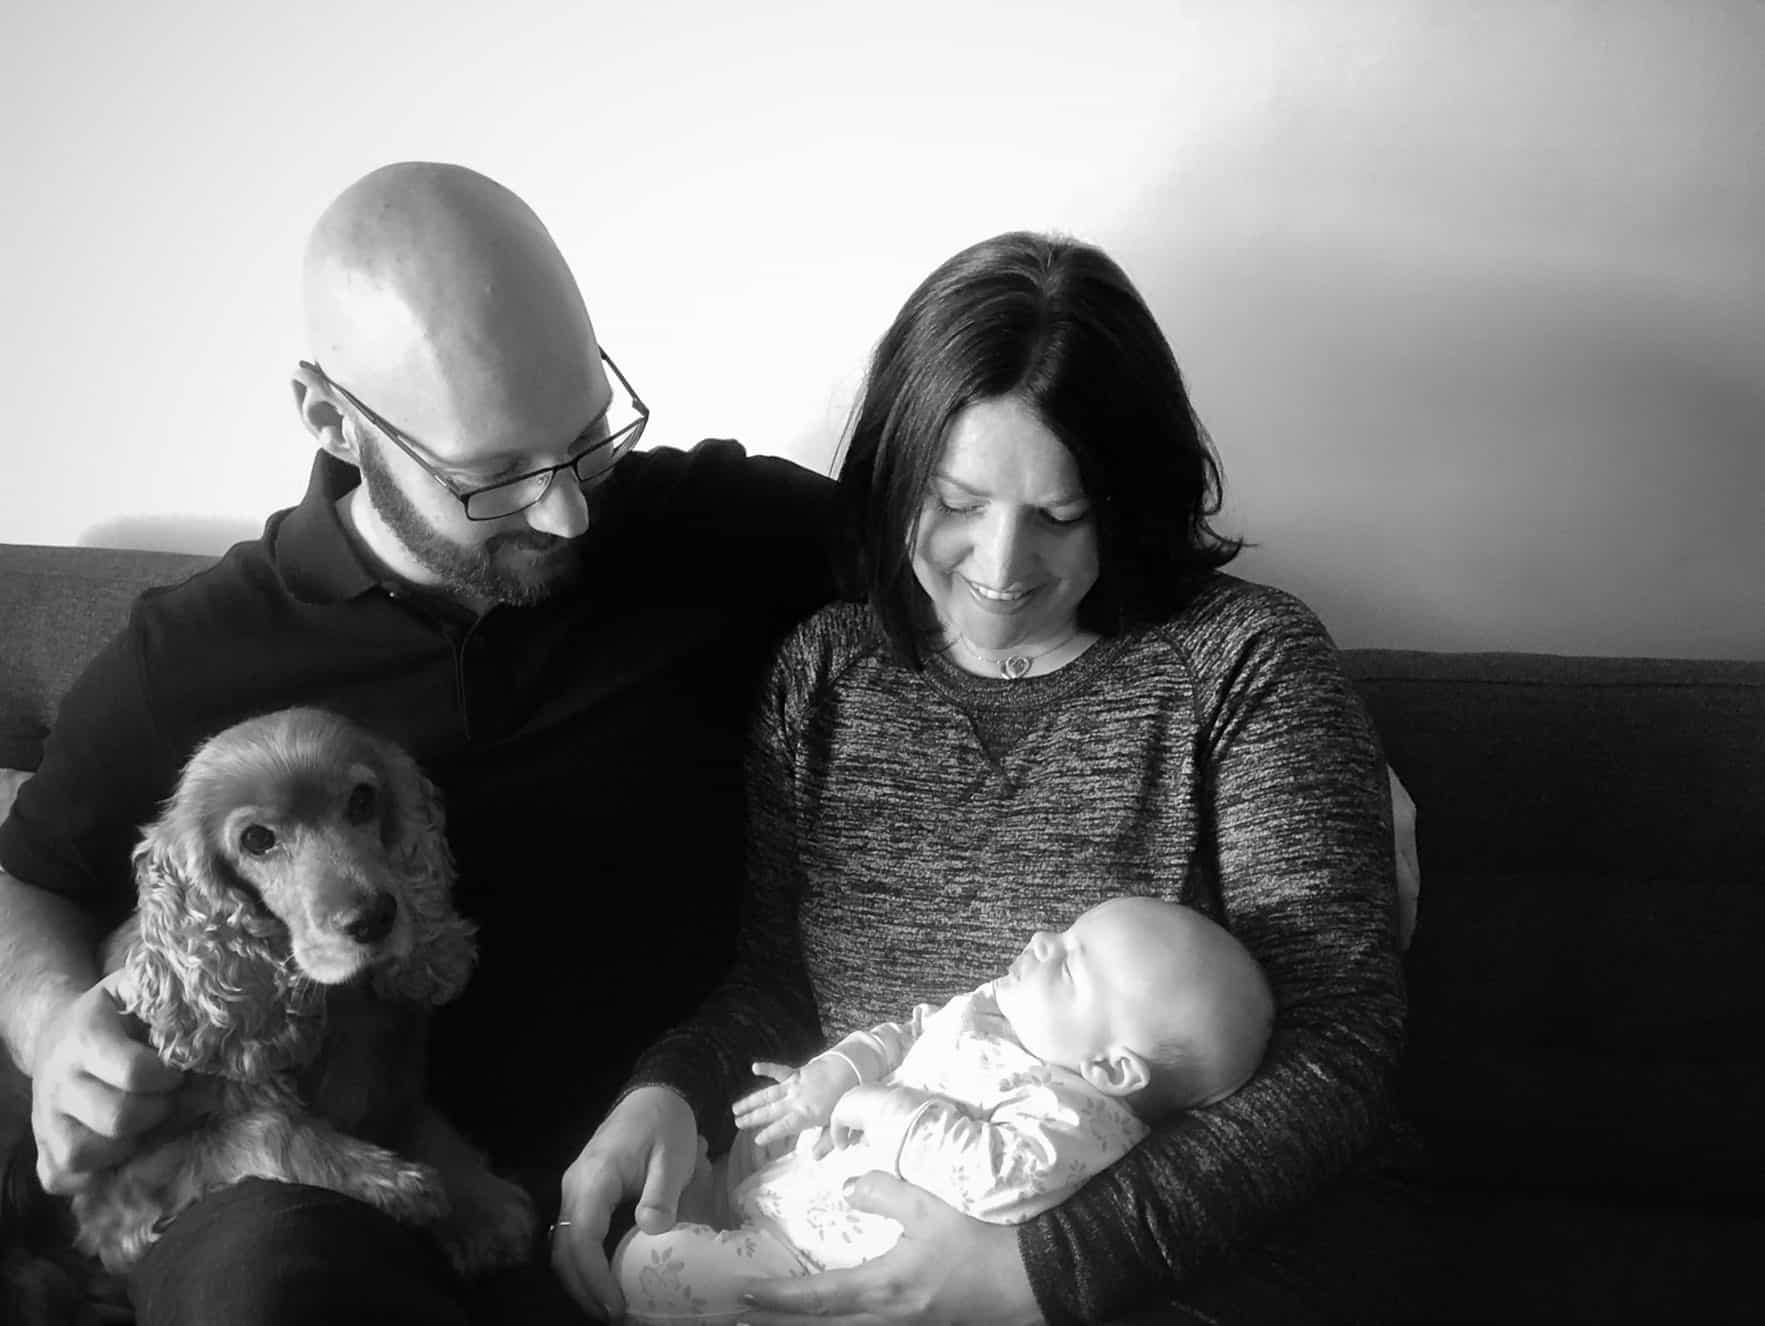
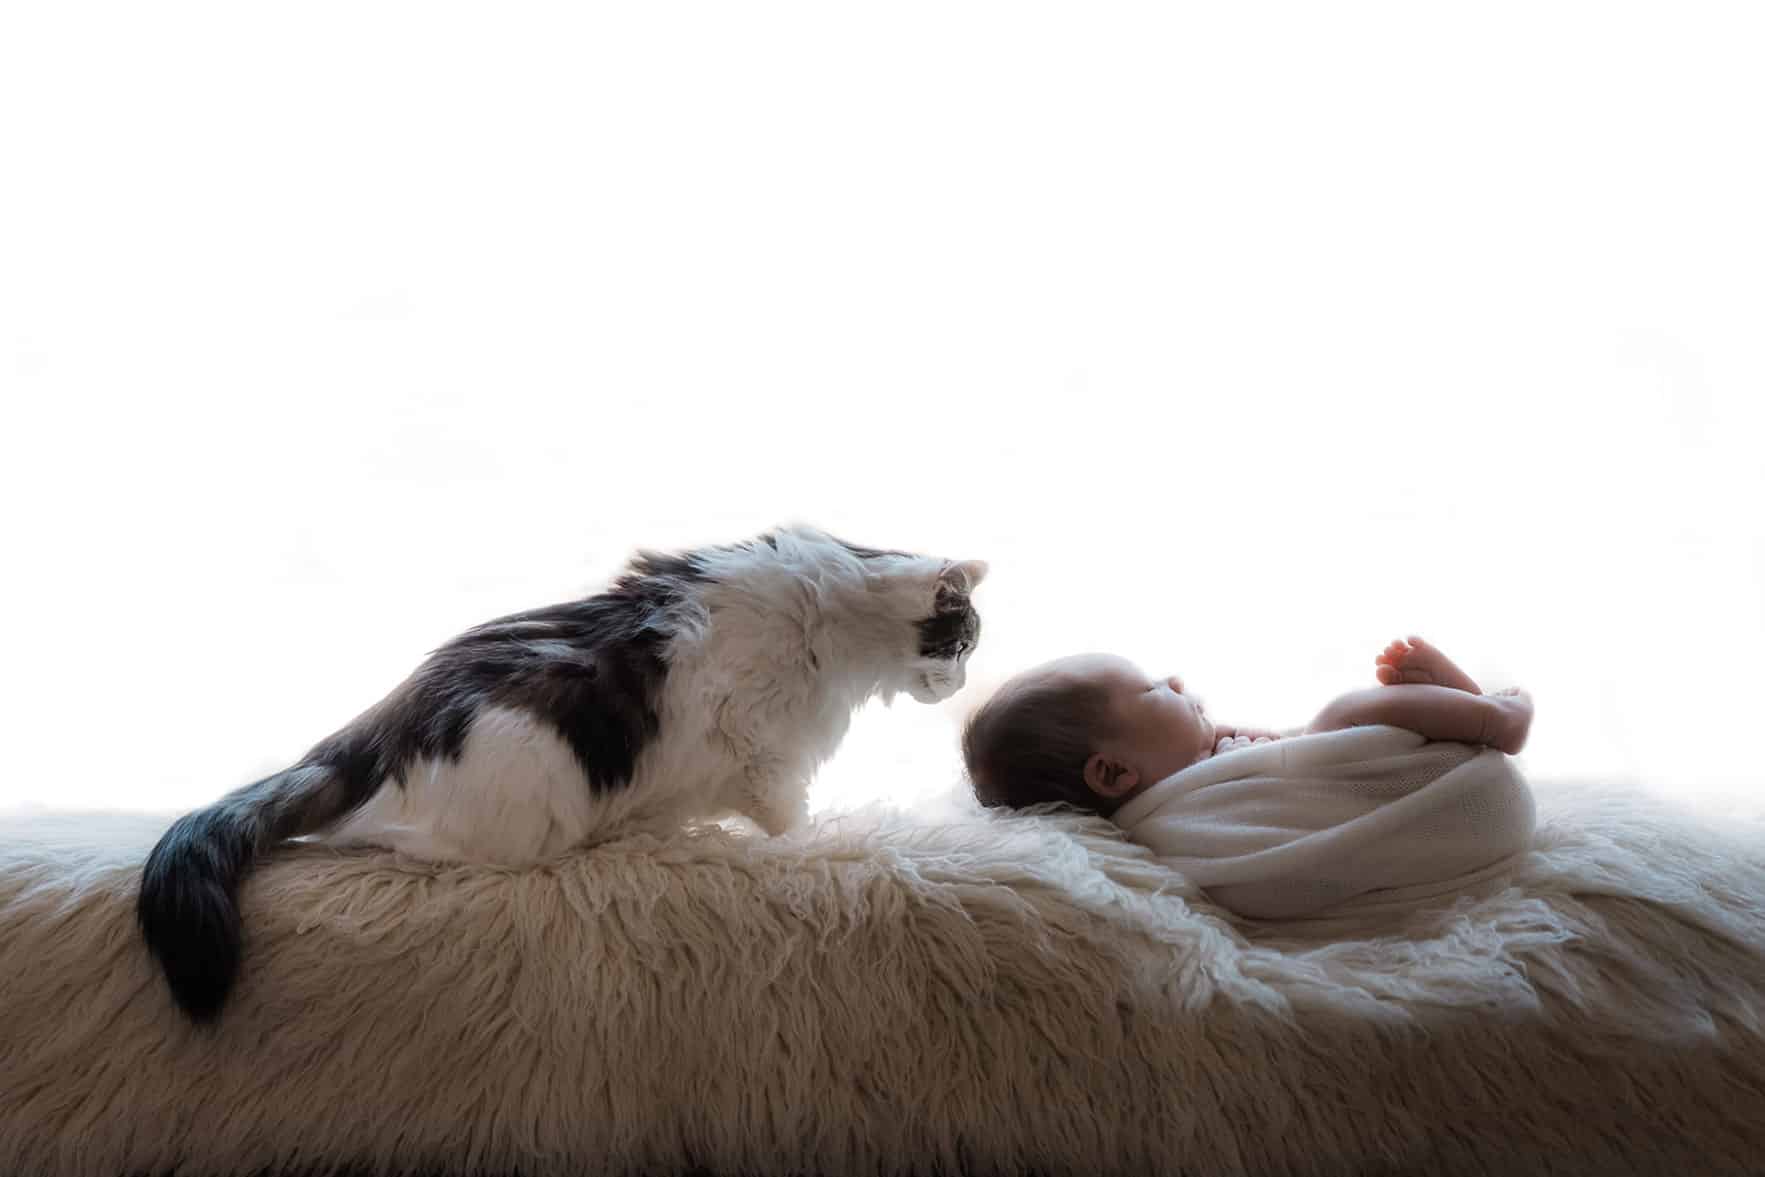
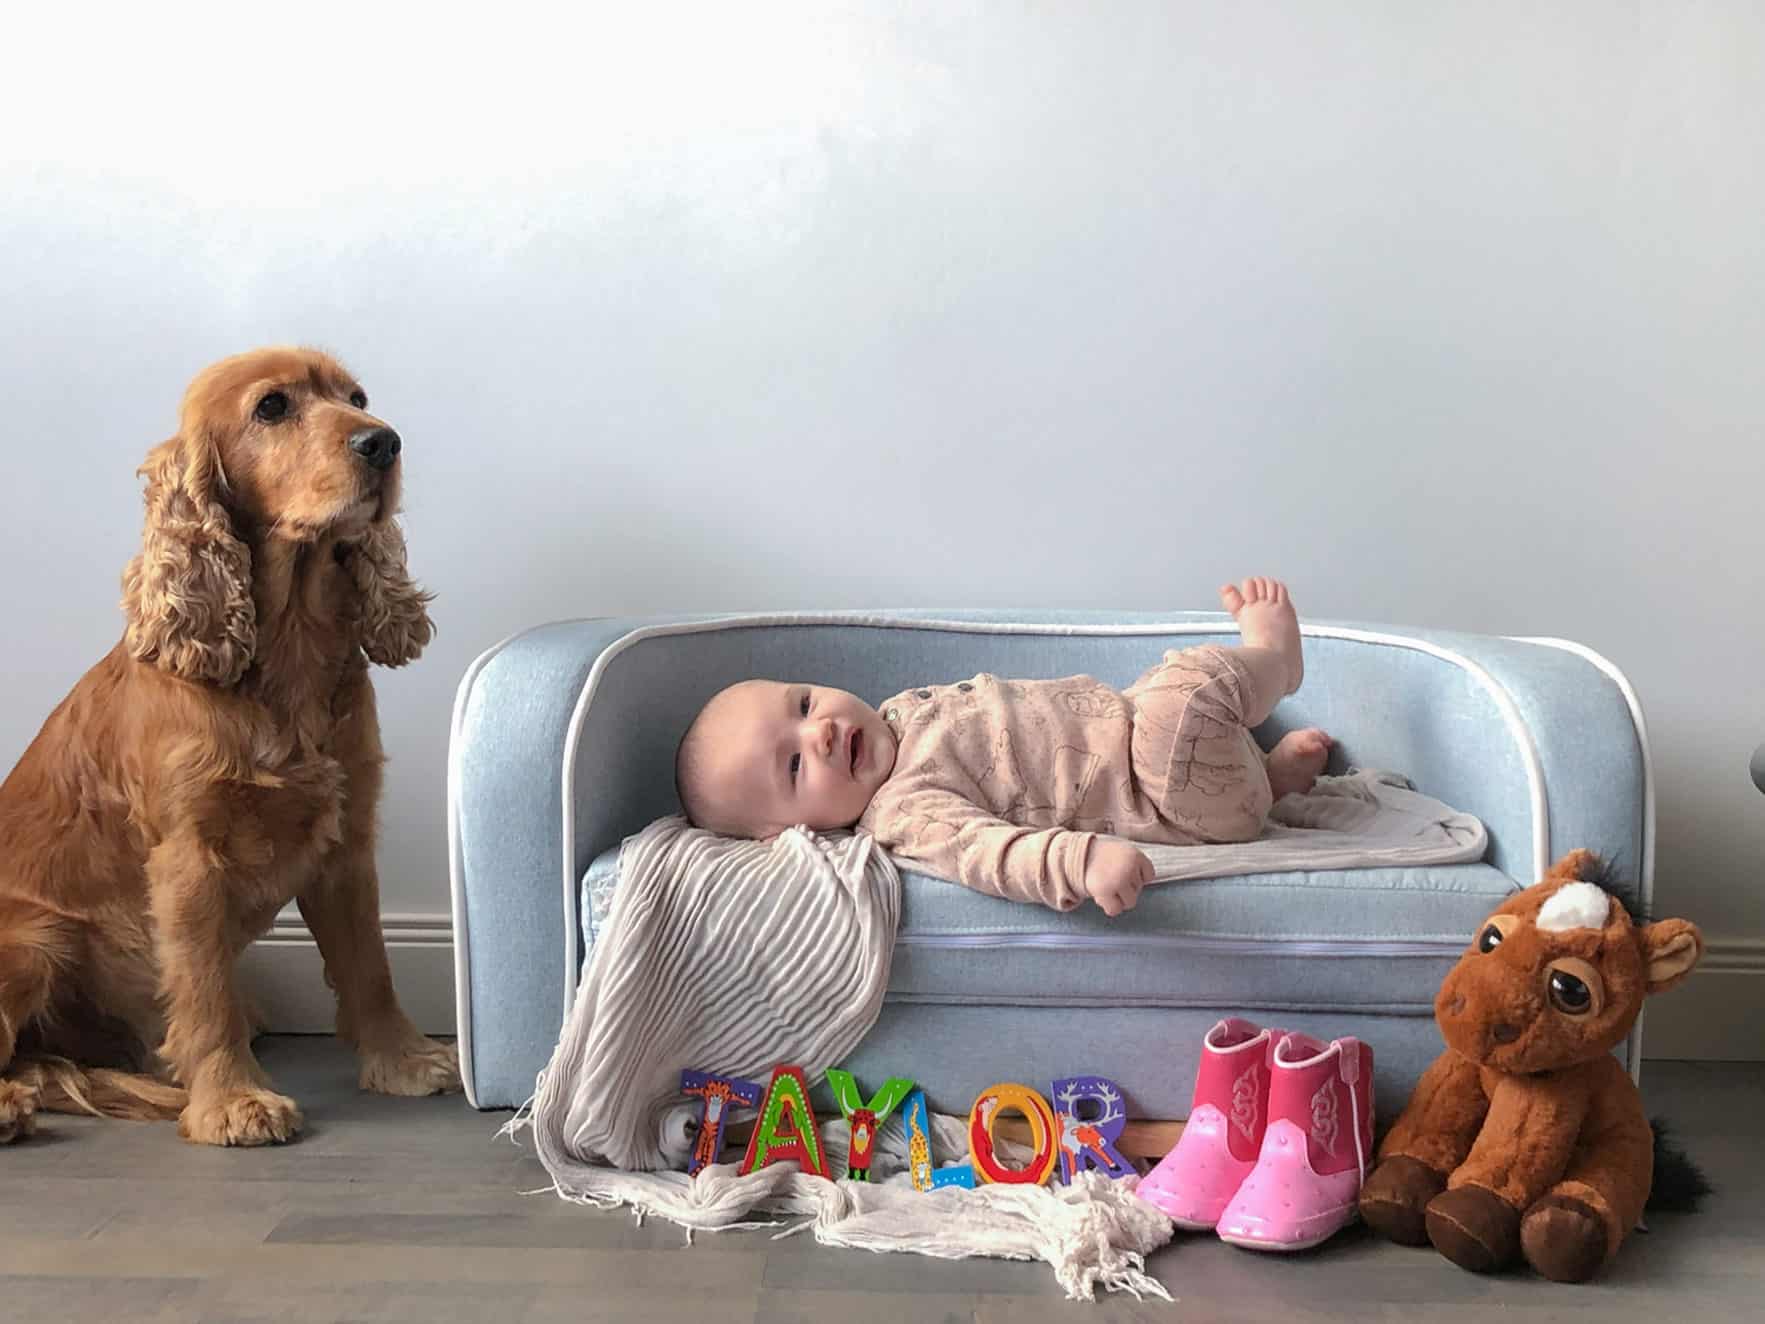
I LOVE pets. I have always said, if I wouldn’t be a newborn photographer, I would be a pet photographer. So, I am always happy to help clients who wish to include their dogs in their newborn photos.
If you wish to include pets in your newborn photos at home, I say, do it. It would be a shame not to have a photo of your fur baby in the family portraits!
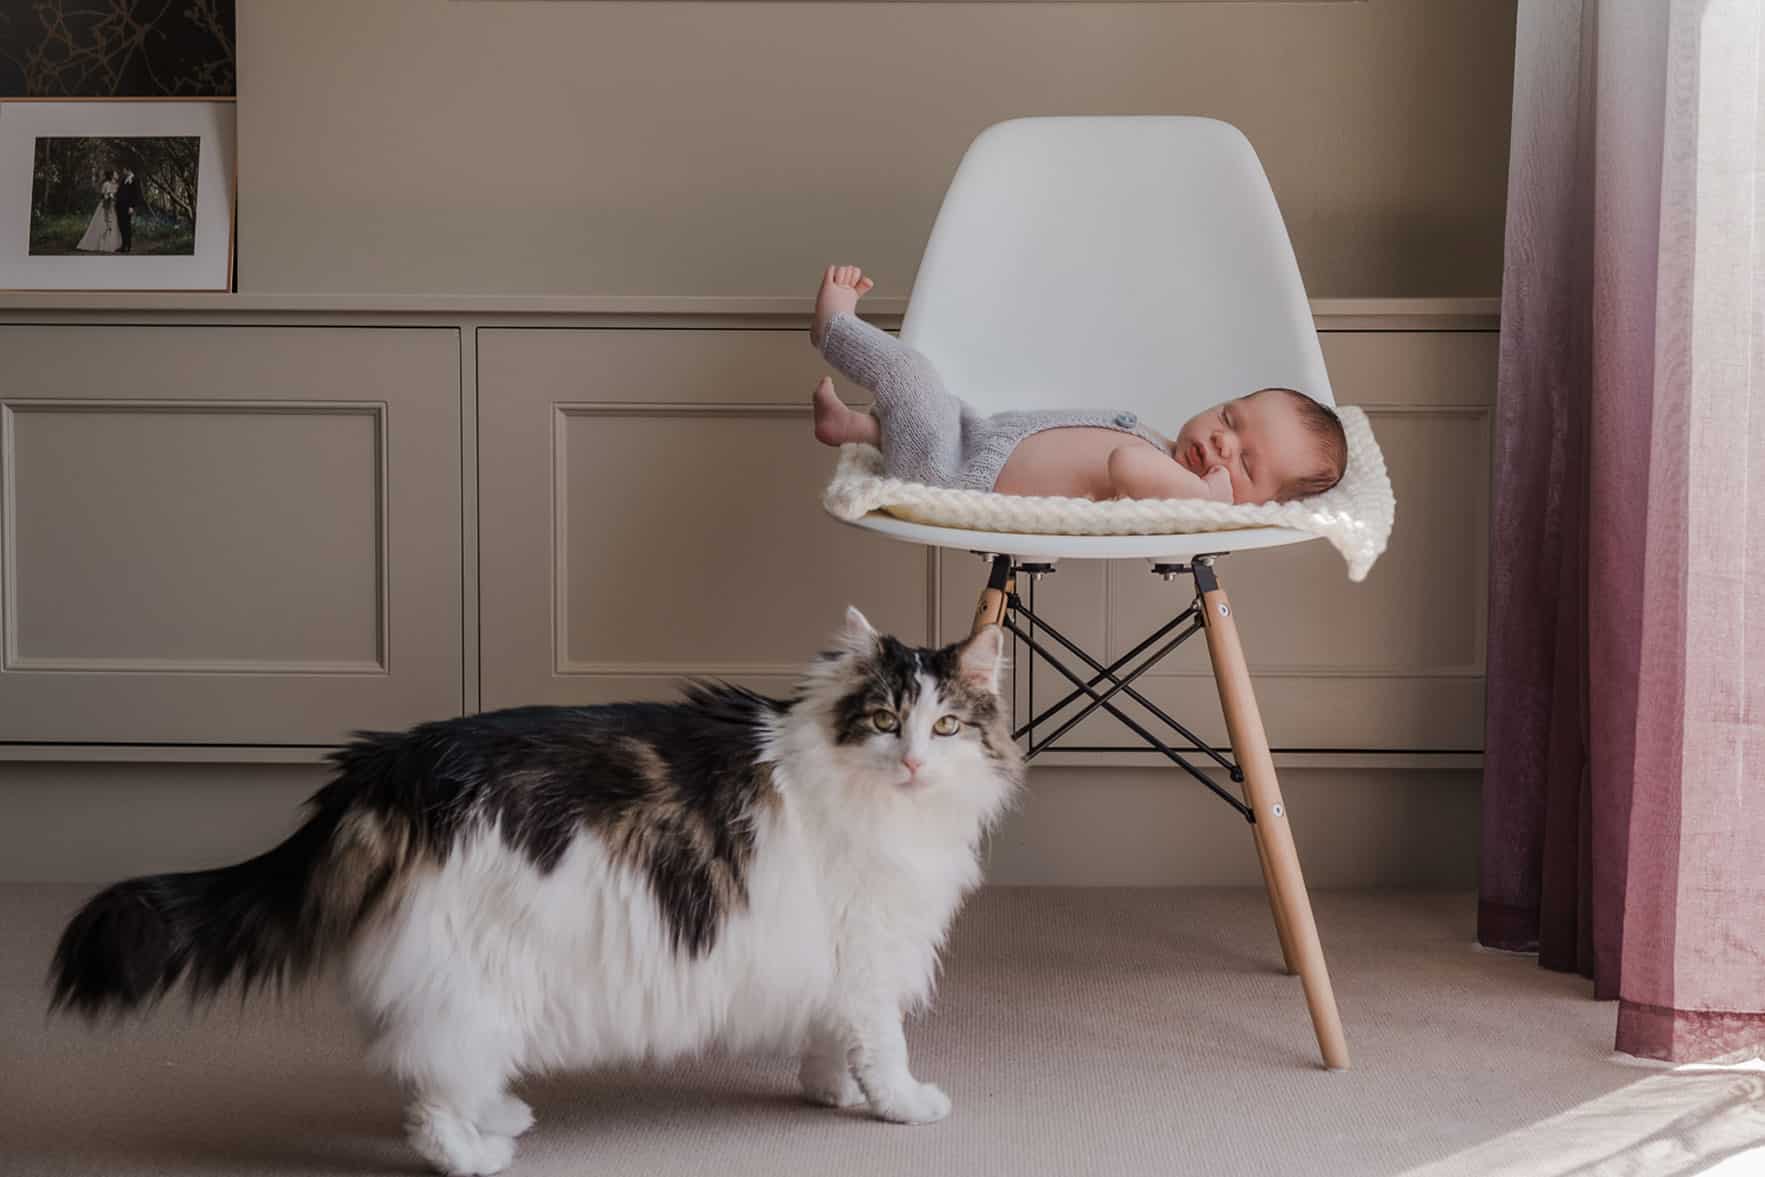
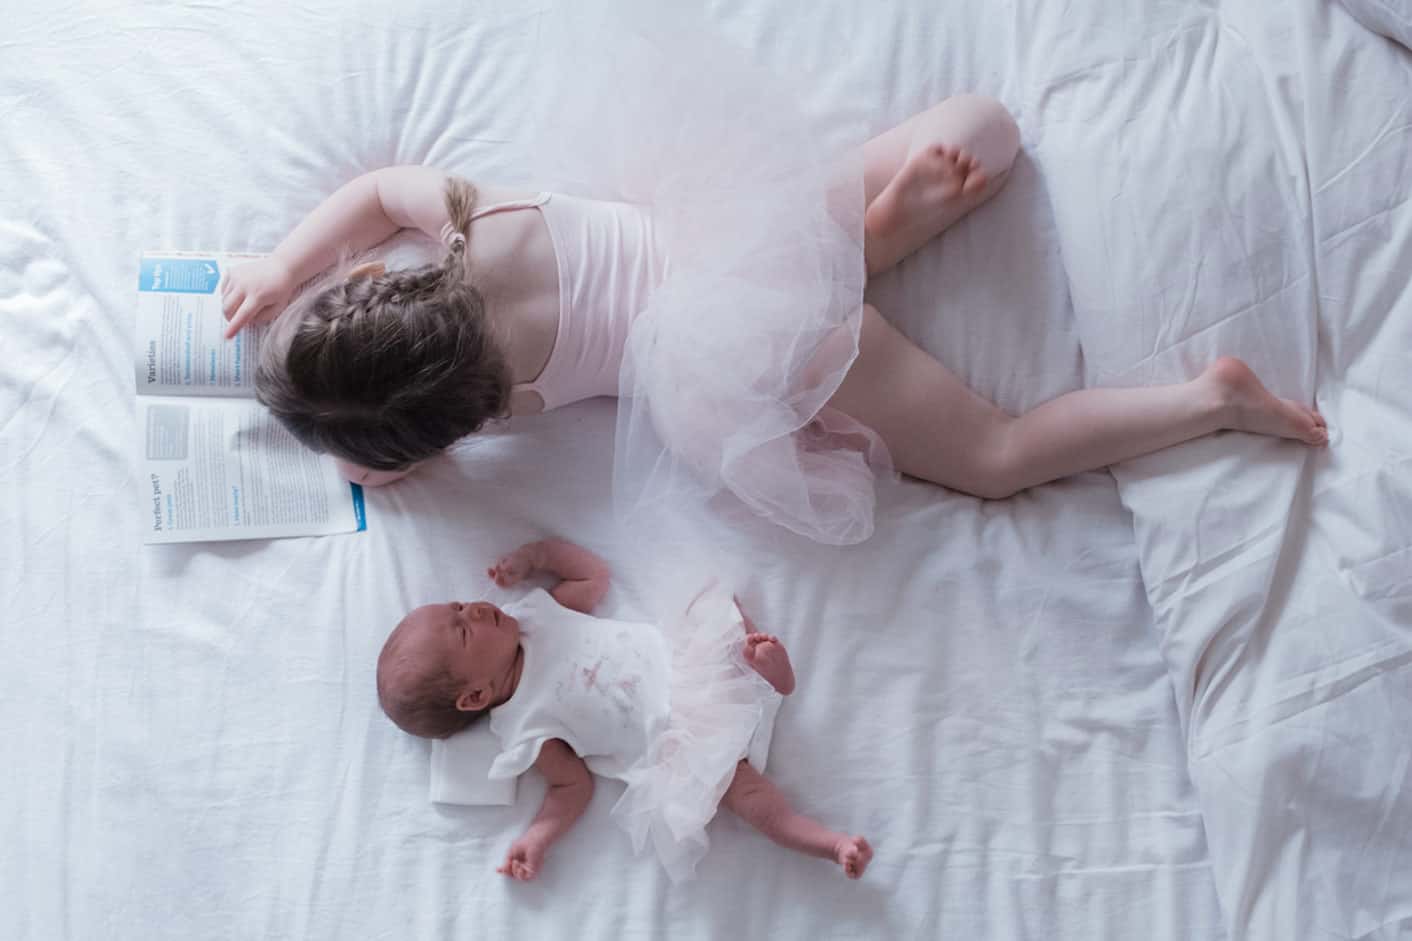
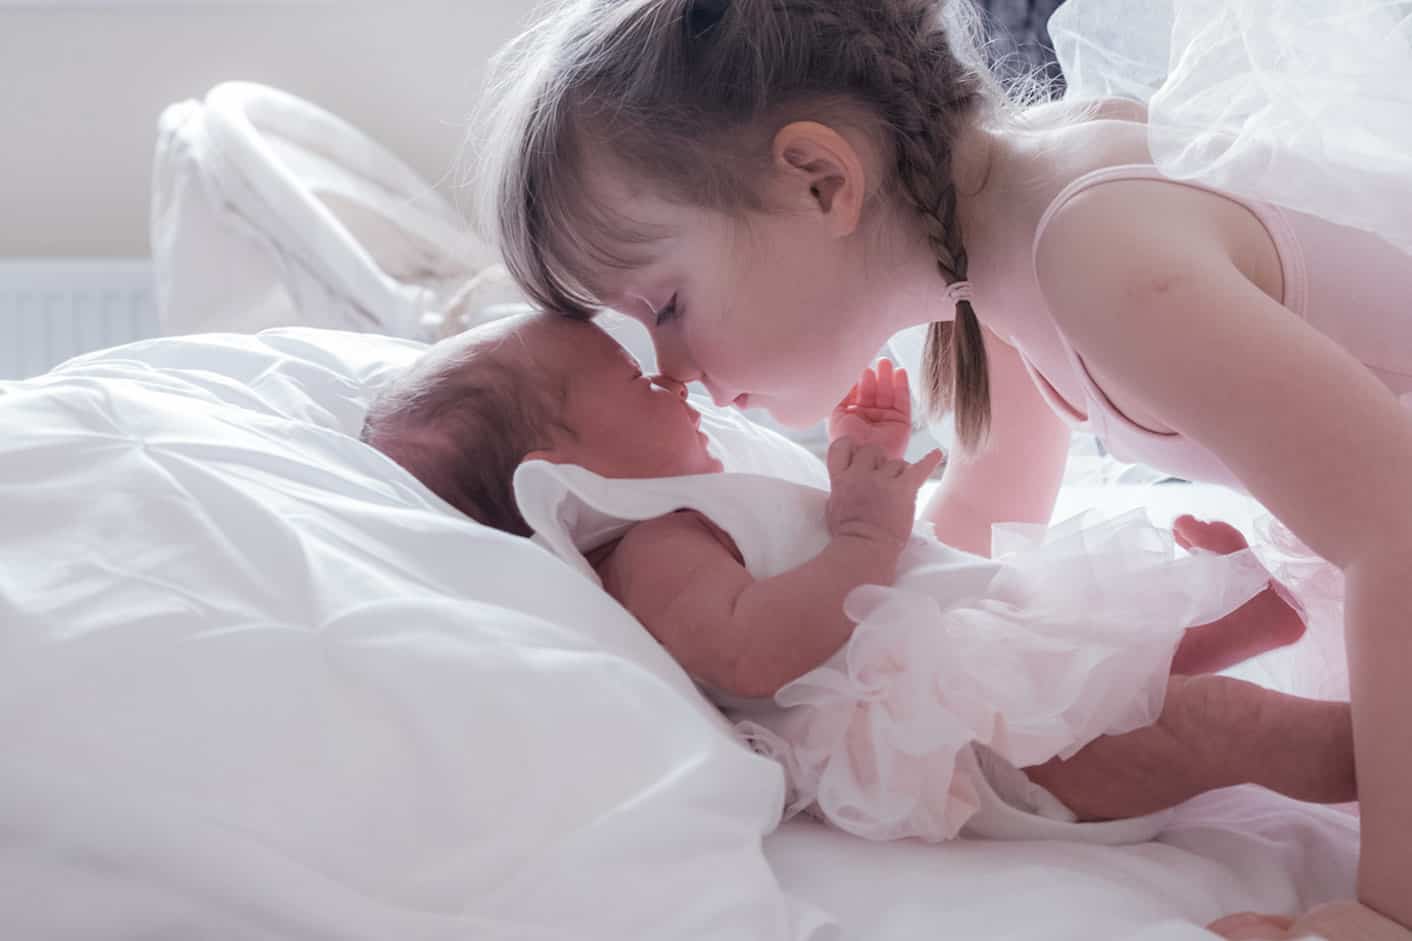
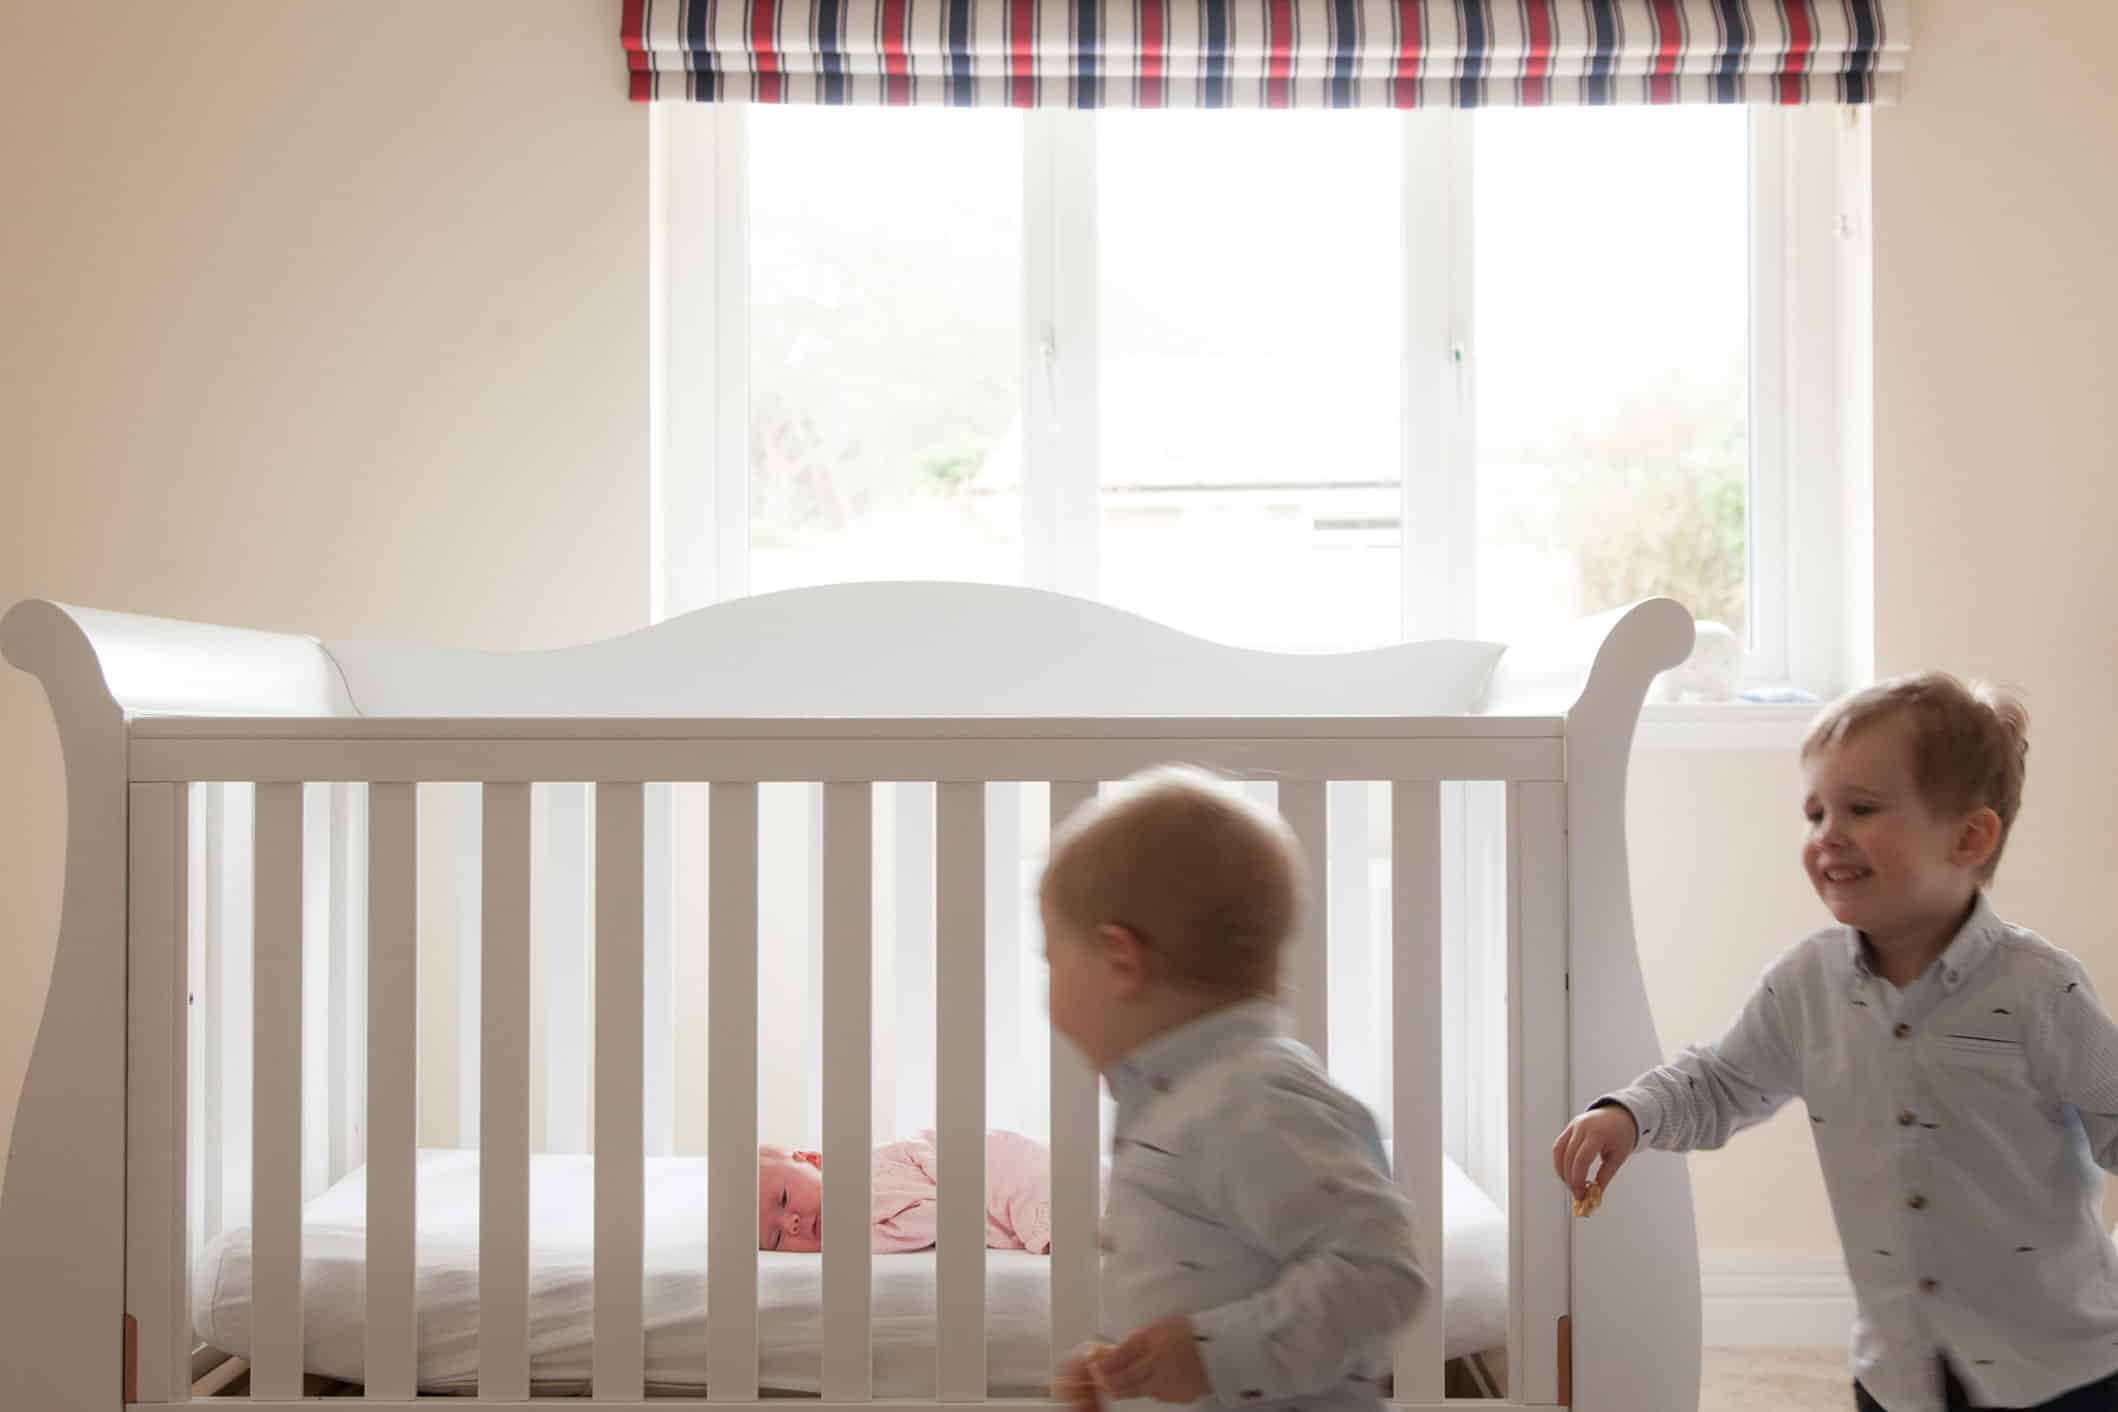
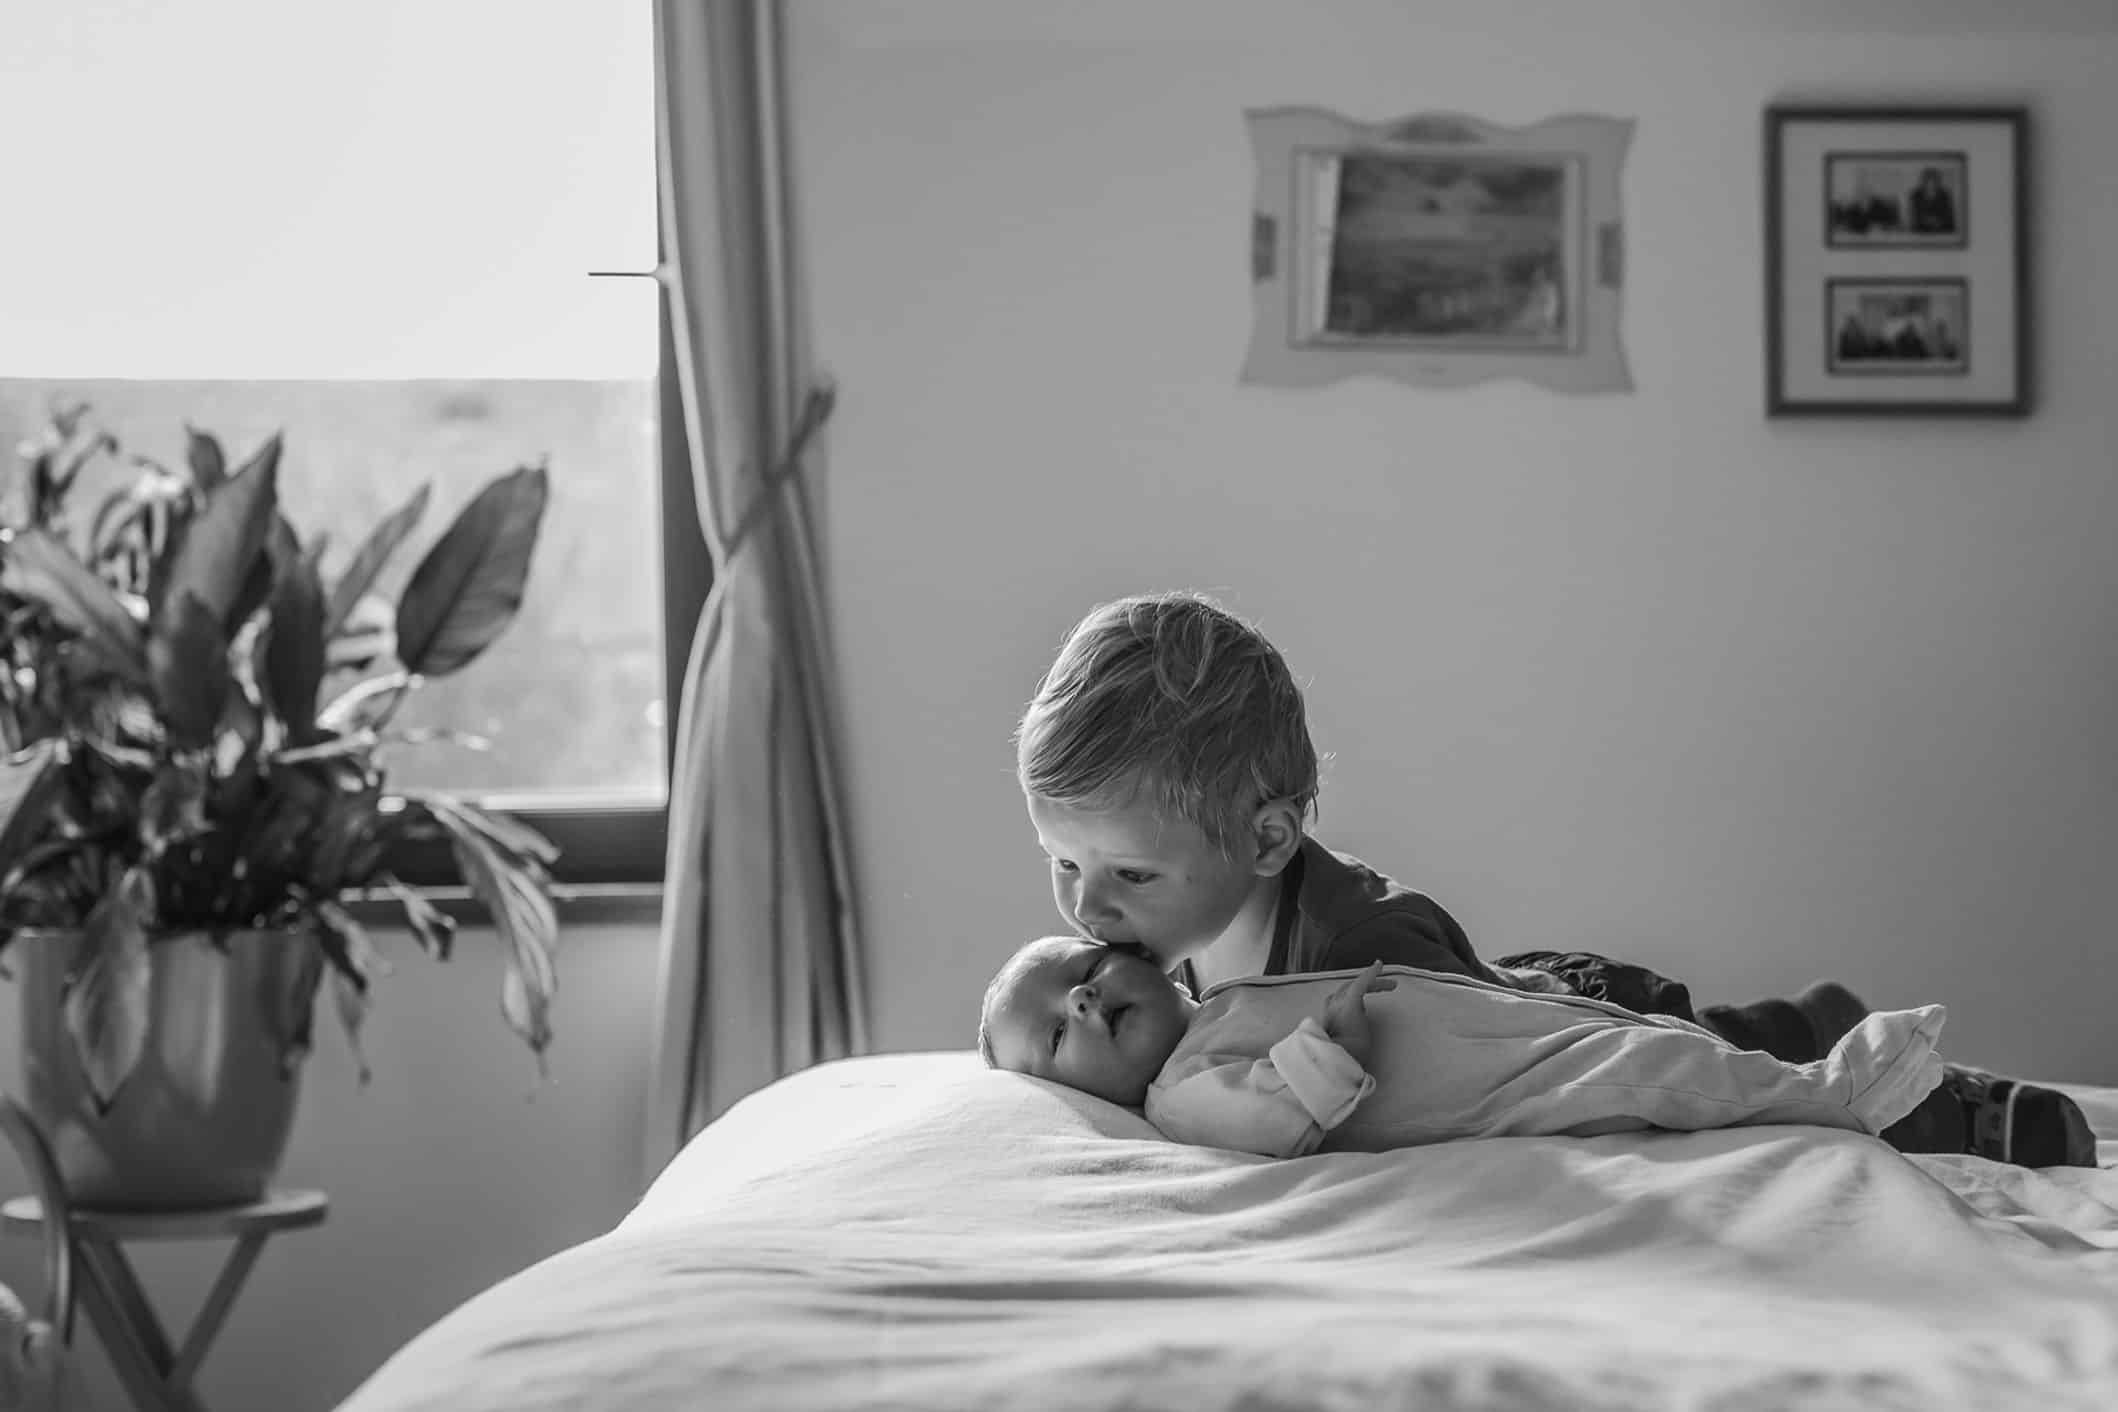
When it comes to human brothers and sisters, how well this works out will depend!
It depends on their age and what stage of development they are at – whether they are still excited about the arrival of the new baby or whether they have decided they’re no longer interested!
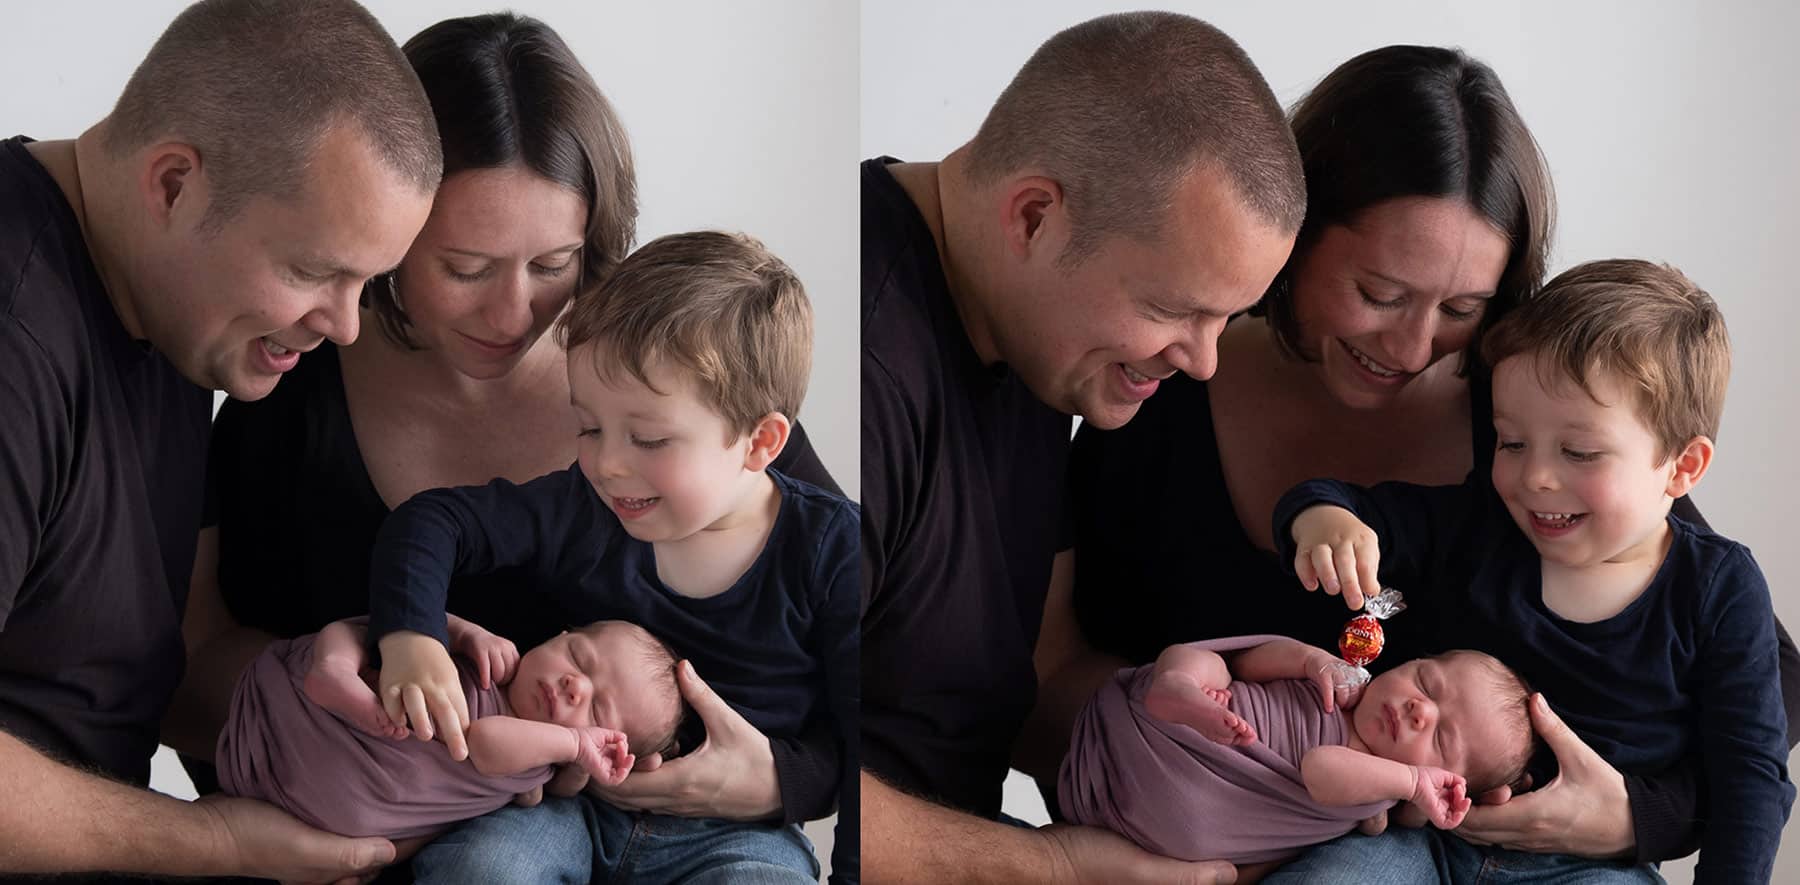
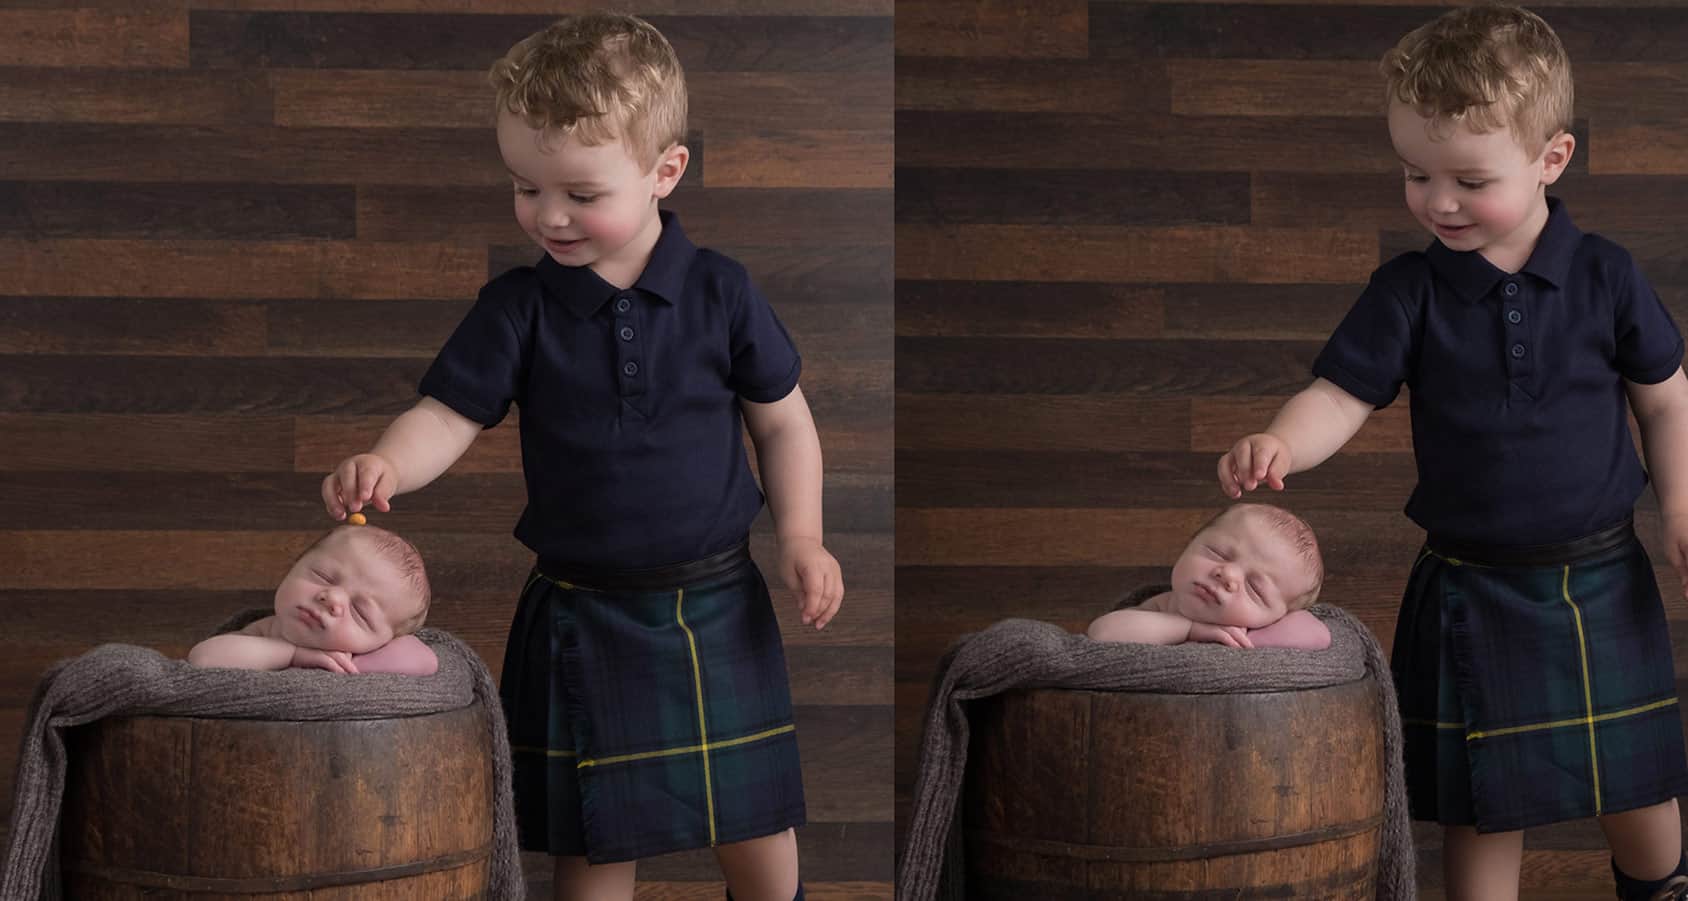
If you have a toddler, you might need to spend lots of time playing and coaxing them into the photos. Literally, play a game.
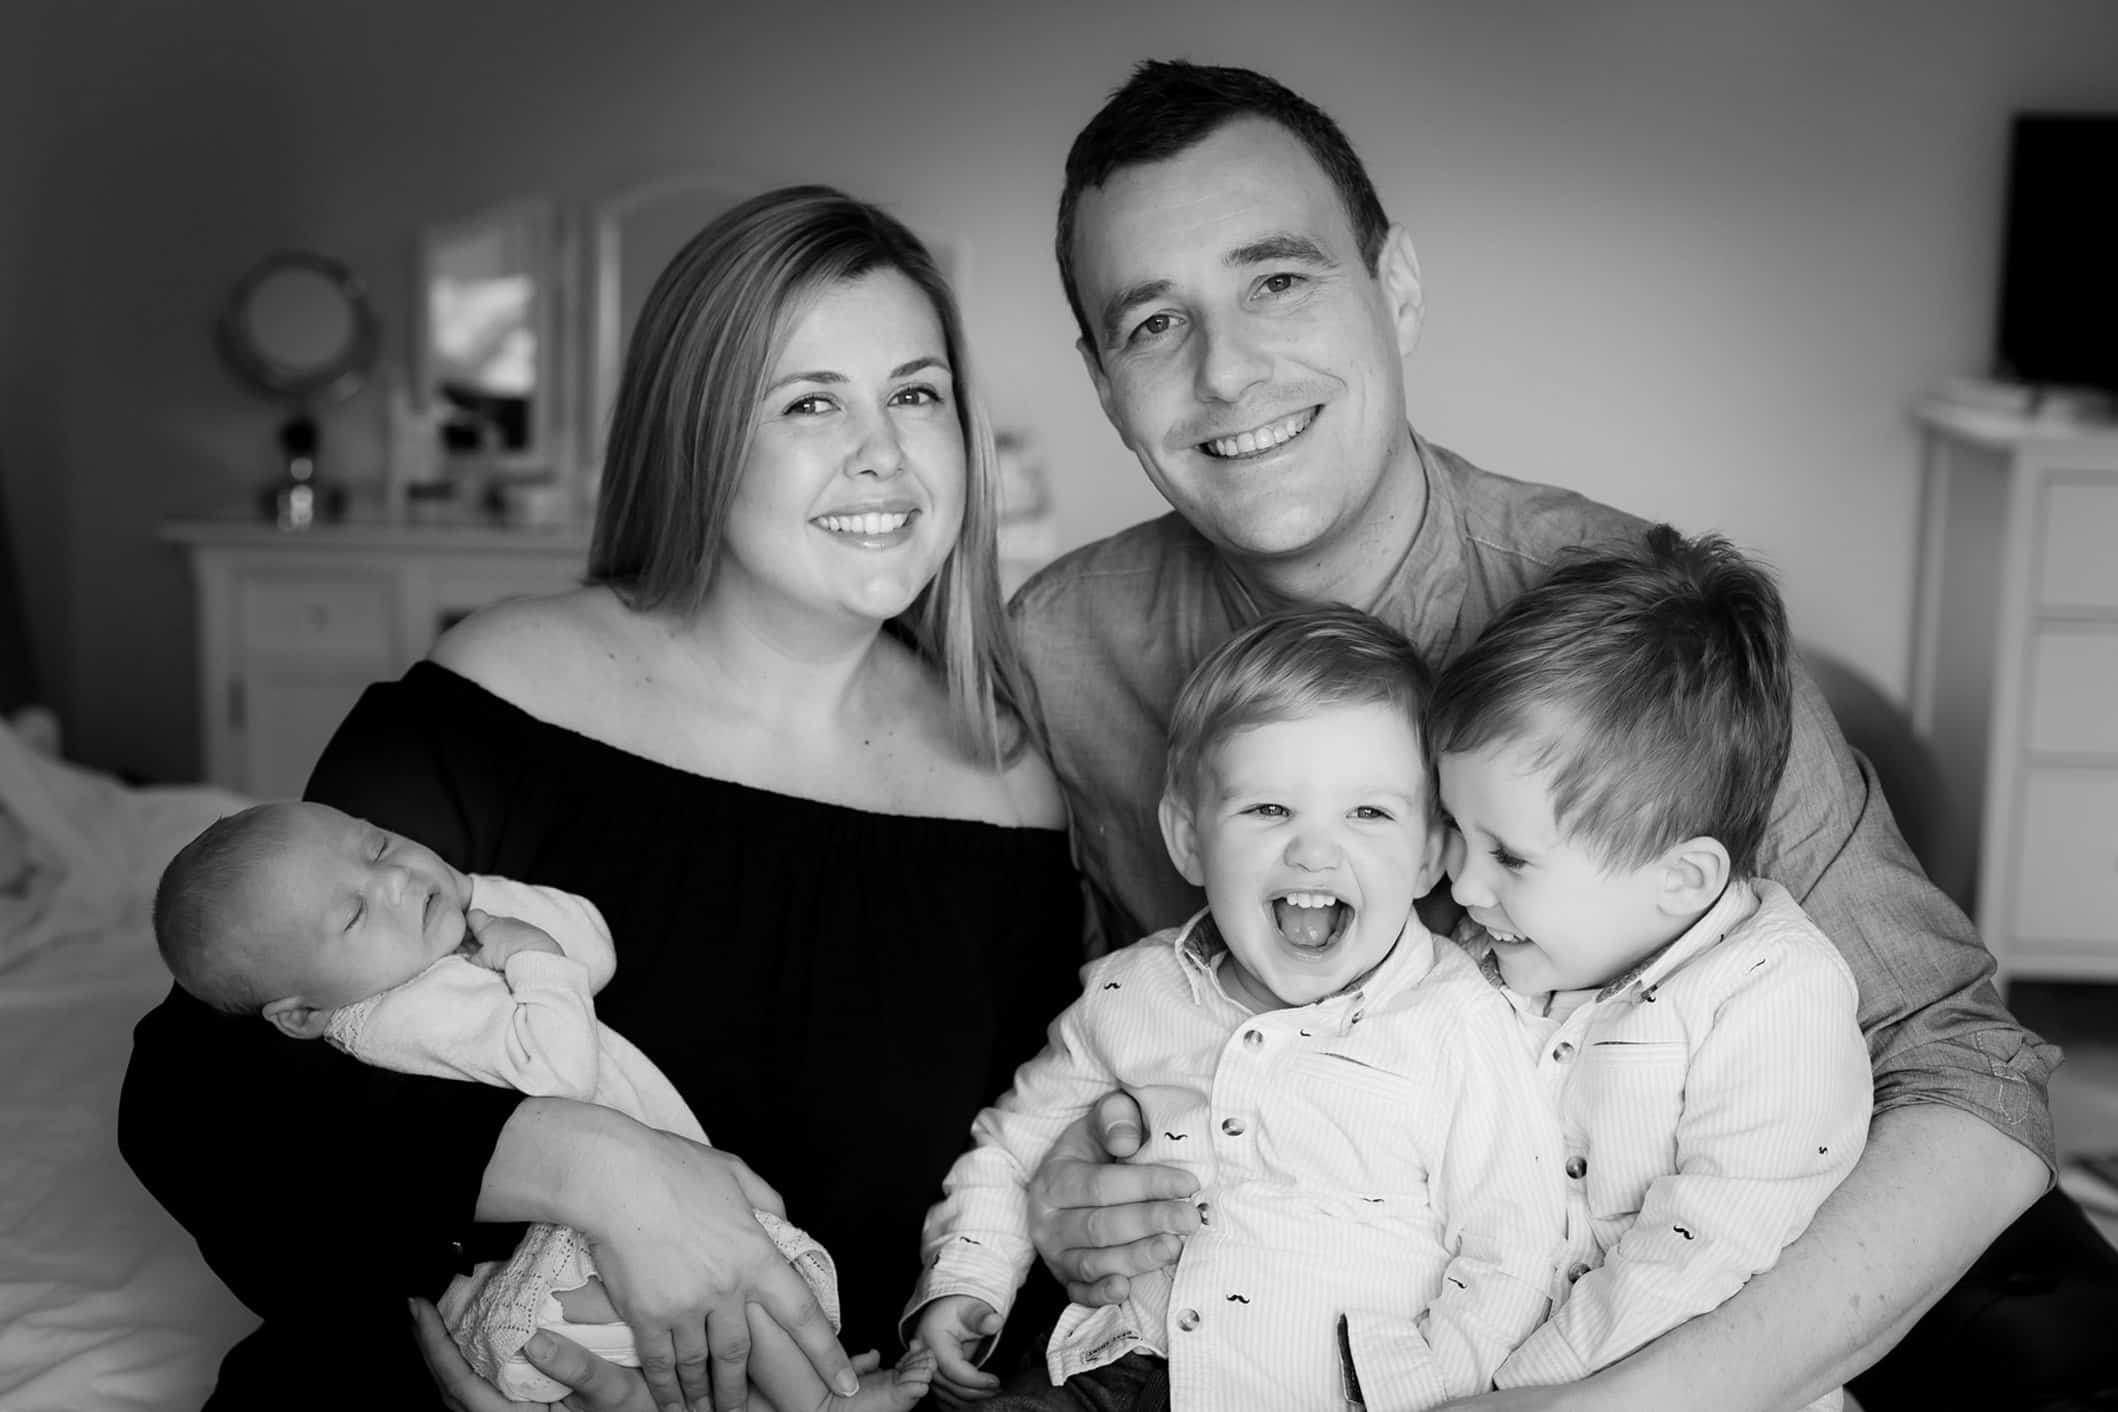
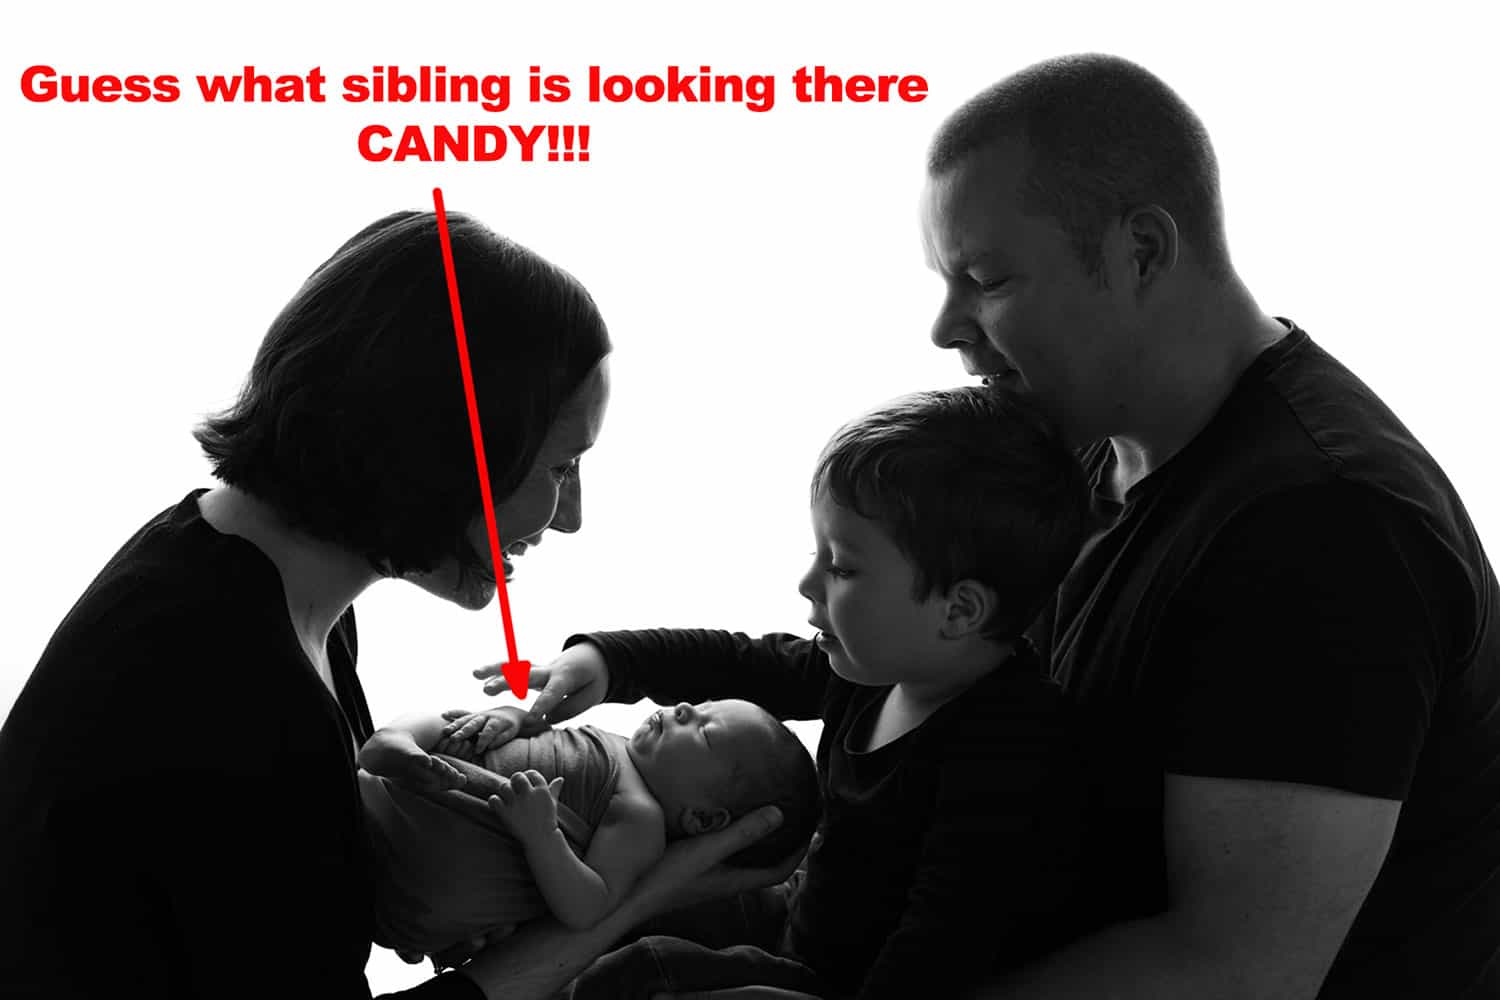
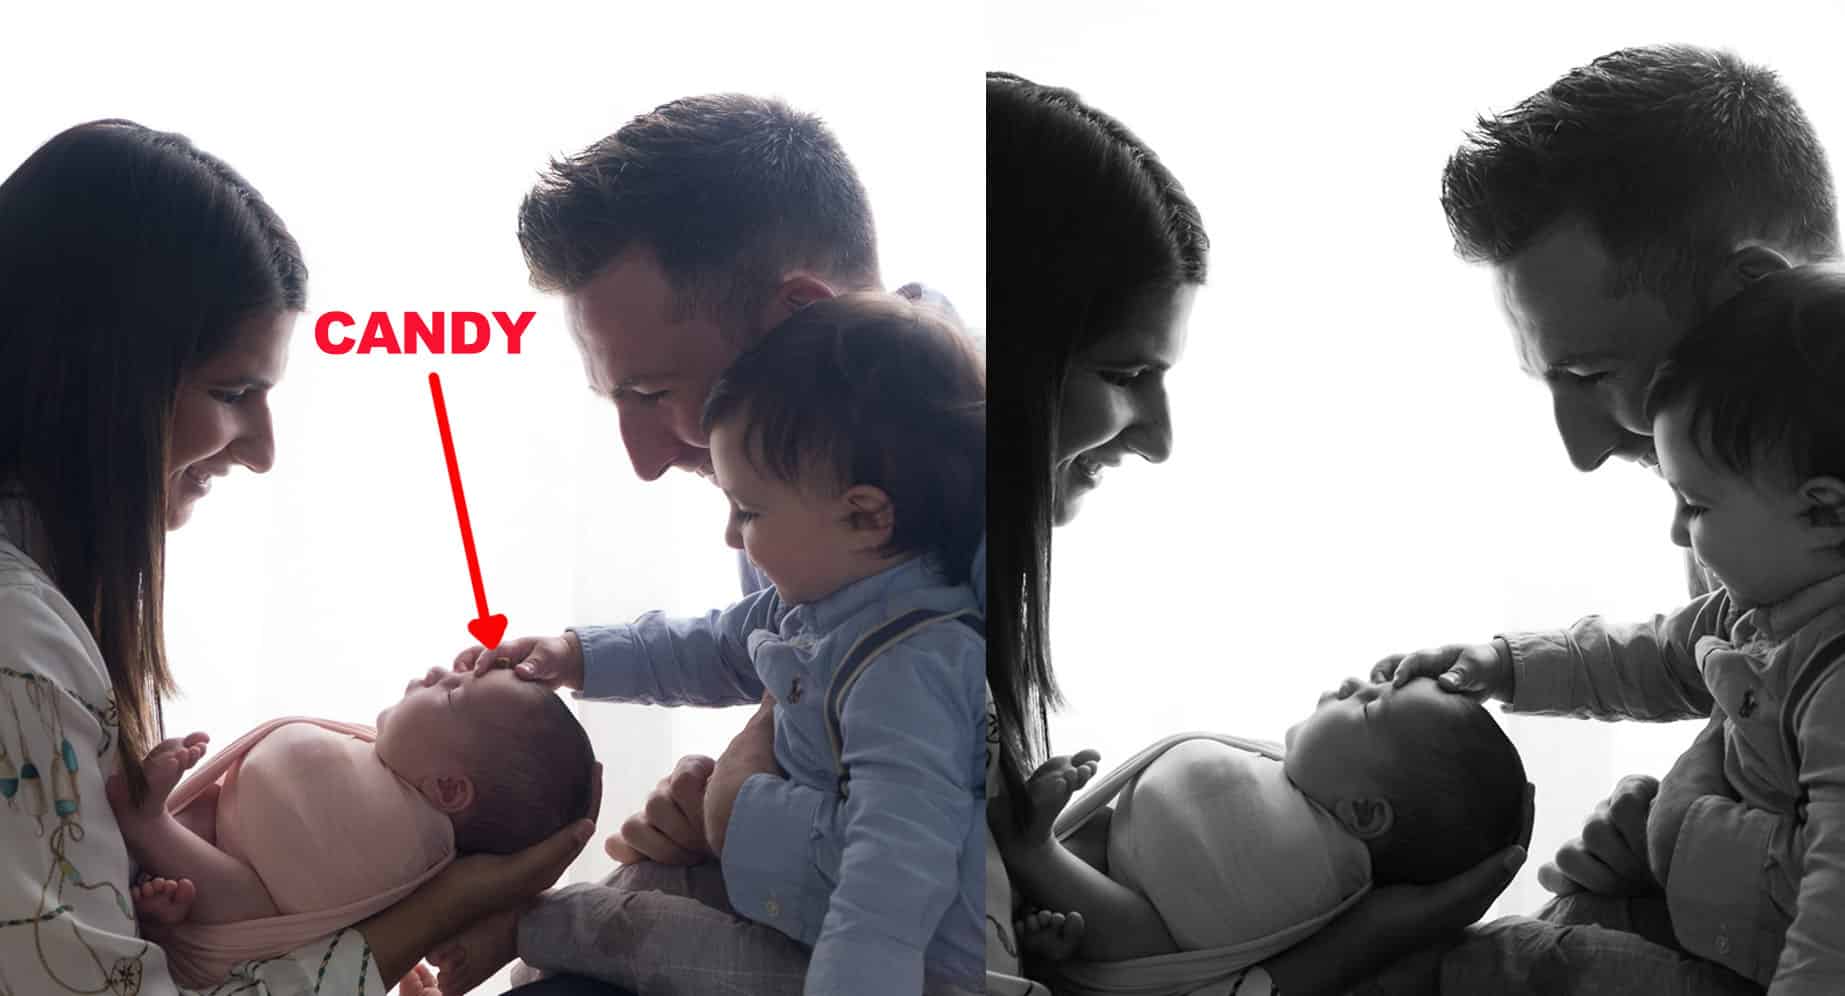
Use chocolate smarties as a way of enticing them into the photos; hide them behind the baby, place it on your baby’s head. These are all ways to get your toddler closer to the baby and can make it look as though they are touching the baby when they reach out to grab the chocolate. Clever, huh?
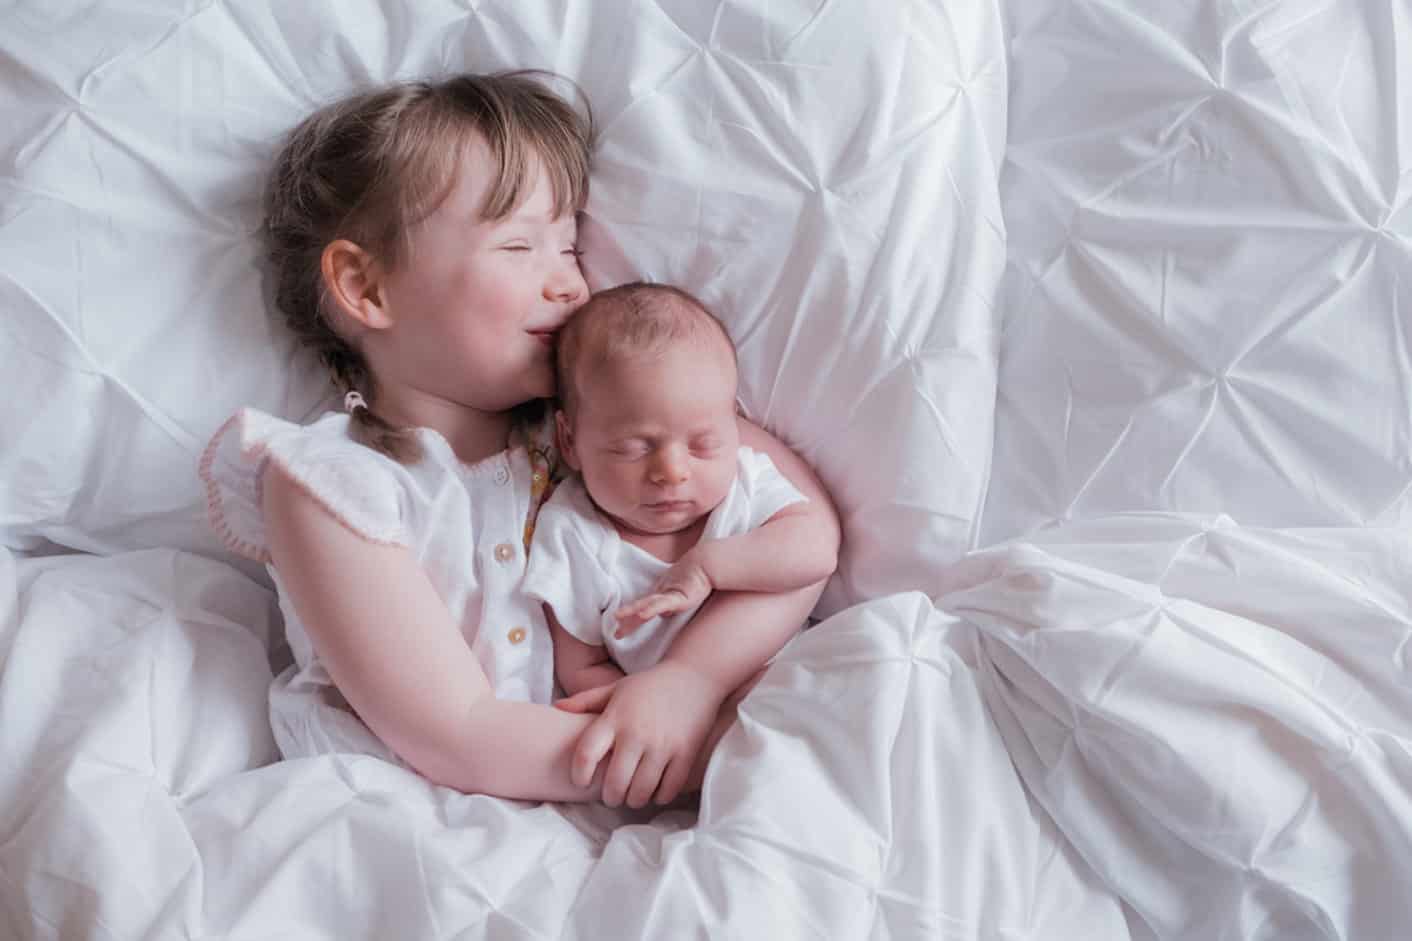
I also recommend that you invite someone else to come and help with the photos if there is a sibling involved. Despite your best intentions, sometimes as parents, we don’t have the patience to work with own kids and it can turn into a stressful affair.
Kids are normally more likely to listen to other adults – perhaps an auntie or uncle. Again, your helper can try to distract and coax your other child into the photos by playing games.
During the process of this session, I learnt a lot from using the phone to take photos and here’s what I would do differently if I was doing it again:
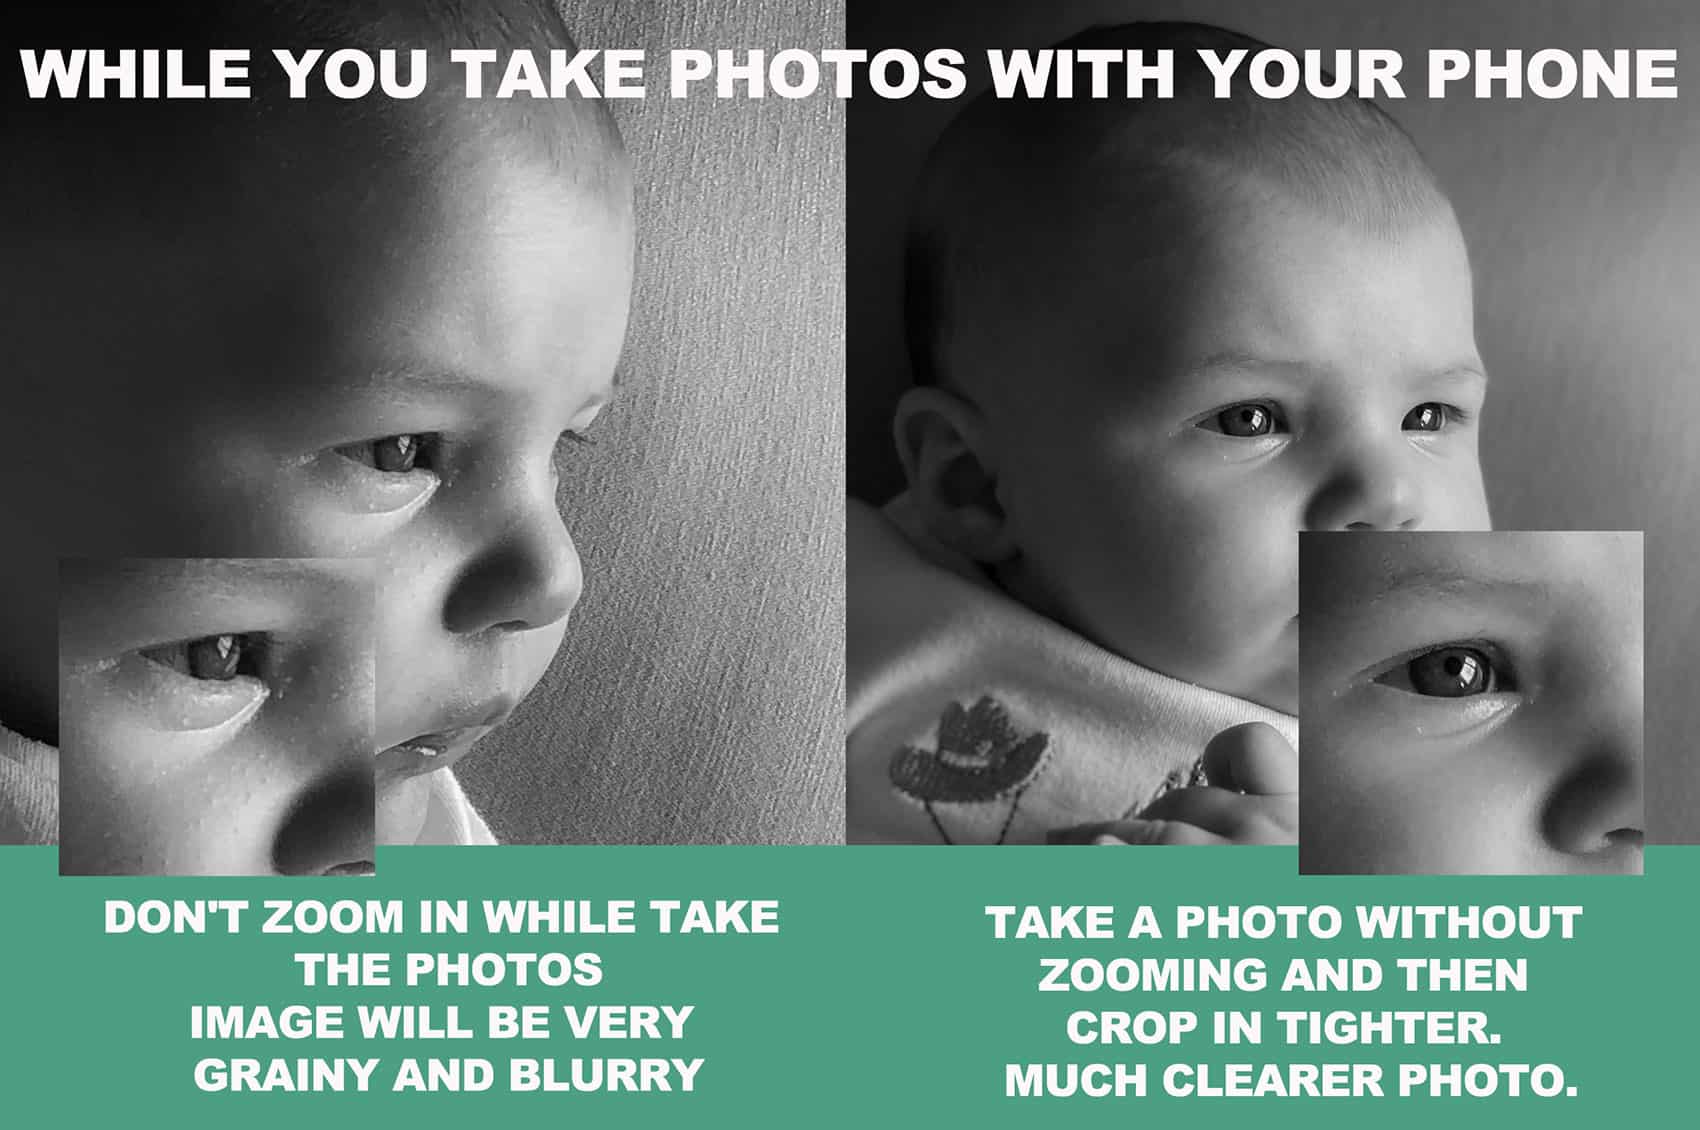
1) I learned that zooming in and taking photos is not a good idea. All the zoomed-in photos I took were pretty pixelated. So, don’t zoom in much when using your phone.
I would suggest that it is better is to take the photo and then just crop it after if you would like the baby to fill more of the frame.
2) I discovered that colours can also be tricky to get right in the camera phone.
I had hoped that I would be able to easily adjust the white balance on the photos if they came out slightly yellowy. But, in reality, I was pretty limited in what the phone could do in regard to getting a good balance of colour. Try to photograph with very neutral colour balance, don’t ad filters.
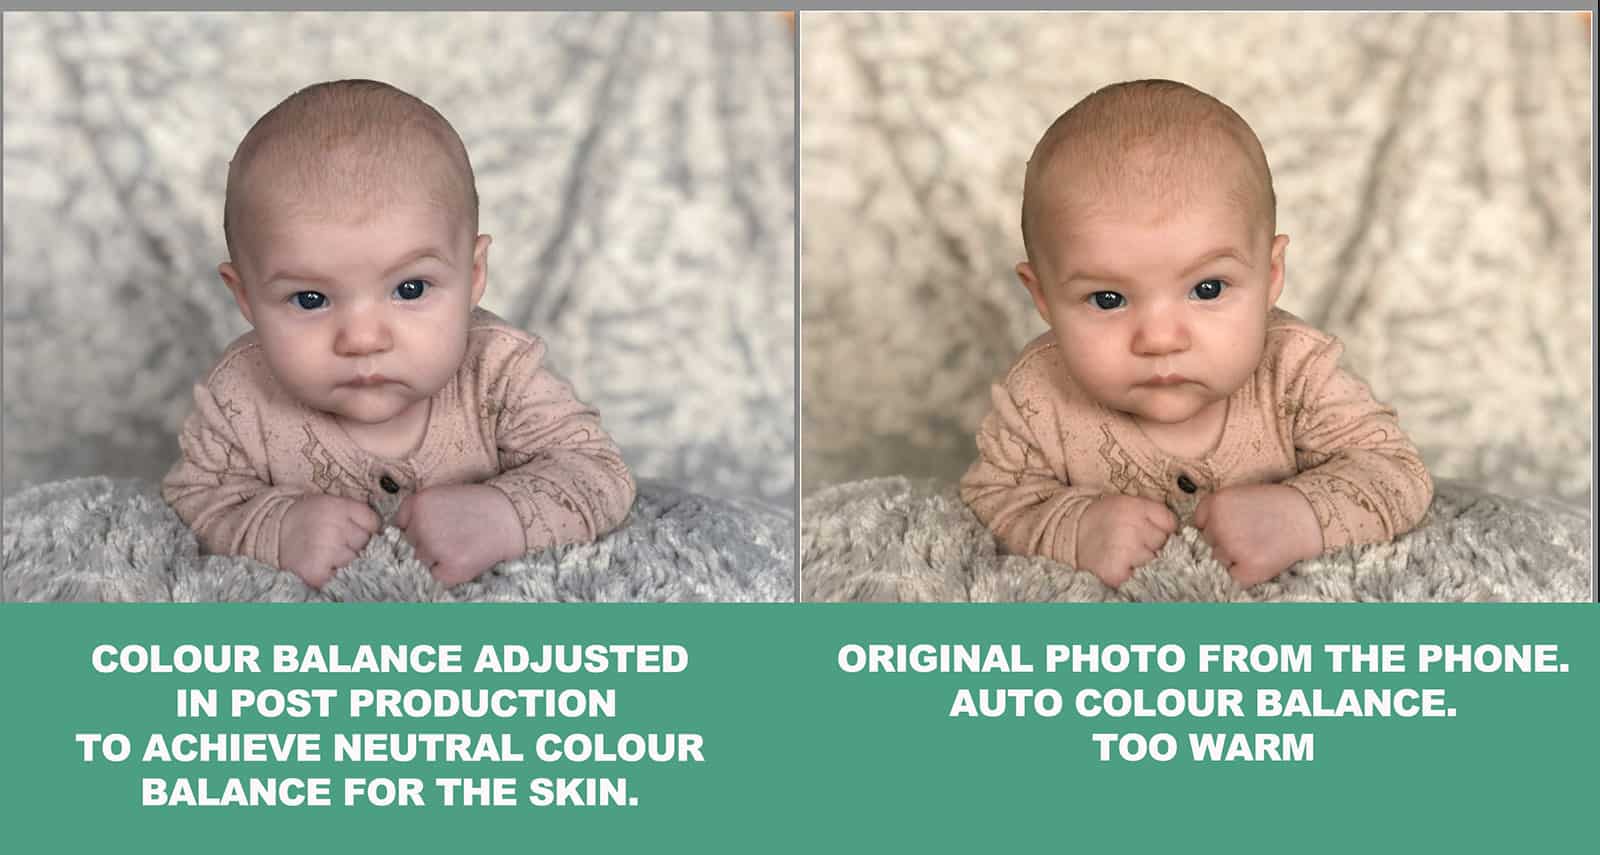
3) I would also have liked to have had more control that the camera phone allowed.
I strongly recommend that you get an app on your phone which will set your phone camera in full manual mode. This will allow you to control the exposure of the camera, the white balance and will ensure that it stays consistent throughout the time that you are taking the photos.
During this shoot, we didn’t have this. So, in the video you’ll see that the exposure was jumping up and down like crazy! Every time the phone took a photo, I needed to adjust the exposure again which wasn’t ideal. In manual mode, it will simply stay in one setting and won’t change.
4) A smartphone straight out of the box also has its limitations because it cannot create higher quality TIFF or RAW format files.
This is another advantage that an app could provide.
Better quality images are preferable because, as I’ve already mentioned, if you wish to edit the photos, you’ll have extra data available to you and the end result will be much better.
Here are few more ideas for newborn photography at home. You can aslo check my professional home newborn photoshoot page to get some more inspiration, and learn more about newborn photos at studio vs home.
Final take away for our model family. A little interview I did with them at the end of the session to tell us how easy or how challenging this could be if they would need to do this again. Also touching on a bit how important is to take these photos and a few more nuggets.
Hope you find this helpful and ready to set your own project.
Feel free to post any questions or suggestions.
Share with other expectant parents.
Enjoy taking your own photos guys.

